Macro photography lighting presents a unique set of challenges to the photographer. When overcome though, it’s possible to create intriguing images of things that may be overlooked or unseen by the naked eye. The difficulty lies in the close subject-to-sensor distance, which magnifies the subject and results in a very shallow depth of field.
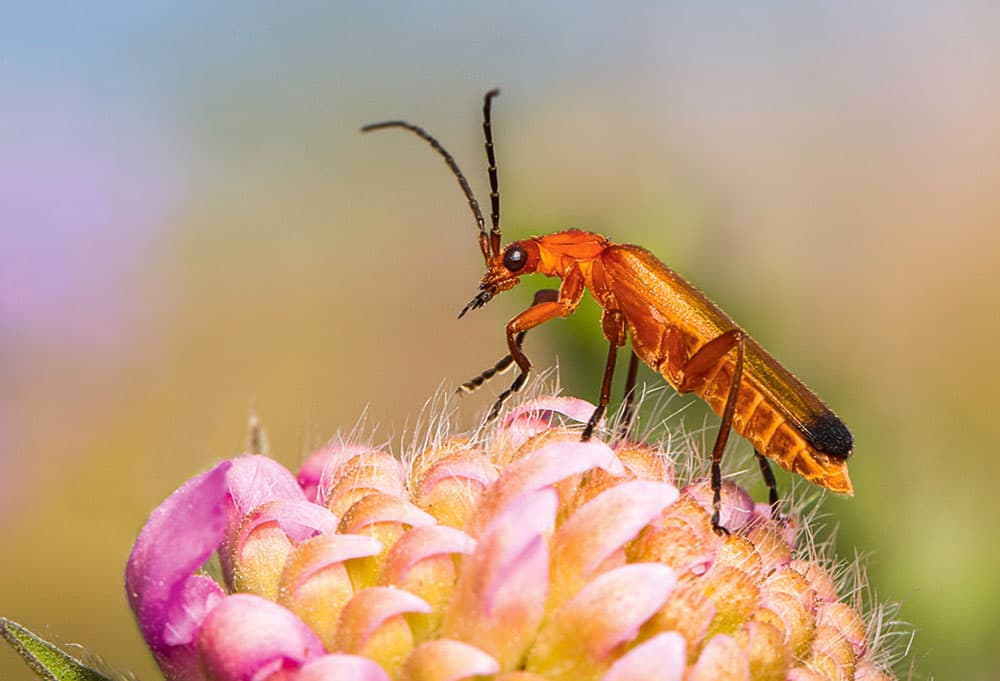
To get as much of the subject in focus as possible, it’s necessary to stop down the aperture of the lens. For fast shutter speeds to avoid blur caused by subject or camera movement, you need a lot of light. However, opening up the aperture will let more light in and diffuse the background, making the subject stand out. The depth of field will be extremely shallow, but you can achieve unusual, creative images by the precise use of selective focus.
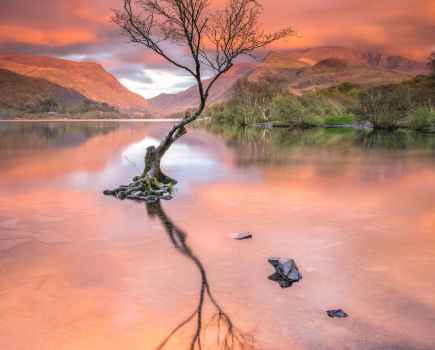
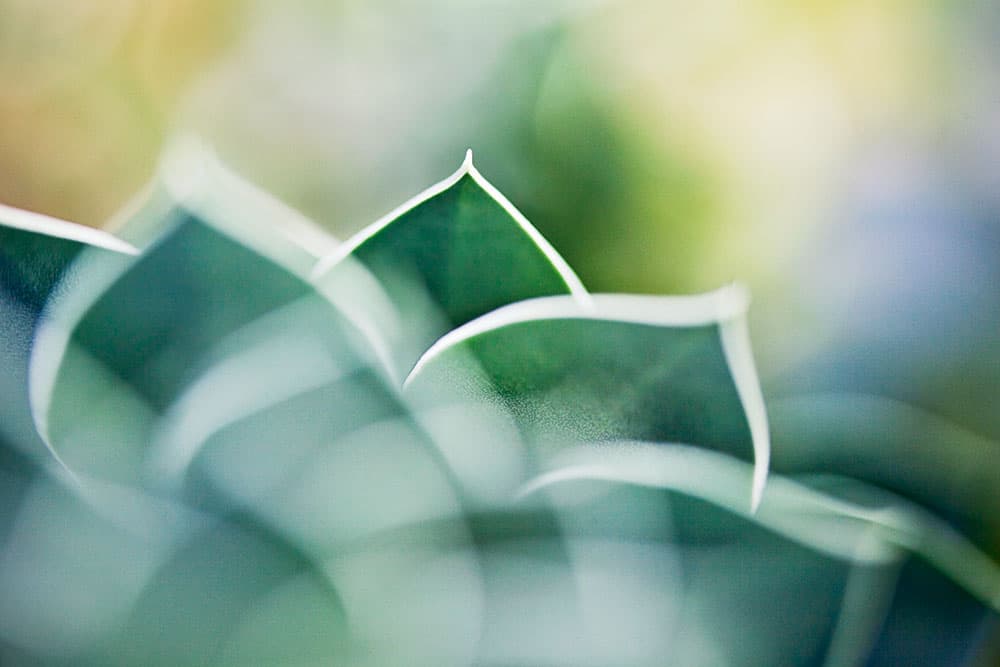
Stop down the aperture to get as much of your subject in focus as possible. Canon EOS 5D Mark II, 100mm, 1/40sec at f/9, ISO 200. Credit: Colleen Slater
How much light do you need for macro photography?
You can shoot in daylight using the ambient light available, introduce flash on or off the camera or use continuous light from torches, LED lights, mirrors and reflectors. The quality and position of the light are important.
Ensure you diffuse bright sunlight and the light from flash heads. Harsh light creates too much contrast, with over-bright highlights and shadows lacking detail, especially when shooting subjects with shiny surfaces. Diffusers help to eliminate reflections, softening the light to give beautiful colours and tones. I use a white umbrella attached to a small tripod to filter sunlight. Bringing well-diffused flash heads closer to the subject will also help soften the light.
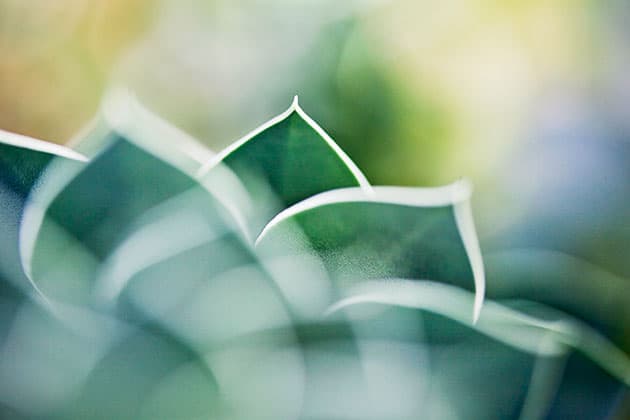
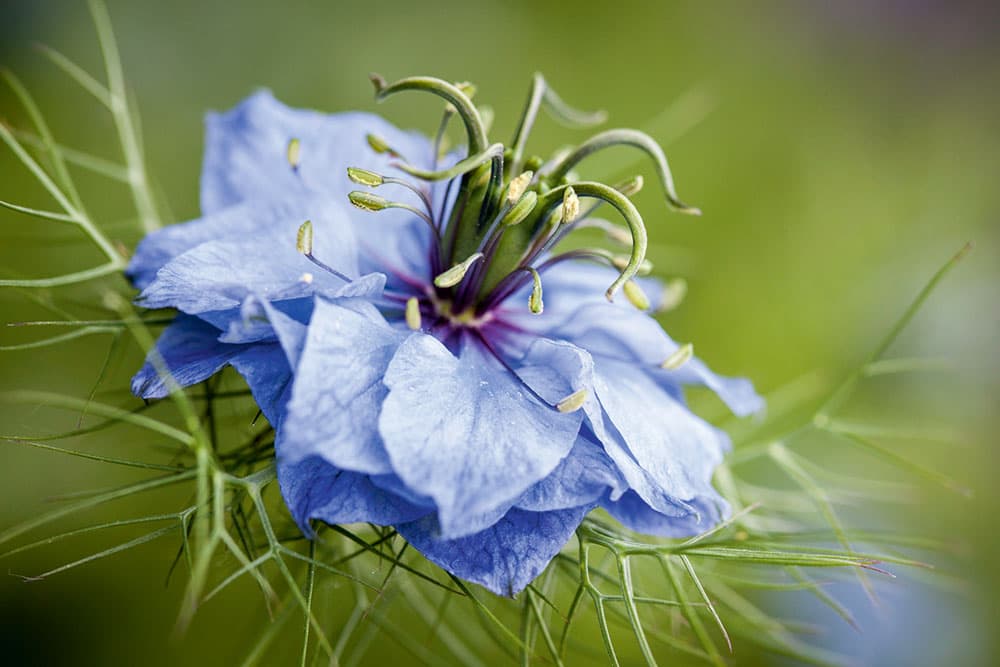
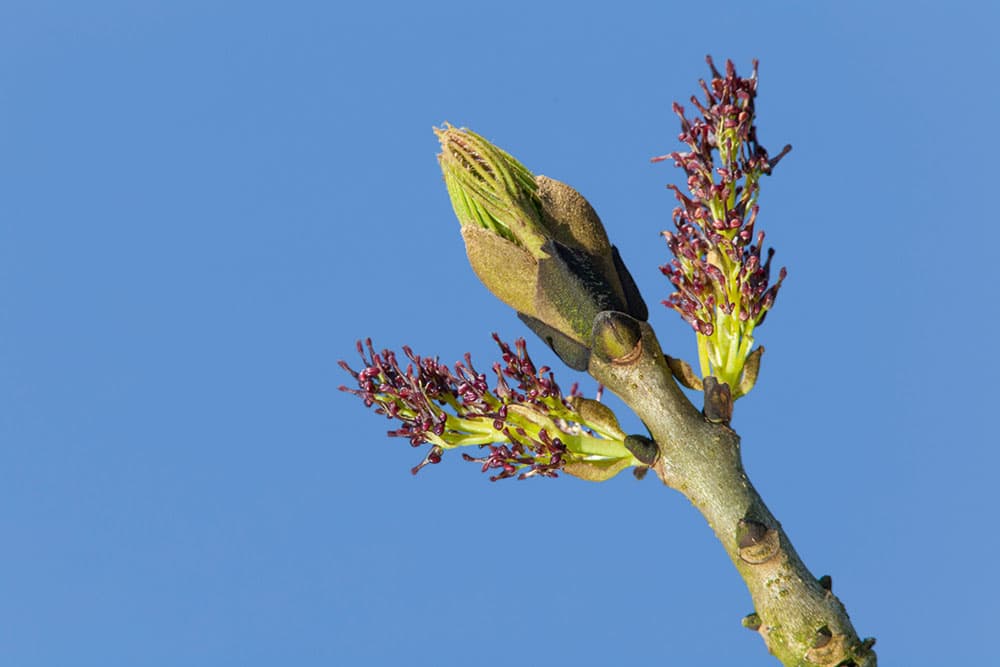
Make use of shallow depth of field and selective focus for creative results. Canon EOS 5D Mark II, 100mm, 1/400sec at f/3.2, ISO 200. Credit: Colleen Slater
Using flash
Flash allows a smaller aperture to be used, giving greater depth of field. The built-in flash on some cameras is best avoided as the light is harsh and doesn’t allow enough control over the power of the flash or its direction.
Also, the flash may be obscured by the lens owing to the short working distance. The flash heads of the Canon Macro Twin Lite MT-24EX flash system I use are attached to the end of the lens, which helps to avoid this problem. You can adjust the flash ratio and angle of each flash head or fire only one of them. This offers a lot of control and more modelled light than that from using a ring flash.
Fill light
Flash can be used as fill light to bring out the details, colours and textures of your subject, especially in the shadows. The trick to achieving a natural look is to balance the ambient light with the flash, and if done well, its use should be almost undetectable.
First, take a shot to correctly expose the background, then introduce flash to expose the subject and alter the settings until it looks right. I usually use minus 1 or 2 stops of flash exposure compensation and set the camera to underexpose the background slightly. I find this gives the best results, making the subject stand out from the background.
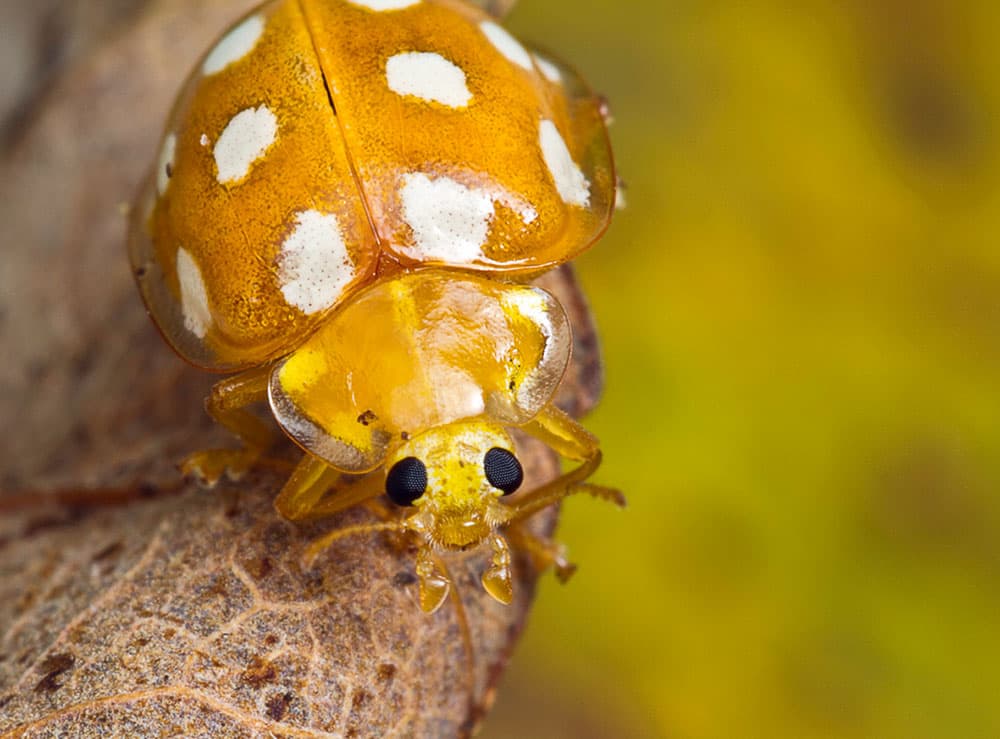
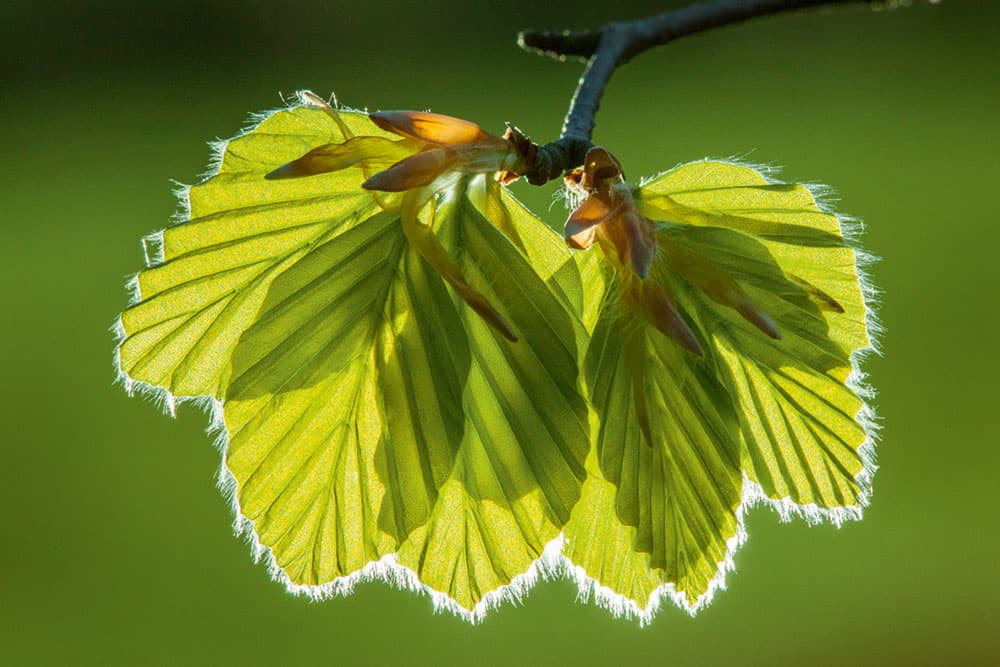
Use a diffuser to filter harsh light and even out tones and colours. Canon EOS 5D Mark II, 24-105mm, 1/250sec at f/9, ISO 250. Credit: Colleen Slater
Consider the background
Having a flash as the only light source can be especially useful when shooting handheld. The short duration of the flash freezes subject movement, allowing a smaller aperture to be used with the optimum ISO setting for image quality. The downside is that the flash will correctly expose the subject, but the background will be underexposed and may look dark and artificial.
Avoid this by keeping the background very close to the subject. I usually set a shutter speed of 1/160sec and an aperture between f/8-f/16, at ISO 100. Manual exposure must also be used otherwise, the camera will attempt to correctly expose the background using a shutter speed that’s much too slow. Mastering lighting techniques is key to producing great macro shots. Experiment and you’ll soon learn which techniques and pieces of kit work best.
Colleen’s top tips for lighting macro subjects

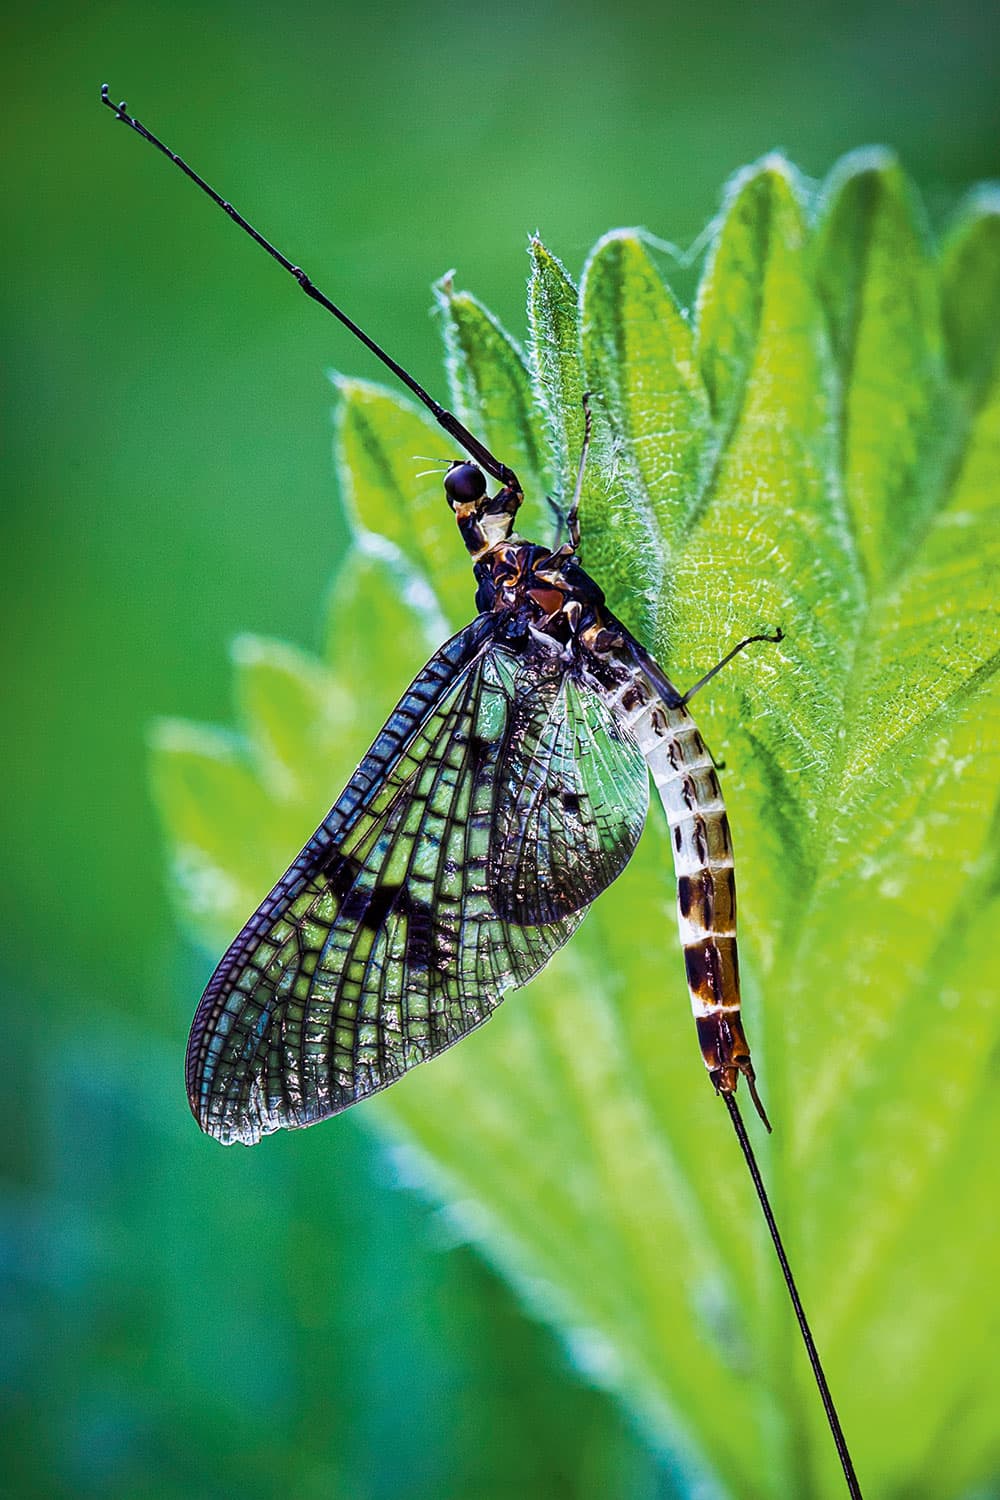
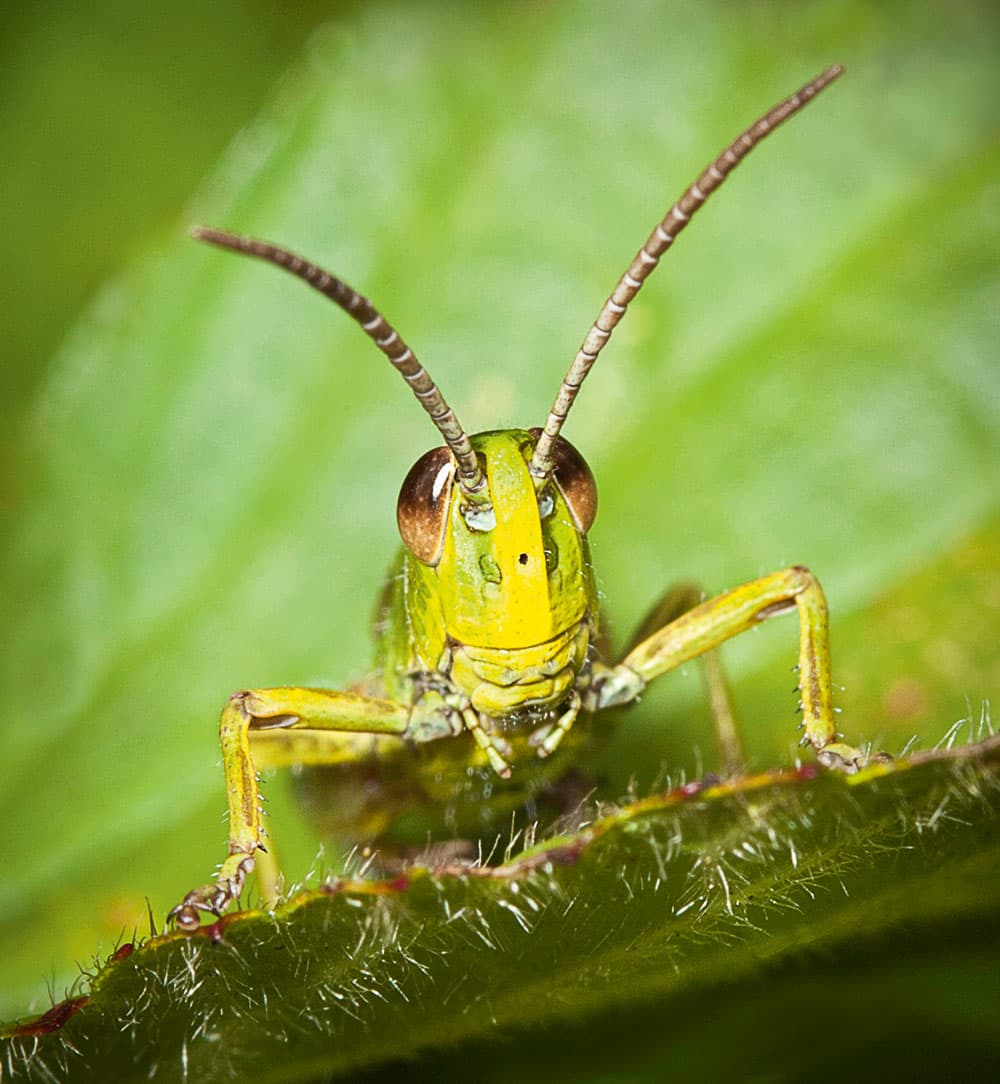
Macro insect photography. Credit: Colleen Slater
1. Use natural light
Outdoors, the best light for macro photography is a bright, overcast sky where the thin cloud diffuses sunlight and acts as a giant softbox. This provides an even, gentle light that brings out texture and detail and renders colour beautifully. This caterpillar was drying out after a rain shower.
Credit: Colleen Slater
2. Diffuse the flash
The plastic diffusers sold to go over flash heads won’t work, because they don’t increase the size of the light source. Many photographers make their own using styrofoam, tissue paper and tape, and so on. A quick internet search will bring up a wealth of information on how you can make these.
Credit: Colleen Slater
3. Avoid a black background
To achieve a natural look when using flash as the only light source, angle a leaf upwards, behind the subject or the petals of a flower to create a natural-looking backdrop. Or shoot up towards a bright sky, which will render as blue, use water as a backdrop, or try using a board/fabric close to the subject.
Credit: Colleen Slater
4. Diffuse the sunlight
A white translucent umbrella can be easier to use in the field than flat diffusers, especially if there is a breeze. Attach this to a tripod or lighting stand; I use a Manfrotto Lite-Tite Swivel Aluminium Umbrella adapter. Angle the umbrella and place it to filter the sunlight falling on to the subject.
Credit: Colleen Slater
5. Use reflectors and mirrors
Use a reflector to inject light into dark areas of the subject. Silver reflects more light than white, and gold can inject warmth when the light is cool. A mirror can be placed in sunlight, angled towards the subject to reflect much stronger light; this is especially useful when the subject is in shade.
Credit: Colleen Slater
6. Change the light position
Backlight your subject using a mirror, a powerful torch, sunlight or off-camera flash to provide a dramatic rim-light around your subject. Try side lighting to bring out all the texture on the surface of the subject and emphasise the details in the subject by keeping the background simple.
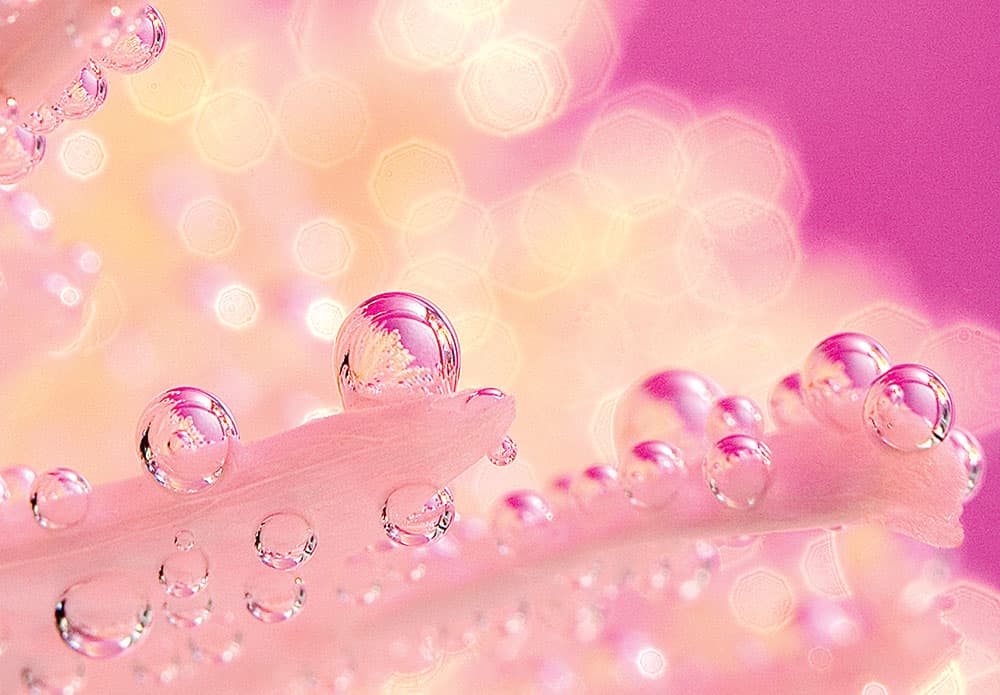
Why it works
Working in strong sunlight can create light effects with real sparkle and brilliance. I submerged a white chrysanthemum in water and the oxygen bubbles formed a decorative effect on the petals. Using a wide aperture, the out-of-focus specular highlights have taken on the shape of the 100mm lens diaphragm and become part of the composition. I used coloured gels (actually sweet wrappers!) on the top and sides of the tank to act as coloured filters as the sunlight shone through them onto the petals. It took a lot of experimenting to get something that worked, but I was happy with this one.
Credit: Colleen Slater
Kit list
- Canon Macro Twin Lite MT24EX – You can adjust the flash ratio of each flash or fire only one of them. This provides modelling light rather than the flat light you get from a ring flash.
- Lastolite umbrella – This translucent, white umbrella is placed so that sunlight shines through the fabric. It will scatter the harsh light with a softening effect that will greatly enhance your images.
- Reflector – These 5-in-1, collapsible, lightweight reflectors come in various sizes. Illuminate your subject by angling the reflector to bounce light onto the subject, moving it nearer or further away to change the intensity.
- Mirror – Simple 30x30cm mirror tiles can be bought in DIY shops. They are fairly robust and ideal for stowing away safely in a camera bag.
Colleen Slater is a professional photographer and macro specialist with an interest in the smaller things in life. Her images draw attention to the ordinary, often unnoticed, things in the everyday world. Based in Brighton, she teaches photography one-to-one and gives talks on macro.
Find out more at www.colleenslaterphotography.co.uk.
More reading:
- Complete guide to macro photography
- How to get great autumn macro shots
- Top macro flower photography tips