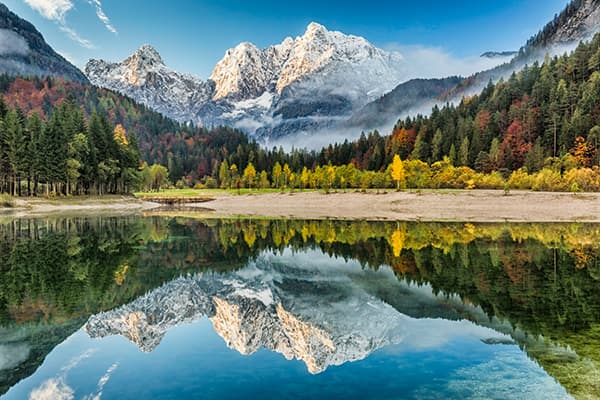

‘Kranjska Gora, Slovenia’. For this shot, Guy used a high-quality wideangle zoom lens and a middle aperture of f/11 to achieve maximum quality. He manually focused using live view
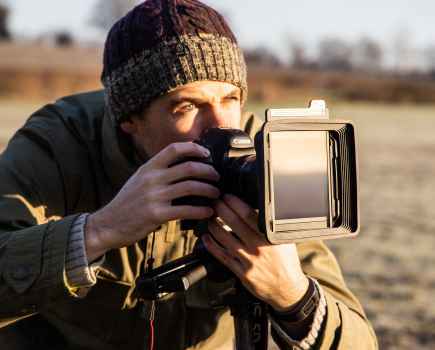
For professional photographers, soft shots aren’t merely an annoyance – they can severely dent your reputation and earning power. Guy Edwardes is a leading nature and landscape photographer who took one of our recent issues’ pin-sharp cover image of an osprey coming in for the kill. This is a notoriously tough technical challenge, as any bird photography enthusiast will testify. Guy has learned through trial and error how to keep images sharp. Here are his tips for banishing soft shots, both in terms of camera technique and gear.
Landscapes
1. As any experienced photographer will tell you, spend your money on the lens. High-quality lenses are particularly important, whether you are using telephotos or primes.
2. Don’t rely too much on image stabilisation (IS). I would only use IS if it’s really windy and there’s a lot of vibration on the tripod.
3. Your tripod needs to be sturdy so it remains stable in high winds. Carbon fibre is good, as it’s lighter than aluminium and offers suitable support.
4. Research the best tripod head for your needs. I use a Really Right Stuff BH-55 ballhead.
5. Get some aftermarket spikes for the tripod legs. They enable you to push through any grass or leaves, right into the soil, for greater security.
6. I make my tripods as secure as they can be, but if you do need extra stability use a bungee cord
rather than a bag.
7. I nearly always use manual focus for landscapes as it makes it much easier to place the point of focus exactly where you need it to be. I then check for critical areas of sharpness by zooming in 100% in live view.
8. If I am trying to get as much depth of field as possible, I will use hyperfocal distance. Basically, I focus on the most distant part of the picture, then press the depth of field preview button so I can determine the shooting aperture. I then bring the focus slowly back towards me until that distant point starts to look soft. In the next step, I take it back again until I can judge the distant point to be acceptably sharp. This is how I know I have the maximum possible depth of field with that particular lens and aperture combination.
9. If you are using a tripod rather than shooting handheld, you can get away with slower shutter speeds. However, only use a very narrow aperture if you really need maximum depth of field – you can actually end up with softer images through the process of diffraction.
10. I favour mid-range apertures, which will be f/8 or f/11, depending on the lens. I also keep the ISO down to 100 when shooting landscapes, in order to minimise noise.
Wildlife
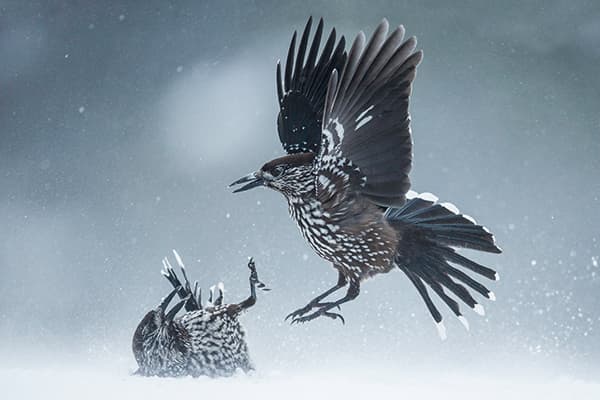
‘Nutcrackers fighting, Bulgaria’. Guy used ISO 1,600 and shot handheld with a 600mm lens wide open at f/4 to achieve a fast shutter speed to freeze the action
11. For low-light shots or portraits, or whenever I am shooting with big telephoto lenses, I will use a tripod. However, I shoot handheld for fast-moving subjects and with smaller lenses. In these cases, it’s important that I set a shutter speed that is as high as possible.
12. I use Canon’s AI Servo (continuous AF) for moving subjects. I don’t use back-button focusing as I end up having to press two buttons with action shots; I simply don’t get on with it. If I want to hold the focus, I will use back-button focus lock.
13. I will use higher ISOs for wildlife when necessary in order to cope with low light and keep up the shutter speed. With the Canon EOS-1D X, I will go as high as ISO 12,800 if necessary – better a noisy, sharp shot than a soft, low noise one.
14. It’s important to calibrate your lenses, particularly telephotos, as they are rarely set up perfectly out of the box.
15. I recommend a tool called LensAlign (michaeltapesdesign.com/lensalign.html). It’s quite easy to use, and there are some useful tutorial videos on YouTube.
About Guy
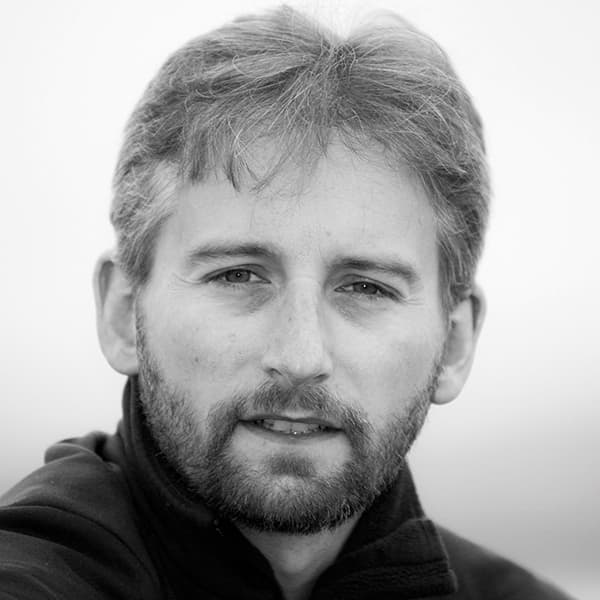
Guy has been a professional landscape, nature and travel photographer for over 20 years. Based in Dorset, he has a range of clients, and runs a number of courses and workshops. Guy is a committed Canon user; he favours the EOS 5D Mark III for landscape photography and the EOS-1D X for nature and wildlife images, and uses a range of Canon lenses. For more information, see www.guyedwardes.com.