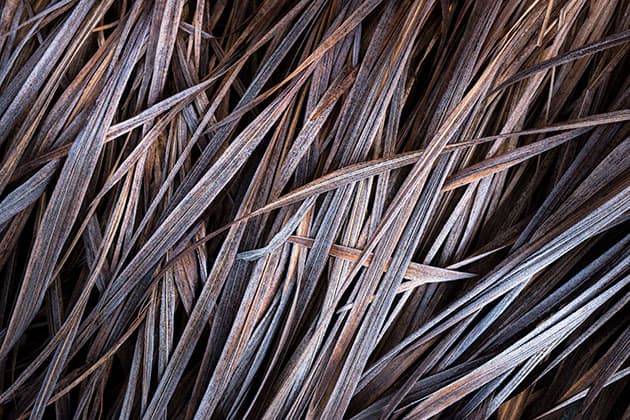
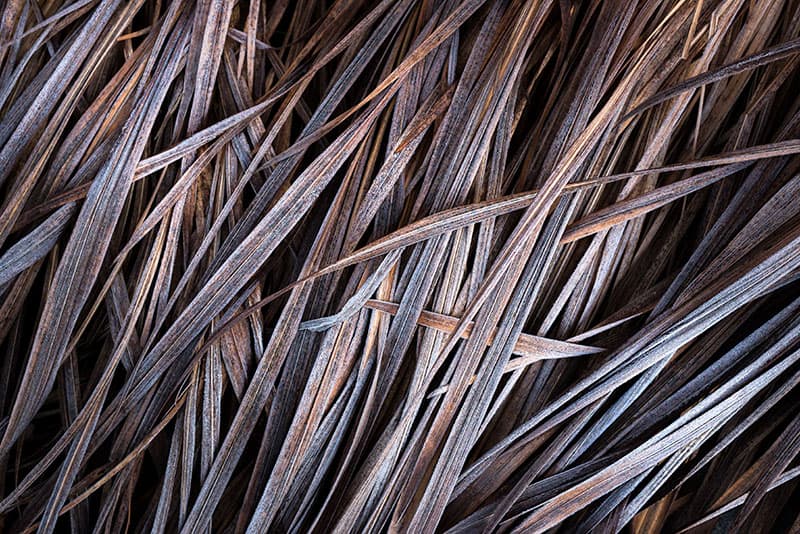
Frozen grass in winter, shot with a high ISO in order to achieve a good level of sharpness across the frame. Nikon D610, 50mm, 1/125sec at f/8, ISO 1600. Credit: James Abbott
1. What is ISO?
Originally ISO related to film speed; it refers to the sensitivity of the emulsion to light. Digital sensors work in a similar, but different way. With digital sensors, when shooting at lower ISO settings the sensor appears to be less sensitive to light and image quality is better, while at higher settings noise becomes more apparent as the sensor becomes more sensitive to light. The reality, however, is that digital cameras have a single base ISO setting, which is often ISO 100, and when increased or decreased, a software algorithm simulates an effective sensitivity of the sensor.
2. Test your camera’s ISO performance
The best ways to identify the highest ISO setting you’re happy to use is to do an ISO test. Set your camera up on a tripod in aperture-priority mode and take a series of shots at all the native ISO settings. Shoot in raw and load the images into Lightroom or your preferred raw-editing software and make sure all noise reduction is switched off. From this you can see exactly where image quality becomes unusable.
3. The exposure triangle
Working with the simple idea that digital ISO levels are the same as film ISO levels, ISO is part of the exposure triangle that also includes aperture and shutter speed, the combination of which dictates whether an image is correctly under or overexposed.
A stop with shutter speed and ISO is easy to understand; you simply double or halve the number. So you might go from ISO 100 to 200 to 400 and so on, while with shutter speed you could go from 1/125sec to 1/60sec to 1/30sec, etc. Aperture is however different, and the most common are f/1.4, f/2, f/2.8, f/4, f/5.6, f/8, f/11, f/16 and f/22.
Credit: James Abbott
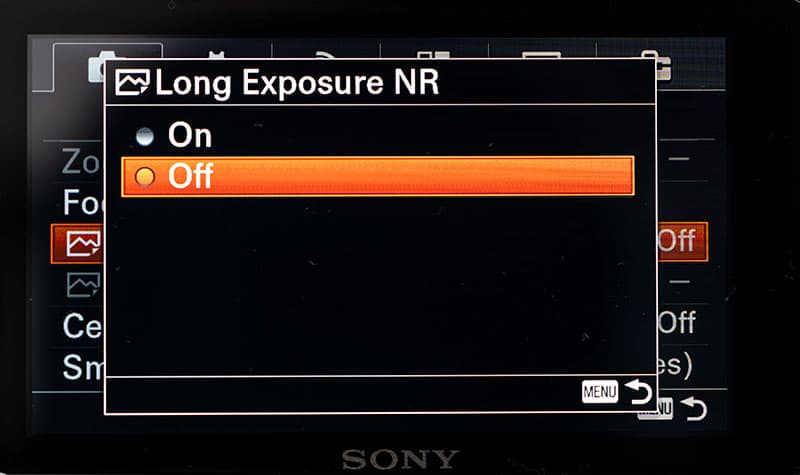
4. Turn off long-exposure noise reduction when shooting in raw
When shooting in raw it pays to turn off long-exposure noise reduction because the processing time can be as long as the exposure itself. So, a two-minute exposure would require roughly two minutes of processing. Noise reduction in this situation is best applied to images in post-production – for more control and to save time when shooting.
5. Effect of high ISO on sharpness
As ISO is increased you will experience more grain in images. This grain will effectively break up sharp subject edges and reduce fine detail, which has the effect of softening images. There will always be times when you have to shoot at extremely high settings, but the trade-off here is achieving the desired combination of shutter speed and aperture at the expense of overall image quality.
6. Reciprocity failure no longer applies
Reciprocity is the idea that all exposures are mathematically equal, so if you increase ISO, for example, by two stops, you need to decrease the shutter speed or aperture by two stops or by one stop each to maintain the same exposure. With film, in general, reciprocity only works with exposures between 1sec and 1/1000sec owing to the limitations in film emulsions. But with digital, reciprocity works at all shutter speeds without detail problems or colour shifts.
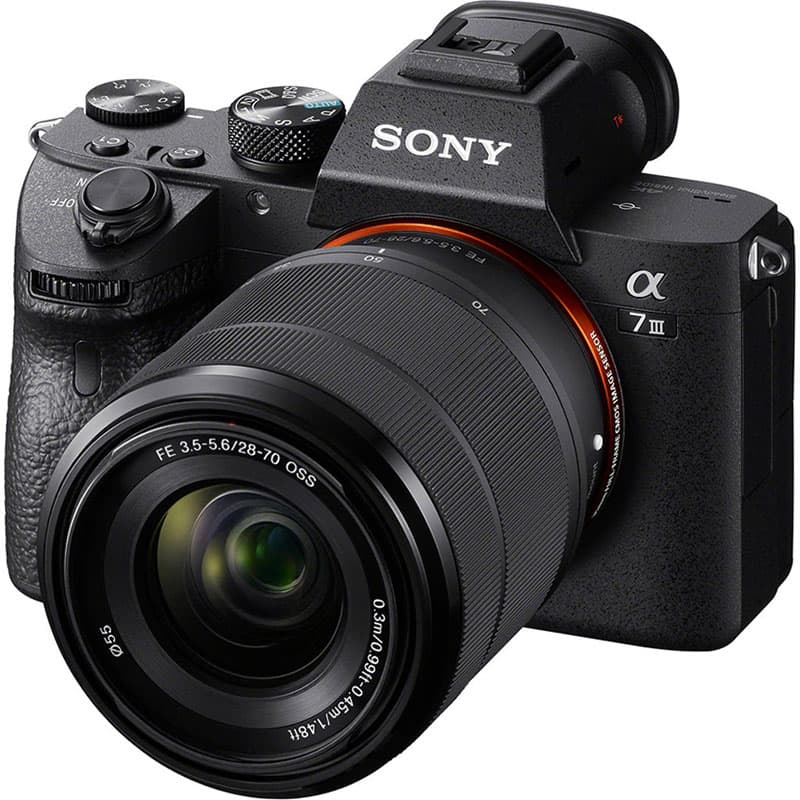
The Sony A7 III is an ISO-invariant camera
7. ISO invariant sensors
At a basic level, ISO invariance is when you can achieve a near-identical level of noise regardless of whether you increase ISO in-camera or lighten an underexposed image in post-processing. So why would you do this? The reason is simply that at lower ISO settings sensors achieve a larger dynamic range, so you can ultimately capture more detail throughout the scene. The downside, however, of shooting at ISO 800 rather than 3200, for instance, is that you won’t be able to review your underexposed images on the LCD to check composition and other things. A quick internet search will tell you if your camera is ISO invariant.
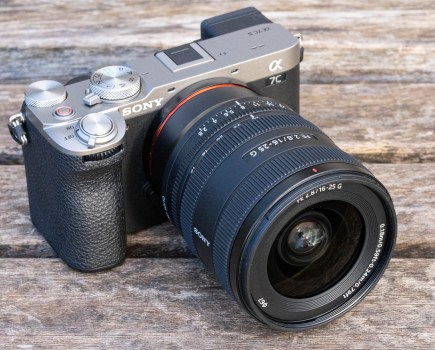
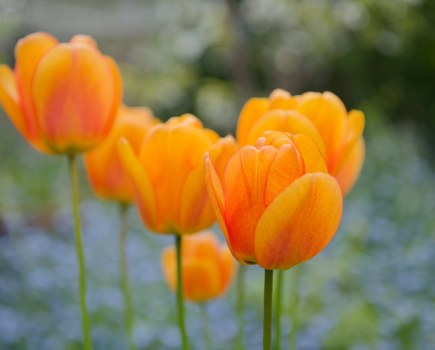
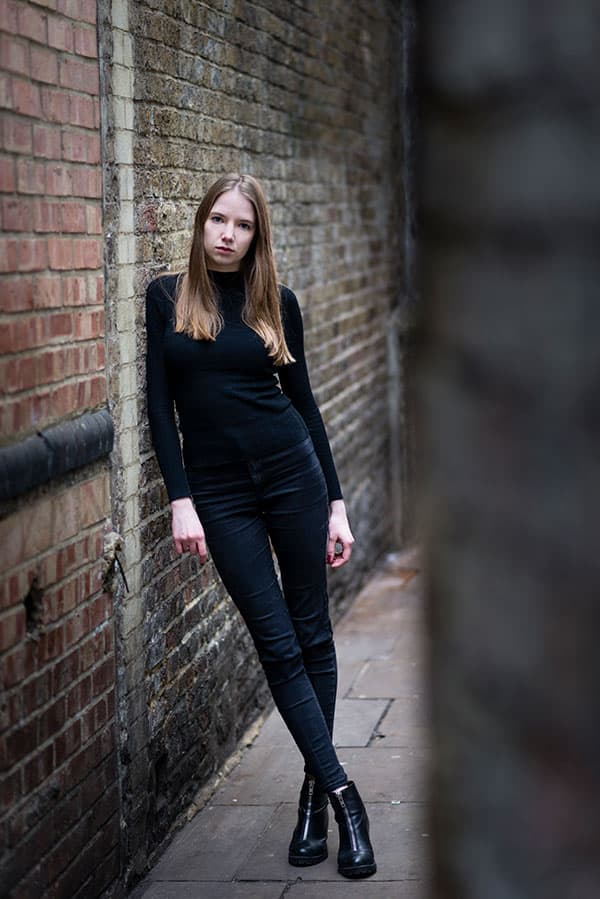
8. Use a prime and shoot wide open
‘Nifty fifties’ are not only often affordable and provide excellent image quality, but their fast maximum aperture of either f/1.8 or f/1.4 also means you can allow more light to enter the lens. So, with this you’ll get beautifully out-of-focus backgrounds and in low-light situations, lower ISO and less high-ISO noise – which is a true win-win situation.
9. Get more light with wideangle lenses
Wideangle lenses by their nature are fast lenses because their wide field of view draws in more of the scene in front of them and more light. Wide aperture settings will increase their light-gathering capabilities, but if you want to keep ISO settings lower you’ll be able to do so more effectively with a 28mm lens than an 85mm at the same aperture setting, for instance.
When light levels are low, the Auto ISO setting can come in handy. Nikon D610, 85mm, 1/160sec at f/2, ISO 1000. Credit: James Abbott
10. When to use Auto ISO
Auto ISO is a handy feature, but one that must be used with caution as it may cause problems. With Auto ISO, on most cameras, you set the minimum and maximum settings, such as ISO 100-1600, and the slowest shutter speed you’re willing to use, for example, 1/125sec. The camera will then use the lowest ISO setting possible to maintain at least that shutter speed or faster. Auto ISO should only be used for handheld shooting, and certainly not when using a tripod or ND filters because you’ll end up shooting at higher settings than necessary and will not achieve the desired results.
11. Noise and sensor size
Smaller sensor cameras cram in more small pixels than cameras with larger sensors that can accommodate larger pixels. The result is typically cleaner images at equivalent high-ISO settings between Micro Four Thirds and full-frame sensors, for instance, but for most photographers, the choice between these camera formats usually comes down to size, weight, features and functionality rather than ISO performance.
12. Effect of high ISO on image quality
There are two main types of digital noise: luminance and chroma. Luminance noise appears as grain in images, while chroma noise is flecks of colour. When shooting in raw you’ll need to apply noise reduction manually to have more control, while when shooting in JPEG, turn on the in-camera noise reduction. Most cameras offer several levels, so perform a JPEG noise-reduction test to see which you prefer.
Credit: James Abbott
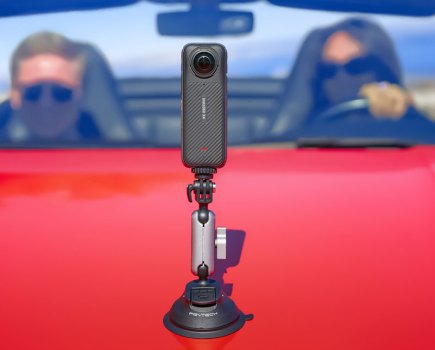
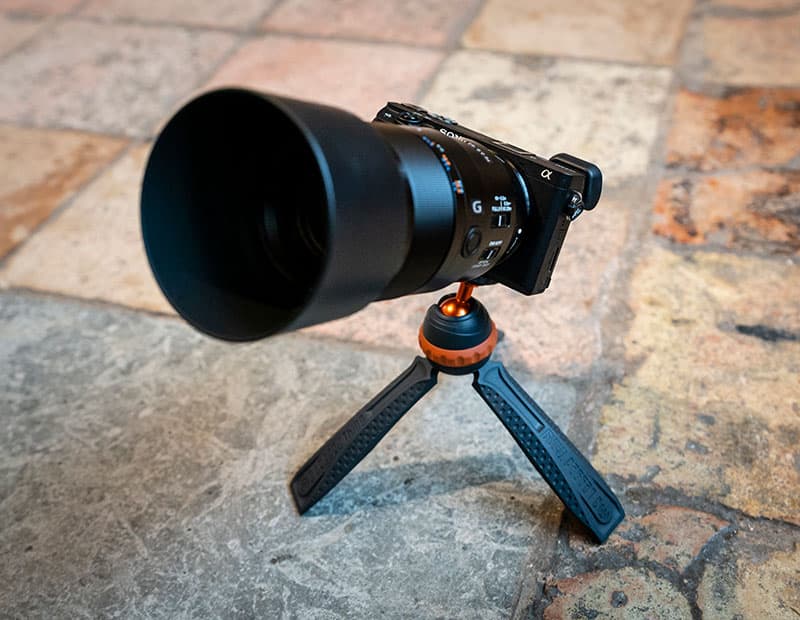
13. Carry a mini tripod
Mini tripods are pocket size and don’t weigh much at all, so they’re always worth carrying around with you. These allow you to control the angle of the camera, but you may find that you need to place the camera and mini tripod on a wall or table so that they’re not too low to the ground – although, for certain shots, being so close to the ground can work well.
14. The truth about image stabilisation
Whether in-camera or in-lens, camera and lens manufacturers claim that image stabilisation is provided to, say, five stops. This, in theory, means you can shoot at shutter speeds five stops slower than you could without. So with a 50mm lens, even if you were aiming to shoot at 1/125sec, according to manufacturers you’d be able to shoot handheld at 1/4sec. You could indeed, with extremely steady hands and almost yogic breathing, but the reality is that most people can’t stay still enough to shoot handheld at such slow shutter speeds.
15. What’s camera shake? Stand firm, keep steady
Camera shake is simply movement of the camera that’s captured as blur when the shutter speed is too slow for handholding. When shooting at slower shutter speeds, with or without image stabilisation, stand with your feet shoulder-width apart, keep your elbows tucked into your body and release the shutter as you gently breathe out. Shooting in burst mode can help, too.
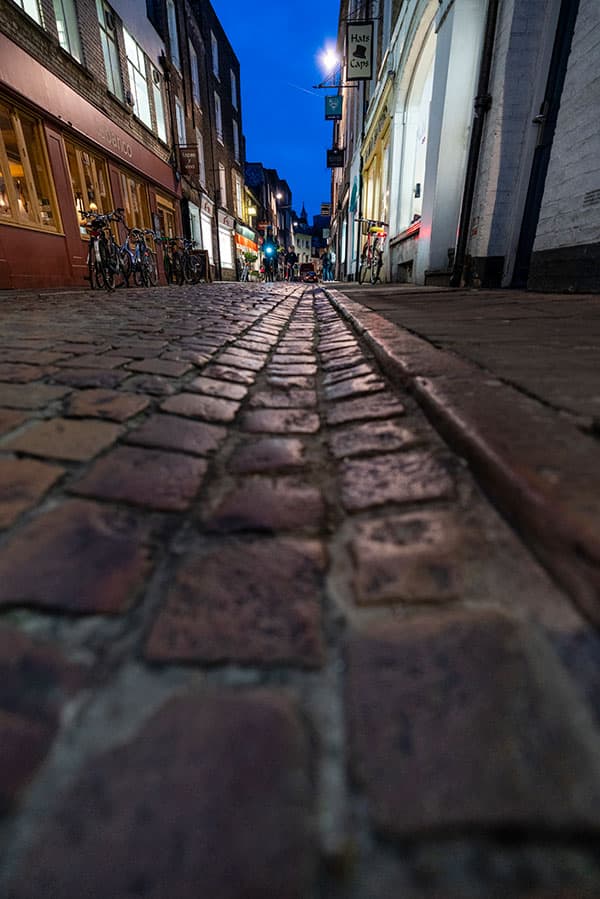
You can get away with lower ISOs when shooting handheld at night in urban areas. Sony A7R III, 16-35mm, 1/50sec at f/2.8, ISO 1600. Credit: James Abbott
16. Shooting handheld at night
When shooting handheld in a city or town with artificial light you can actually get away with lower ISO settings than you may think – typically ISO 800-3200 depending on the maximum aperture of your lens. With a fast prime such as f/1.4 you could shoot as low as ISO 400; with f/2.8, 1600; and with f/4, 3200. If shooting in aperture priority, you’ll often need between -1.0 and -2.0 of exposure compensation to maintain the natural darkness of the scene.
17. Shutter speed and handheld shooting
There’s a general rule of thumb that says shutter speed should match or exceed the focal length of the lens. So, if you’re shooting at 50mm you’d need a shutter speed of at least 1/60sec to avoid camera shake. The rule works most of the time, but with telephoto lenses movement is amplified so using faster shutter speeds than the focal length can be beneficial, while with wideangle lenses such as 24mm you wouldn’t really want to shoot slower than 1/60sec.
18. Use the AF assist lamp in low light
In most situations, the AF assist lamp will be turned on by default and is simply a light on the front of the camera that illuminates the subject to aid autofocus. If, when in low light the light doesn’t come on, you can turn it on within the camera menu system. Some flashguns also feature an infrared AF assist lamp, which can be useful in low-light situations when using flash.
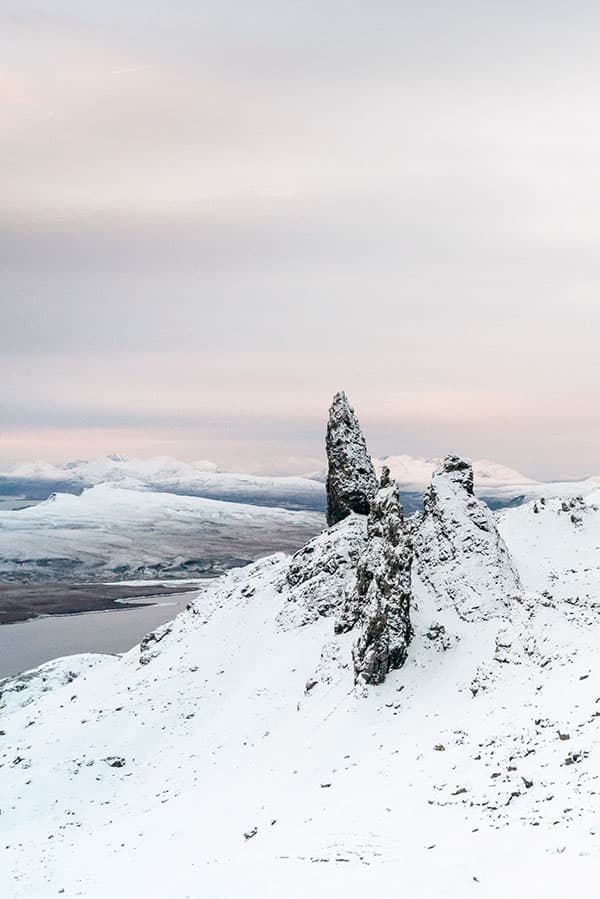
A grainy scene is better than no scene. Sony A7R III, 16-35mm, 1/40sec at f/13, ISO 6400. Credit: James Abbott
19. Better to get a grainy shot than no shot at all
There will be times when you have no means of supporting the camera during a long exposure so you have to shoot handheld. In this situation, is it not better to get a high-ISO shot than no shot at all? The example image was taken at ISO 6400 which resulted in a shutter speed of 1/50sec and allowed for a handheld shot with Image Stabilisation turned on. The reason for this is that the tripod head had frozen during the walk to the location, so this shot was taken before the head was defrosted to guarantee an image.
20. Don’t be afraid to use flash with higher ISO settings
There’s a common misconception that when shooting with flash you should keep ISO levels low because all the light you need comes from the flash. But there are times when a higher ISO, such as 800, will mean you can capture more ambient light to obtain a better-exposed background without using a slow shutter speed, and it also allows you to bounce the flash off ceilings while taking in more ambient light for ultimately more natural-looking results.