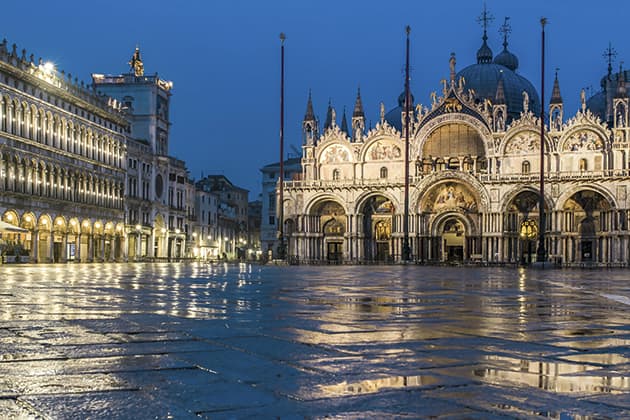
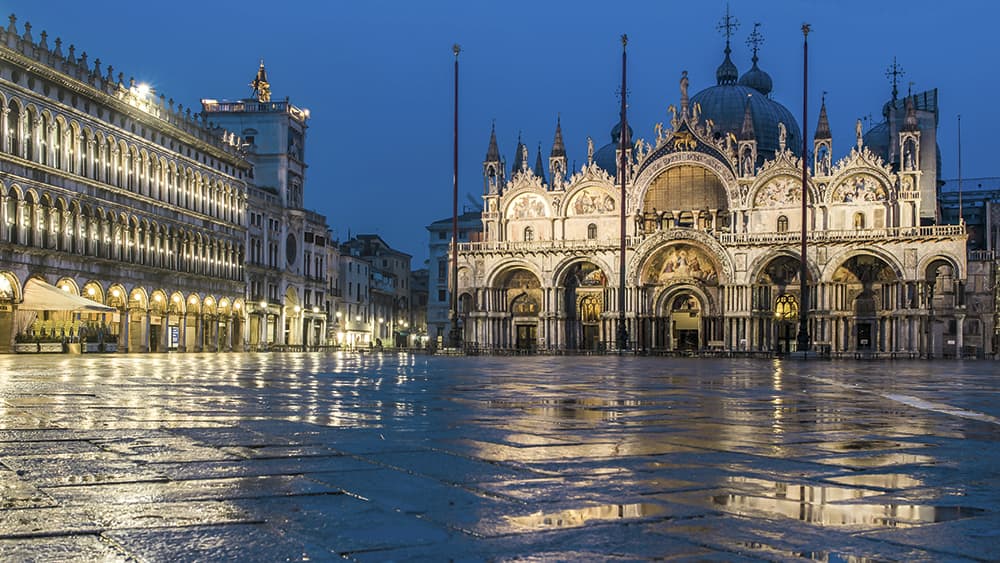
Evan at a low ISO it pays to turn on long-exposure noise reduction when you slow the shutter speed right down. Nikon D750, 28mm lens, 3 secs at f/9, ISO 125.
By now you’ve hopefully got a good grounding in the finer points of ISO and noise. So how do photographers work with higher ISO settings in practice? Here’s a quick overview of some of the issues to think about when you’re wondering whether to use low, medium or high ISOs, or to switch to Auto ISO, and so on.
Long exposures and ISO
Early iterations of digital SLRs and higher-end compacts weren’t always great at controlling noise or preserving image detail at relatively lowly ISO levels by today’s standards, prompting photography magazines and other pundits to advise keeping the ISO as low as possible. However, times have changed, and even with modern entry-level SLRs costing a few hundred pounds, noise is rarely a headache up to ISO 1600 in decent light. There are times, however, when it still pays to keep the ISO as low as possible. Take long exposures, commonly used for dawn/dusk/night shots. It’s still wise to keep the ISO down when shooting traffic trails or a city scene at dusk, as you don’t want to introduce noise for no good reason – you will often be selecting a slow shutter speed so the sensor is exposed to the available light for longer, and you should be using a tripod to keep everything sharp.
There are times, however, when you will need to use higher ISOs with long exposures in order to get any kind of usable image. So what to do then? With longer exposures, the camera’s sensor gets warmer, so you may see tiny bright dots in your images as the pixels light up. It’s very wise to make use of any long exposure noise-reduction feature on your camera, as these get rid of hot pixels. It makes a second identical exposure to the first with the shutter closed so the camera knows exactly where the hot pixels are and subtracts the dark frame image from the one just made. Just remember that the second ‘blank’ exposure has to be the same duration as the first, so if you make a five-minute exposure, you’ll have to wait five more minutes for the image to pop up on the preview screen. Or if this seems too much hassle, you can just suck it up and remove the hot pixels later with software.
Don’t increase the ISO in decent light just for the sake of it – when taking landscape shots, for example. If you are shooting a landscape as the sun rises, a tripod-mounted camera lets you set long enough shutter speeds to capture a bright enough image, even in darker environments at low ISO values.
That said, there are occasions in landscape photography where you might want to use higher ISOs – when you need a higher shutter speed to capture movement, for example, when you want to keep some texture in a waterfall by shooting at a faster shutter speed, or simply when you don’t want to lug your tripod around on an arduous hike. So the take-home message here is that yes, modern cameras are good at controlling noise, but don’t get careless about higher ISOs and use them for the sake of it. There are enough things to think about when creating a great image, without the hassle of removing unnecessary noise.
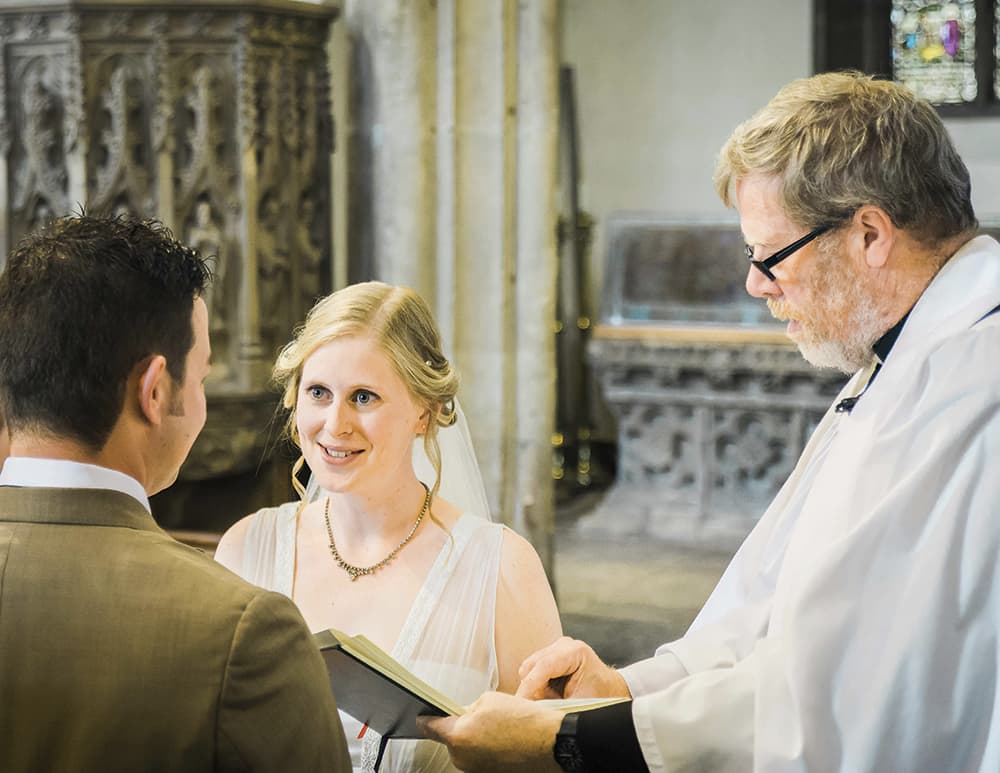
When shooting a wedding, flash is not always allowed. So high ISOs, combined with fast lenses, are essential for getting those shots of crucial moments. Nikon D810, 24-70mm lens, 1/125sec at f/2.8, ISO 200.
Auto or manual ISO?
This is another interesting practical question – should you set the ISO yourself before starting a shoot, or make use of your camera’s Auto ISO function? There is a lot of snobbery among keen photographers about relying on ‘auto’ anything, but they could be missing a trick. By selecting Auto ISO and shooting in Manual mode you are still able to exert the highest degree of control of your aperture and shutter speed, while recognising that the clever electronics inside modern cameras can do a great job of dealing with ISO. Auto ISO won’t get the ISO selection exactly right every time, but a lot of the time it does – and you can say the same about semi- automatic shooting modes, such Aperture or Shutter Priority.
Greater ISO flexibility also enables greater shutter-speed flexibility, remember, and if you are worried about noise, it is usually possible to set the upper level of Auto ISO – say 3200 – or 1600 if you are more cautious. Set this upper level according to the available light and your lens, and how well your camera copes with noise at higher ISO levels. Auto ISO is not a magic bullet for every situation, but it can come in very handy when you are taking a lot of images under time pressure and changing light (for example, at a wedding) and sharpness is paramount. Why not give it a try?
Horses for courses
Don’t get obsessed about noise and blow it out of proportion. It’s very easy to become a ‘pixel peeper’ and view all your images at 100% in Lightroom or Photoshop, which can often reveal what appears to be painful levels of noise – especially if you shot in poor light and had to fix underexposure, or used a higher ISO setting. But if you then print out the image at A4, this same ‘catastrophic’ level of noise might be barely noticeable, even to the most fastidious eye. Be mindful of noise and how to remove its worst excesses, but better a noisy shot than a soft one…


