
1. Physical damage to your camera/lens
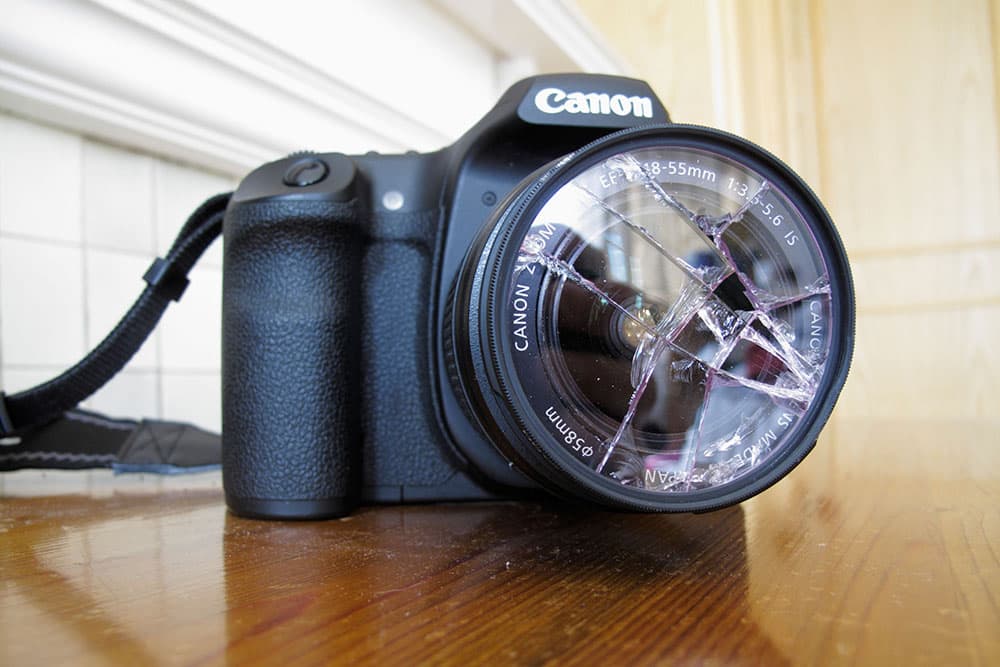
Using a lens hood can help to prevent damage if your lens is knocked against a hard surface. Image: Alamy. www.alamy.com
Probably the thing that photographers fear more than anything is dropping their precious camera and/or lens, and causing some expensive damage. It usually means an end to the shoot as well as a significant repair bill.
If your camera or lens should suffer physical damage, your first port of call should be an approved service centre. These centres have all the necessary training and knowhow as well as access to any parts that may be needed. In most cases they will take a look at your kit and come back to you with an estimate. You can then decide whether to go ahead with the repair or not.
One of the most common ways for a camera to hit the ground is when it’s been incorrectly mounted on a tripod. A good check is to try and lift the camera after you’ve clipped the quick-release plate into the tripod head. If you can’t lift it or the tripod lifts up as well, you are good to go.
Lenses are also prone to bashing against walls as they are carried on a camera. Ensure you have a lens hood fitted to avoid damaging the expensive front element or barrel.
2. Sand and dust

Image: Getty Images/Look
If your camera gear gets dusty or sandy reach fro an air blower to get rid of most of the foreign matter. Follow this with a soft brush to remove the remainder. Be careful with the lens element – you don’t want to scour its surface by rubbing grit around with a lens cloth.
3. Hard drive failure
While it’s a pain, a failed hard drive or computer crash shouldn’t be a disaster because you should have at least one backup – you do, don’t you? If a disk goes down and you don’t have a complete backup all may not be lost. There are lots of data recovery services available (your computer manufacturer may recommend one) and I would opt for this professional route.
If you do decide to run recovery software yourself, it’s best to work on a clone of the failed drive. You can clone a drive using software such as Clonezilla (https://clonezilla.org). There are lots of recovery options but Recuva (www.piriform.com/recuva) is free.
4. Card damage
SD cards are quite flimsy, especially the narrow strips of plastic between the contacts, so they need to be handled with care. Ideally you should carry your spare and used cards in a dedicated wallet rather than your pocket. Also take care to insert them into the camera at the correct angle so you’re not putting them under any undue pressure.
CompactFlash cards are a bit more robust but you can also run into problems with the camera connection pins if you don’t insert them carefully.
5. Firmware upgrade error
Most modern cameras won’t run a firmware upgrade if the battery isn’t fully charged, so you don’t usually need to worry about that, but you need to take care to ensure that you don’t turn the camera off inadvertently or press a button during installation.
Once the installation is complete, check the firmware version to make sure that the upgrade has registered.
6. Corrupt card or accidental image deletion

If a card becomes corrupted stop using it immediately. Image: iStock. www.istockphoto.com
Cards don’t get corrupted very often but when one does, you should stop using it immediately. Try inserting the card in a card reader and see if you can access the images. If you can, copy the files into a folder on your hard drive pronto. If not, it’s time to run some image recovery software.
Similarly, if you accidentally delete some important images, stop using the card. If you continue to shoot or format the card you increase the chance of not being abler to recover the files.
It’s often possible to download and try image recovery software for free but you won’t usually be able to access the recoverable files without paying a fee. Card Rescue (www.cardrescue.com) retails for £335.94 while SanDisk RescuePro cost £30.60
7. Lens doesn’t look sharp
Lenses and SLRs are built with tolerance levels for focusing accuracy. If you have a camera at one end of the scale and a lens at the other you will find that the subject never looks quite sharp enough while a point in front of or behind it is in perfect focus. Thankfully many advanced SLRs have a micro adjustment facility that enables you to calibrate the autofocus system and shift the position of the focusing backwards or forwards as required. As usual, each manufacturer calls this something different, so check the manual.
8. Lens becomes inaccurate
If a lens that was formerly an accurate focuser becomes inaccurate you may be able to correct the issue with the micro adjustment facility, but it also suggests that a fault may have developed. Keep an eye on the lens and try it in a range of situations, focusing at different distances and checking the images at 100% on a computer screen. Check focus across the entire frame and if you’re not happy get in touch with an accredited service agent and book the lens in for a thorough check.
9. Shoot JPEG instead of raw
Perhaps you were using the camera in the dark and pressed the wrong button or you forgot that you’d switched to JPEG-only mode to extend burst depth and suddenly you find that you’ve shot JPEGs rather than raw files. You won’t have the same level of data to work with but you can still make adjustments to images and you can even use Adobe Camera Raw if you like – just right-click in Adobe Bridge and select ‘Open in Camera Raw’. There will be a few differences – you can’t swap between preset white balance settings, for instance – but you can make all the usual adjustments with the sliding controls to perfect the image.
10. Flash/camera overheating
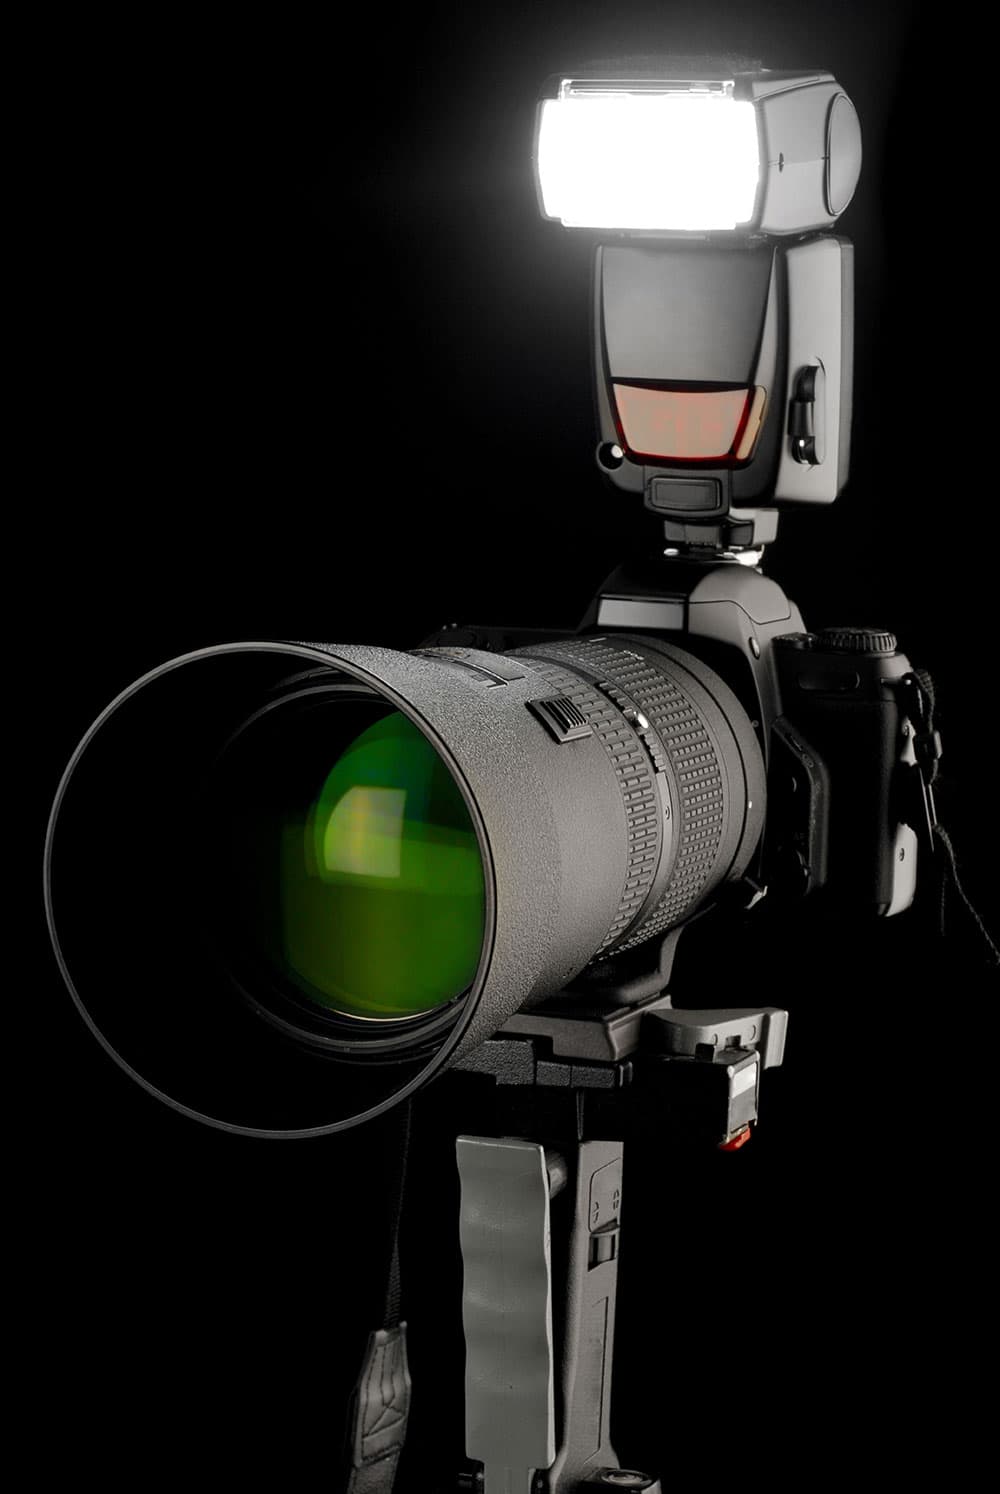
Image Alamy. www.alamy.com
Cameras and flashguns sometimes overheat following intensive use. It’s a particular issue with some cameras with high drive rates, once they’ve warmed up the frame rate and/or burst depth can plunge. Whether it’s a camera or a flashgun, the best course of action is to stop using it while it cools down. Take out the battery (or batteries) to let cool air in and allow the batteries to cool quicker.
11. Tripod weakness

Image: iStock. www.istockphoto.com
A lightweight tripod can be useful for travel but you need something that’s capable of taking the weight of your camera and your heaviest, longest lens. If the tripod head starts to droop under the weight of the lens it’s time to upgrade as you’ll never get sharp images. Similarly, if you want to shoot long exposure shots you need a good solid tripod to shoot in a breeze.
12. It’s all gone foggy
Condensation can form on your camera and lens when you move from a cool environment into a warm one. This tends to be a bigger issue in winter than summer, but heading into a humid glasshouse can also cause fogging. With extreme temperature changes it’s a good idea to put the camera in a sealed plastic bag with a few sachets of silica gel to help absorb the moisture before taking it into the warm environment. That way any condensation forms on the bag rather than the camera. (You can buy 50 packs of silica gel for under £3 on Amazon, www.amazon.co.uk.)
If your camera does get fogged up, wipe it over with a lens cloth but don’t open any port covers. The fog should clear in a few moments once the camera has reached the new ambient temperature.
13. Lens creep
New lenses tend to be okay, but older ones can start to suffer from lens creep – a condition where the focal length gradually changes because of the force of gravity when the camera is tipped up or down. When carrying your camera, it’s important to bear in mind that the lens may extend, so take steps to avoid the front element taking a whack. If your lens suffers from this problem already, you could consider buying a Lens Band (www.lensband.com). This strong, silicone rubber band stretches over the zoom ring of your lens and holds it firmly in place.
14. Stolen gear
Your household contents insurance may seem enough, but many policies specify a maximum value for a single item and there may be a clause about using kit away from home. Specialist photographic insurance provided by companies such as Ripe will ensure your kit is properly covered. They also offer third-party liability and professional indemnity cover.
Whatever insurance cover you have it’s vital that you report the theft (or loss) to the police as soon as you realise your kit is missing. Your insurer will require a crime number and often expect the theft to be reported within 24 hours.
15. Dust marks
Cloning out the odd speck of dust or debris doesn’t take long, but if you’re doing it on hundreds of images then you’re wasting your time. The answer is to clean the sensor.
Most cameras have an automatic sensor cleaning system that can be set to vibrate the sensor when the camera is powered up or turned off – or on an ad-hoc basis. If this isn’t enough to shift the specks then using a swab with a drop of sensor cleaning fluid is usually enough to do the job. If you’re not comfortable with cleaning your camera’s sensor, a service agent will do the job for you. But before you decide to get the sensor cleaned check that the dust/debris is not actually on the mirror or lens exterior.
16. Get gear serviced
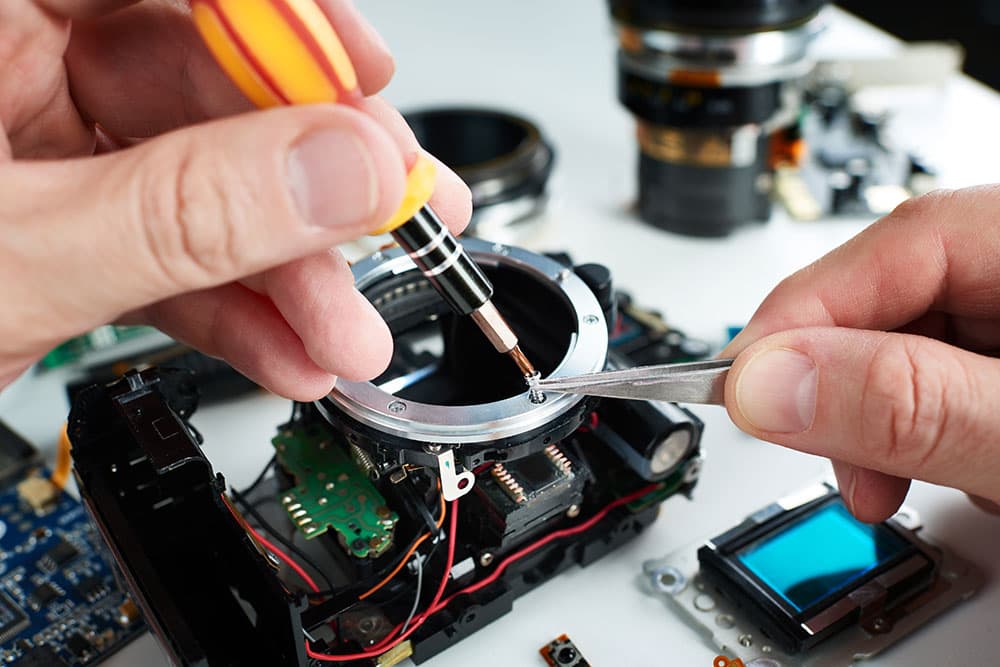
Cameras are very complex devices, so leave any repairs and servicing to the experts. Image iStock. www.istockphoto.com
Modern cameras and lenses are complex devices and if you have an important shoot coming up or you’ve been making heavy use of your gear, it’s worth sending it for a service to make sure that it’s operating at its best. A manufacturer-approved service agent will check your kit and run some performance tests to ensure it’s delivering its optimum image quality.
17. Accident at a wedding

Image iStock. www.istockphoto.com
Insurance isn’t just for covering your gear; liability cover can get you out of a hole if someone trips over your tripod and injures themselves, or gets hit on the head by a hefty lens.
18. Being stopped by the police
Thanks to the excellent work done by the late Chris Cheesman for the Amateur Photographer Rights Watch campaign, police officers are far more aware of photographers’ rights than they were a few years ago. Even security staff seem better informed these days. However, it’s still worth acquainting yourself with your rights to ensure that you stay within the law and don’t rub anyone up the wrong way. Apart from in very exceptional circumstances, in the UK you have a right to photograph anything or anyone when you’re on public land or your own property. If you should be approached by someone who takes exception to your work, remain calm and polite. Explain that you are on public land and that you haven’t breached any law. Use your own judgement to assess the situation, but often a bit of flattery can go some way to placating someone who isn’t happy to have appeared in your pictures. Some people may just like to be reassured that they are only a small element in your image rather than the main subject.
19. Bad exposures
This needs a feature in itself but, if exposure goes badly awry on a shoot, try and analyse what happened. Try to replicate the conditions to make sure that you know how to deal with them in the future. With careful handling you may be able get raw files and even JPEGs looking acceptable. You may also be able to ‘style it out’ by processing the images to create a look that makes the over or under exposure look deliberate. If that fails and someone is depending on you for the images, then come clean, explain the problem and offer to do a reshoot. If a reshoot is impossible, apologise and if necessary use your professional indemnity cover provided by your insurer.
20. Water damage
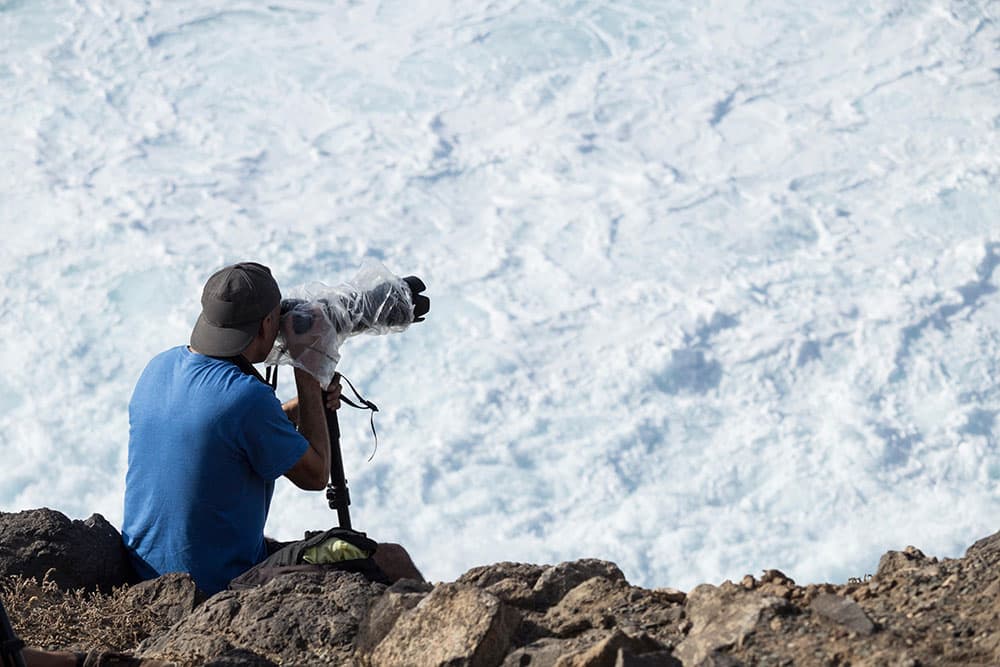
You can stop your gear from getting too wet by using protective covers. Image Alamy. www.alamy.com
If your camera gets wet, dry the exterior quickly with a cloth, then take out the battery and card, open all the port covers and put it somewhere warm (but not hot) to dry – an airing cupboard is ideal. Some people swear by putting kit in a plastic bag of rice.
Even if your camera seems unscathed when dry, keep an eye on it because it can take a while for corrosion to develop on the circuitry. Ideally get it checked over by an accredited service centre and be open about what happened, they can advise you of any likely issues.
21. Running out of power
Keep an eye on battery levels during a shoot
Keep an eye on the battery level indicator so that you know the state of play at all times. You can eke out dwindling power by turning off unnecessary features such as sounds, auto review and image stabilisation. Also turn off the automatic sensor-cleaning system and make sure that you turn the camera off between shots.
If you’re shooting with an SLR use the viewfinder to compose images rather than the live view screen. However, with compact system cameras the main screen is often less power hungry than the electronic viewfinder.
Angela Nicholson
Photographer and journalist Angela Nicholson started reviewing gear for Amateur Photographer back in 2004. She has survived a few scrapes in her time, testing everything from backpacks and medium-format cameras and hard drives. Visit www.angelanicholson.com


