
Callum McInerney-Riley explains how to optimise your images for use online and the precautions to take to prevent them being stolen.
Most photographers who put their images online do so in an attempt to gain some exposure and recognition for their work. A few ‘likes’ and positive comments are a nice way to get feedback and to share a passion for photography. However, a common problem people encounter is that, on-screen, their images look fantastic, but once uploaded to websites such as Flickr, 500px, Twitter or Facebook, they look very different. The screen image doesn’t match the uploaded picture. Often, colours appear flatter, focus is not as sharp, and occasionally the appearance of compression artefacts become an issue. This can cause great, fantastically composed images to become lost online as they fail to stand out.
Here, I will outline a few ways to prepare images specifically for the web, and provide a few tips so you can protect your images against online theft.
Image size
 A few years ago, almost every website placed restrictions on file uploads, whether this was in the size of the file in bytes or the pixel dimensions of the image. Thankfully, most sites have now lifted many of these restrictions and often accept full-resolution images. On Flickr, a full-resolution image can be uploaded and previewed in different sizes that are created for the viewers. This allows visitors to your Flickr gallery to view your image full screen or at its original size when uploaded. Websites such as Facebook, on the other hand, take the full-resolution image and compress it so that it takes up less virtual space. Unfortunately, the downside of uploading high-resolution images is that they can be easily stolen and used without permission. A watermark is a good deterrent
The best solution is to simply upload the image at a file size that strikes a balance between making the resolution suitable for viewers and unsuitable for reuse by potential thieves. But what is the ideal size for web use? I have found that resizing an image to 1280 pixels on its longest edge provides the ideal balance. The file size is smaller than a high-resolution image, which makes it easier to upload and better for cloud storage, and its dimensions are small enough to stop large-scale printing. Also, it displays at a decent size for people to view it. The average monitor resolution is 1366×768 pixels, meaning that a 1280-pixel image will preview well on social media, forums and websites.
Colour
Colour space refers to the range of colour (or gamut) that is held in an image. The two most common colour spaces are sRGB and Adobe RGB. A far greater tonal and colour range is represented in the Adobe RGB colour space, and with many modern cameras it is possible to capture images in either of the two spaces. For printing, it is better to capture, post-process and print in Adobe RGB, as the larger range of colour will achieve more tonal and colour-rich images.
Unfortunately, only browsers with special colour-management options selected can preview images in Adobe RGB. It is a very small minority of people who will have this option ticked. That doesn’t mean the image cannot be viewed, though, just that the browser will ignore the colour profile and convert the space by default to sRGB. With this conversion to the smaller colour space, the original colours of the image will appear desaturated and not as tonally rich as an image in Adobe RGB. For this reason, it is best to convert any images uploaded to the web to sRGB, and post-process the colours to complement the image. To change the colour profile, select Edit>Convert to Profile>sRGB.
Sharpening
When images are scaled down and compressed on the web, they tend to look somewhat flat and lose a lot of their original sharpness. For this reason, a lot of the great photographs online have had extra sharpening applied to make them really stand out – and it’s a lot more sharpening than would be applied to a printed image. To achieve the best results for online, it is best to first resize the image for upload before applying any sharpening. If sharpening is applied before resizing, once the pixels have been resampled from scaling down the image, not all of the sharpening will remain. The step-by-step below shows a quick way to optimise sharpness for the web:
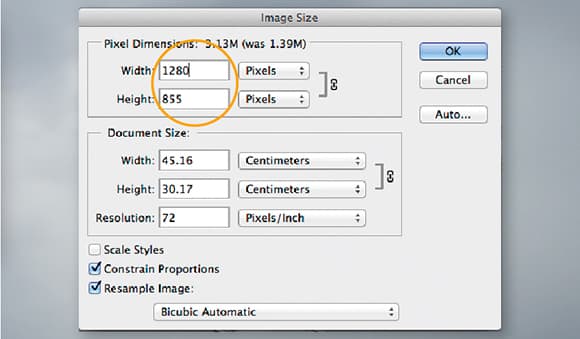
1. With the image open, select Image>Image Resize and resize the shot to your desired upload dimensions (I suggest 1280 pixels on the longest edge).
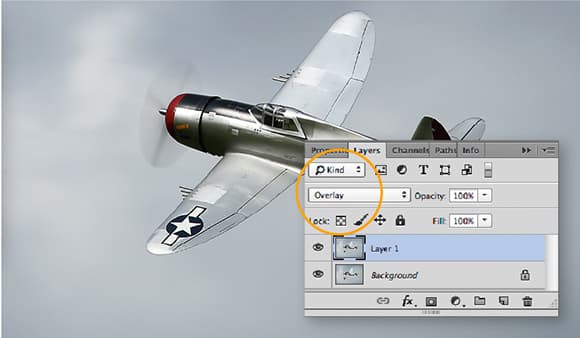
2. Now select Layer>Duplicate Layer (or Cmd/Ctrl+J) to make a copy of the image in the Layers palette. Next, change the Blending Mode of the top layer to Overlay.
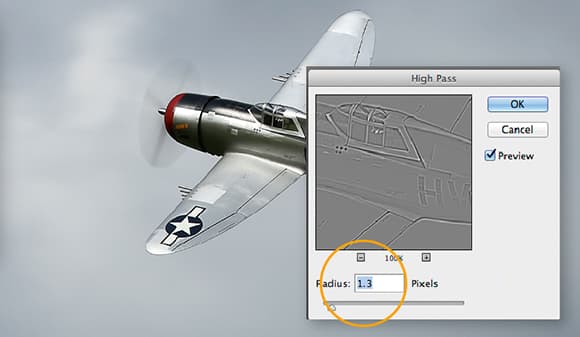
3. Finally, with the top layer selected, click Filter>Other>High Pass, and tweak the Radius. For an image sized to 1280 pixels, a Radius of between 1 and 4 provides a nice level of sharpening, although larger images will require a larger Radius.
Protecting images online
Many of the websites to which photographers upload their pictures are not very secture, so it’s easy for someone to steal images from these sites. On many websites, images can be dragged and dropped onto a computer desktop, or cut and pasted. Facebook even has a download button in the Options menu in the Photo Viewer. Some websites disable cut-and-paste options, but even then it is still possible to make a screen capture of the web page and crop the image out.
Currently, there is no real solution to prevent images being taken from a website. However, it is possible to make it so difficult to steal images that it becomes a pointless exercise.
First, consider image size. Potential thieves are seeking high-resolution images, so the smaller the image the better. Second, watermarking images works well, although it can distract from the image. Alternatively, copyright information can be subtly placed along the bottom of the image or in the corner as a great way of gaining recognition for a photograph. The downside is that it’s easy to either clone out or crop off.
Text watermark
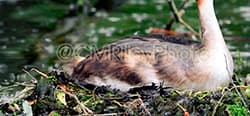
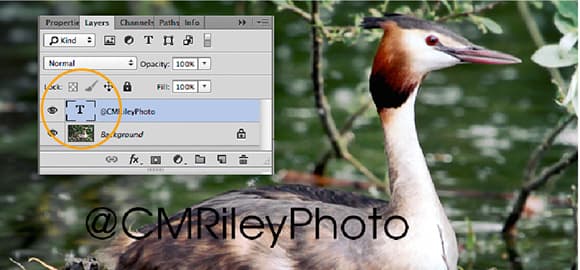
If you don’t already have a watermark, the best thing to do is simply write your web address, name or social media profile location using the Type tool in Photoshop. With an image open, select Layer>New>Layer. This will create ‘Layer 1’ by default. With this layer selected, use the Type tool to write your copyright information, such as ‘@CMRileyPhoto’, which in my case directed the viewer to my Twitter profile. Next, delete the background layer, which will leave you with your text on a transparent background. Save this as a Photoshop (PSD) file. It can then be dragged and dropped onto any image.
Logo
If you have already made a watermark, make sure it is on its own layer with a completely transparent background. To do this, make a selection of the entire area you wish to use as a watermark and click Select>Select Inverse, then hit Backspace on the keyboard. This will delete the area around the watermark.
Metadata
Some websites like Facebook strip the metadata out of an image once it is uploaded, but many sites leave it in place. Using a program such as Adobe Lightroom or Adobe Bridge, it is possible to attach copyright information to an image in the metadata. This metadata will often go unnoticed by potential thieves, and if someone does find your image and wants to pay you, it will point them in the direction of the real owner.
How to watermark an image
1. Open both the image that needs to be watermarked and the prepared watermark text or logo in Photoshop. On the watermark text/logo, go to Select>Select All, then use the Move tool to drag the layer onto the image.

2. Make a selection of the entire watermark by holding Cmd/Ctrl and clicking on the watermark layer thumbnail in the Layers palette, then uncheck the eye next to it. This will show a live selection but no visible watermark.
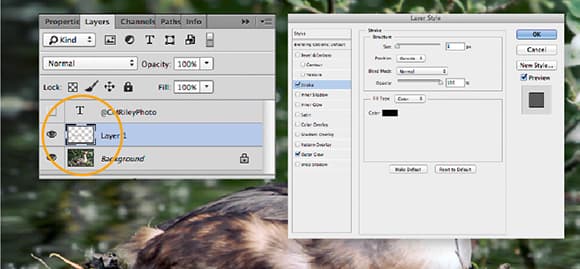
3. With the selection still live, click the image layer and press Cmd/Ctrl+J to duplicate the watermark on the image layer. To change the style of the watermark layer, double-click the new layer in the Layers palette to bring up the Layer Style palette.

4. In the Layer Style palette tick the Stroke box and apply a small pixel stroke at 40% opacity. Next, tick the Outer Glow box and use the default setting, but change the blend mode to Lighter Colour and lower the opacity to around 30%. The values of spread and size will depend on image size, so tweak these to achieve a similar look to the example above.


