It’s something of a truism that to get the most from your pictures, you need to shoot in raw and carefully tweak each shot in post-processing. But, let’s face it, we don’t always have the time, or indeed the inclination to do this.
Equally, if you like to share pictures immediately after taking them using your camera’s Wi-Fi, then playing around with raw processing may not be an option.
This means there’s a lot to be said for setting your camera up to give JPEGs you like – and fortunately, most cameras are capable of giving pretty good JPEG output.
The most recent models also tend to give lots of control over how the files will look, with multiple colour modes and detailed tone-curve settings.
Many also include creative processing options, which allow you to experiment with, for example, grainy film or toy camera effects.
With the right set-up, you should find that it’s possible to get JPEGs that you’re happy to use for many purposes. Even so, it can make sense to record raw files alongside JPEGs for those occasions when the camera doesn’t quite get things right.
But with many cameras now offering built-in raw conversion, it’s possible to correct such errors in-camera while maintaining the same look to your images.
Of course, it’s still crucial to get the basics right, so you need to keep a close eye on exposure and white balance to avoid clipping highlights or getting ugly colour casts.
Understanding JPEG options
The most fundamental JPEG settings are colour modes, which each manufacturer gives a different name.
Alongside a default mode that aims to give pleasing results most of the time, you’ll find punchier, more saturated options that might be well suited to subjects such as landscapes, alongside more subdued settings that could work better for portraits.
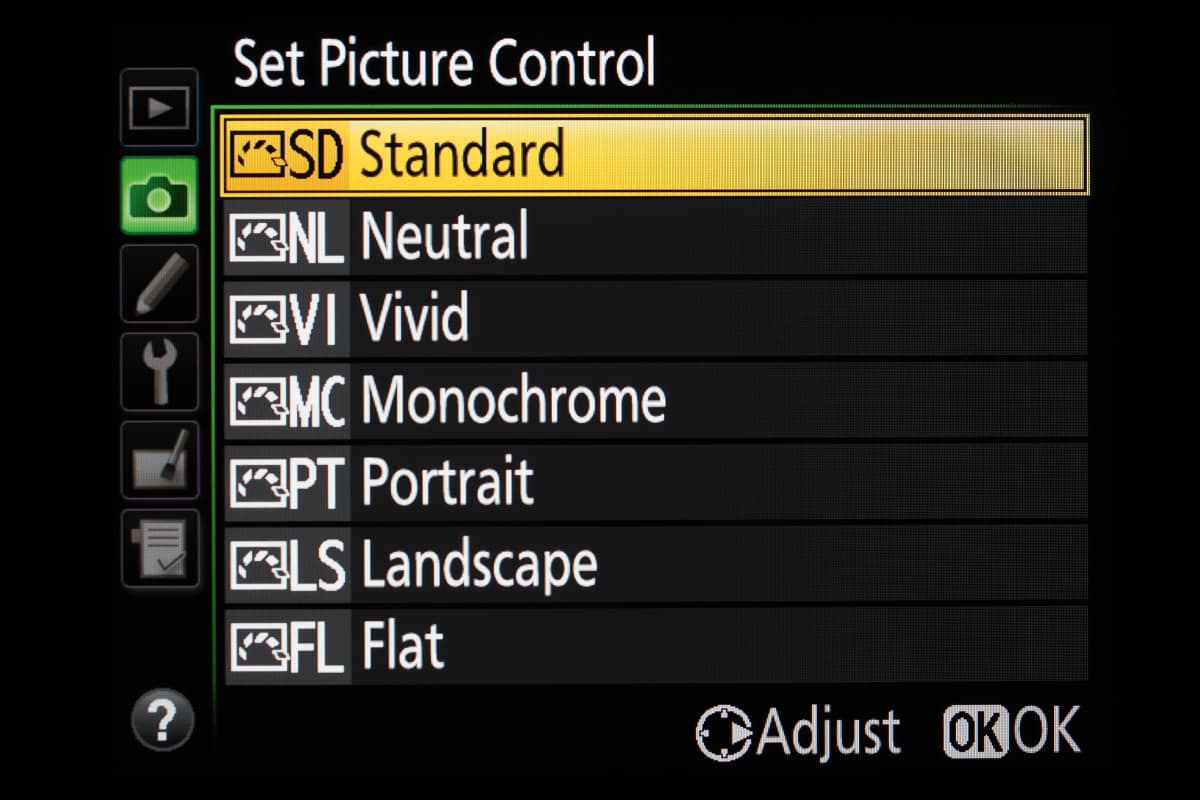
Nikon calls its colour options Picture Controls
When it comes to selecting a colour mode, it’s all about personal tastes, so experiment with your own camera’s options and decide which you prefer.
Don’t get caught up in the myth that you need ‘accurate’ colour; the only objective is to make images you like.
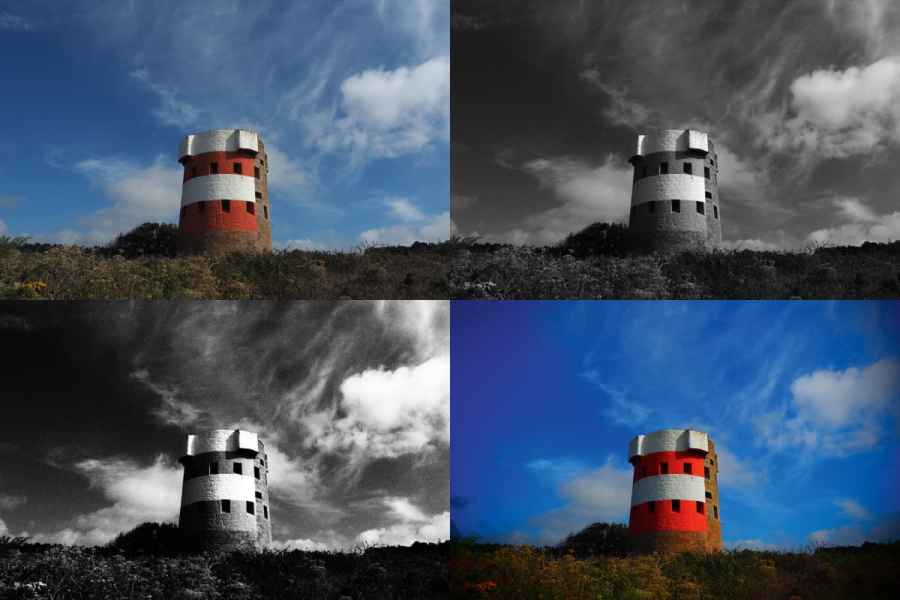
Most cameras will also let you output black & white images, which can be a great creative tool. You can often simulate the effect of using coloured filters with black & white film, such as the blue-sky-darkening effect of a red filter.
Many cameras also allow you to apply a colour tone to the image, usually sepia or blue.
In addition, the majority of manufacturers provide controls to manipulate dynamic range and tonality.
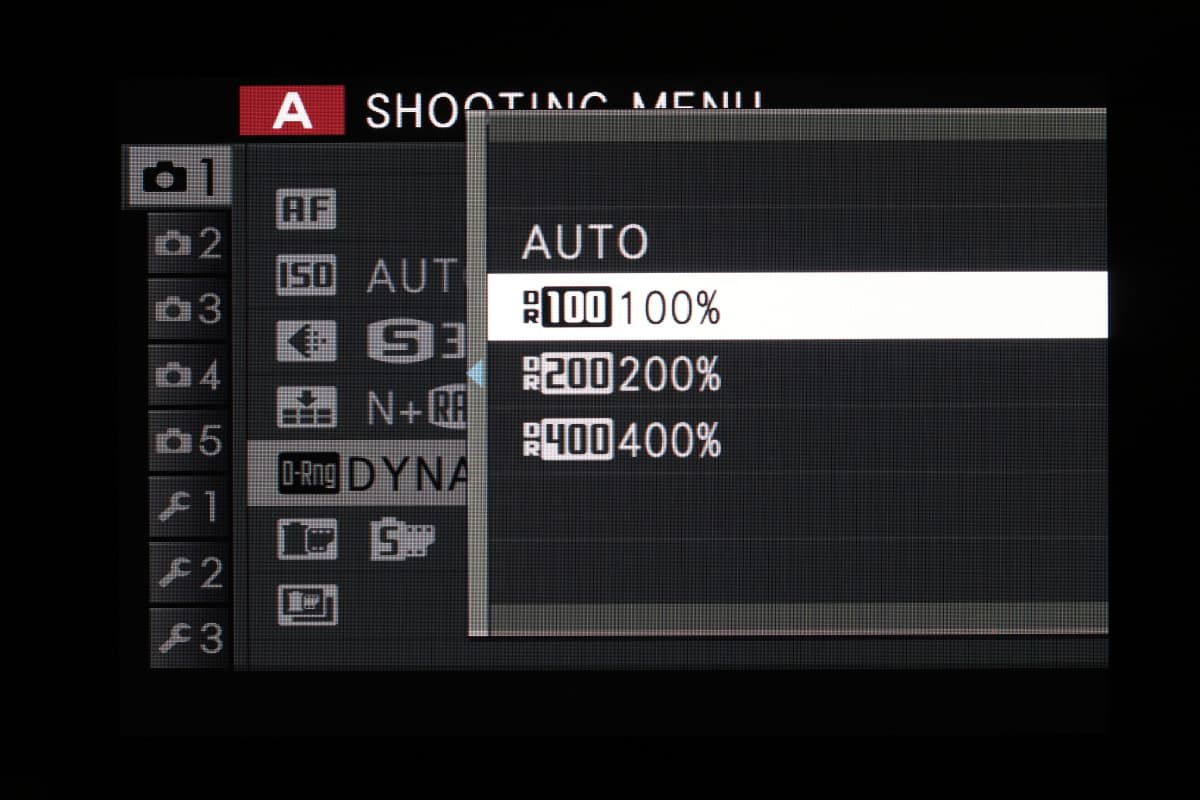
Fujifilm cameras offer control over dynamic range
These allow you to deal with high-contrast situations, where exposing to render the subject at the correct brightness might end up clipping highlights.
Simple dynamic-range expansion modes such as Canon’s Highlight Tone Priority allow an extra stop or two of highlight detail to be incorporated into the picture, with a gentle roll-off in the brightest tones.
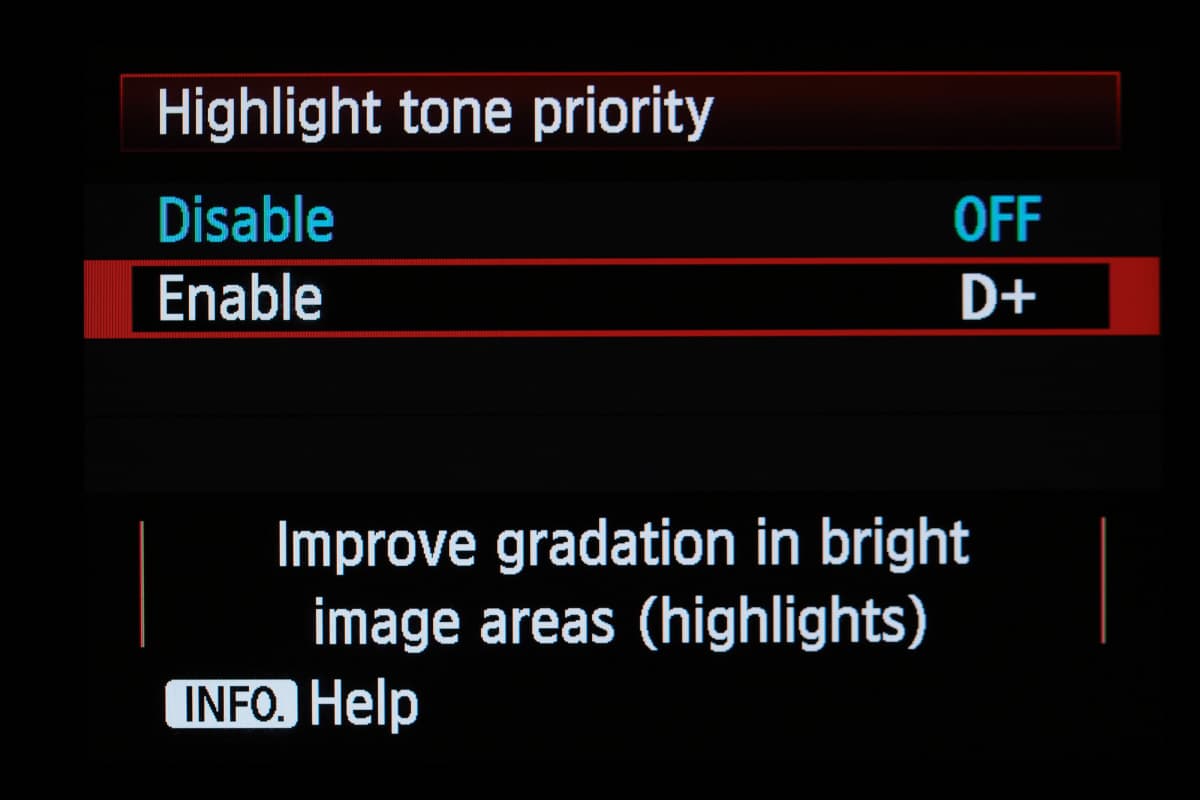
Canon users can call upon the Highlight Tone Priority option where necessary
Meanwhile, shadow-enhancement settings like Nikon’s Active D-Lighting behave slightly differently, exposing to protect highlight detail then selectively manipulating the midtones and shadow areas to balance the overall tonality.
Find your manufacturer
Click here for Panasonic cameras
Click here for Fujifilm cameras
Click here for Olympus cameras
Through the links above, we’ll go through the JPEG adjustments each manufacturer has to offer and explain what they do, to help you find which settings best suit your tastes!


