Panasonic’s older Lumix models had something of a poor reputation for JPEG quality, with a tendency to give odd-looking colours, for instance with skin tones under artificial light. But more recent ones do much better, and can produce attractive-looking results under a wider range of conditions. Here we will show you what settings you need to change in order to get the best Panasonic JPEGs.

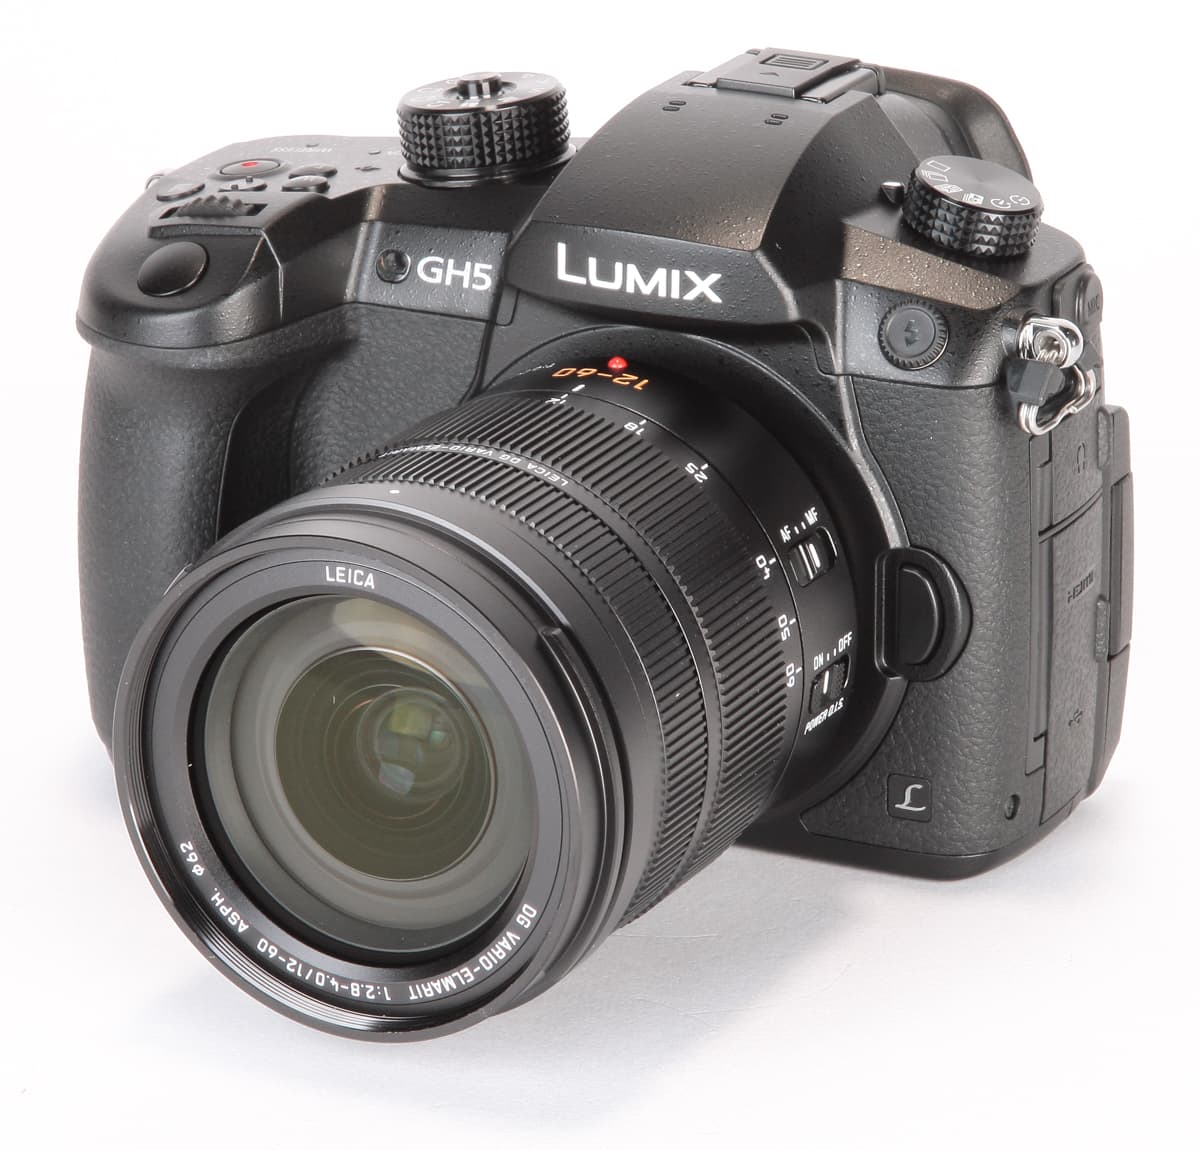
Panasonic’s recent models, such as the GX80, give much-improved JPEGs
But auto white balance can still sometimes go askew and over-neutralise to give dull-looking colours, which then need to be corrected in post-processing. So, it still makes sense to shoot raw files alongside your JPEGs.
Photo Style
Panasonic calls its colour modes Photo Styles, and they’re found at the top of the main menu, and in the on-screen Q Menu.
Each can be individually adjusted for contrast, saturation, sharpness and noise reduction, giving users plenty of control over the look they want to achieve.
Alongside the Standard style, there are punchier Vivid and Scenery modes, more subtle Natural and Portrait options, and a monochrome setting with a good range of toning settings.
Filter Effects
Panasonic now includes an extensive set of image-processing filters, which can be used when shooting in PASM modes. Crucially, filtered files are saved alongside both raw files and unfiltered JPEG copies.
On the whole, they’re well judged and not too over-the-top, with the high-contrast Dynamic Monochrome mode being perhaps the standout option.
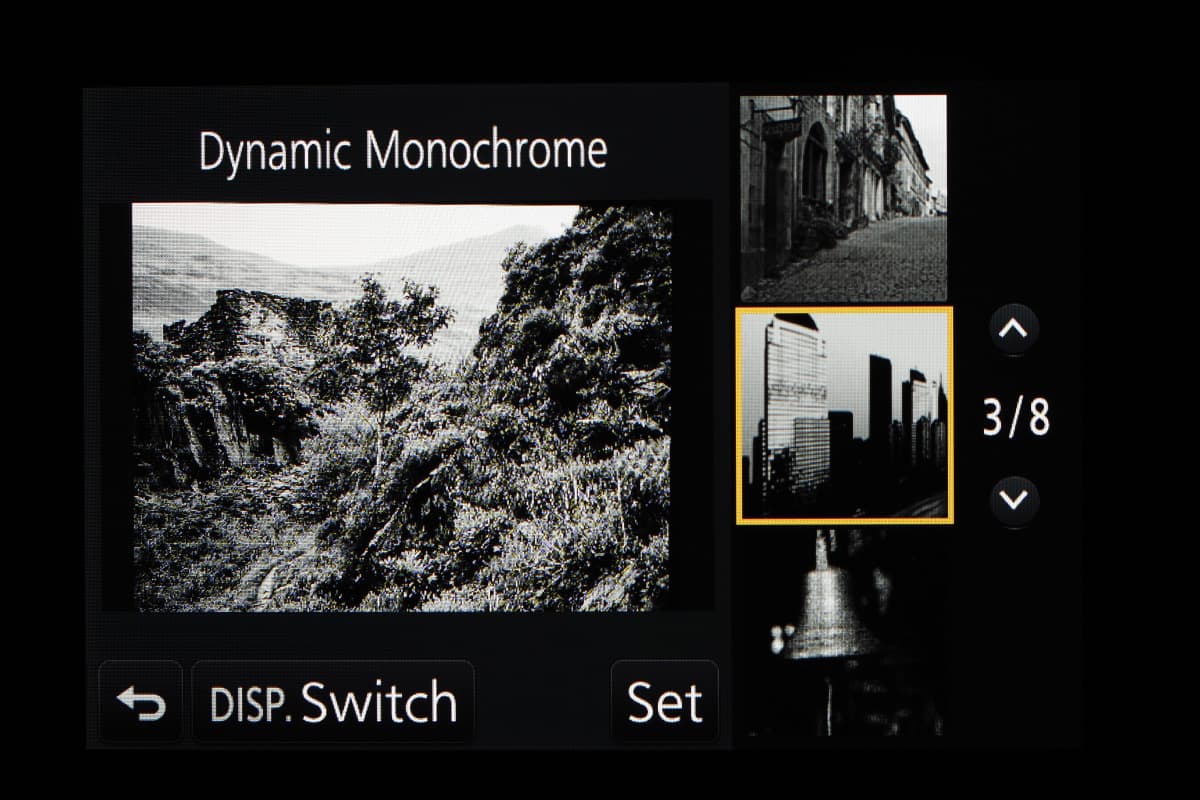
In many cases, it can give more interesting results than the standard mono photo style.
Highlight Shadow
In addition to global contrast controls, Panasonic’s recent cameras also allow you to adjust shadow and highlight tone individually, in a similar fashion to Olympus.
The setting is hidden away on page 3 of the record menu, so if you use it regularly you’ll want to assign it to a function button.
Once engaged, the highlight and shadow tone can be manipulated using the control dials with an intuitive on-screen interface.
Several presets are on hand to manipulate contrast and brighten shadows, and you can save your own favourites, too.
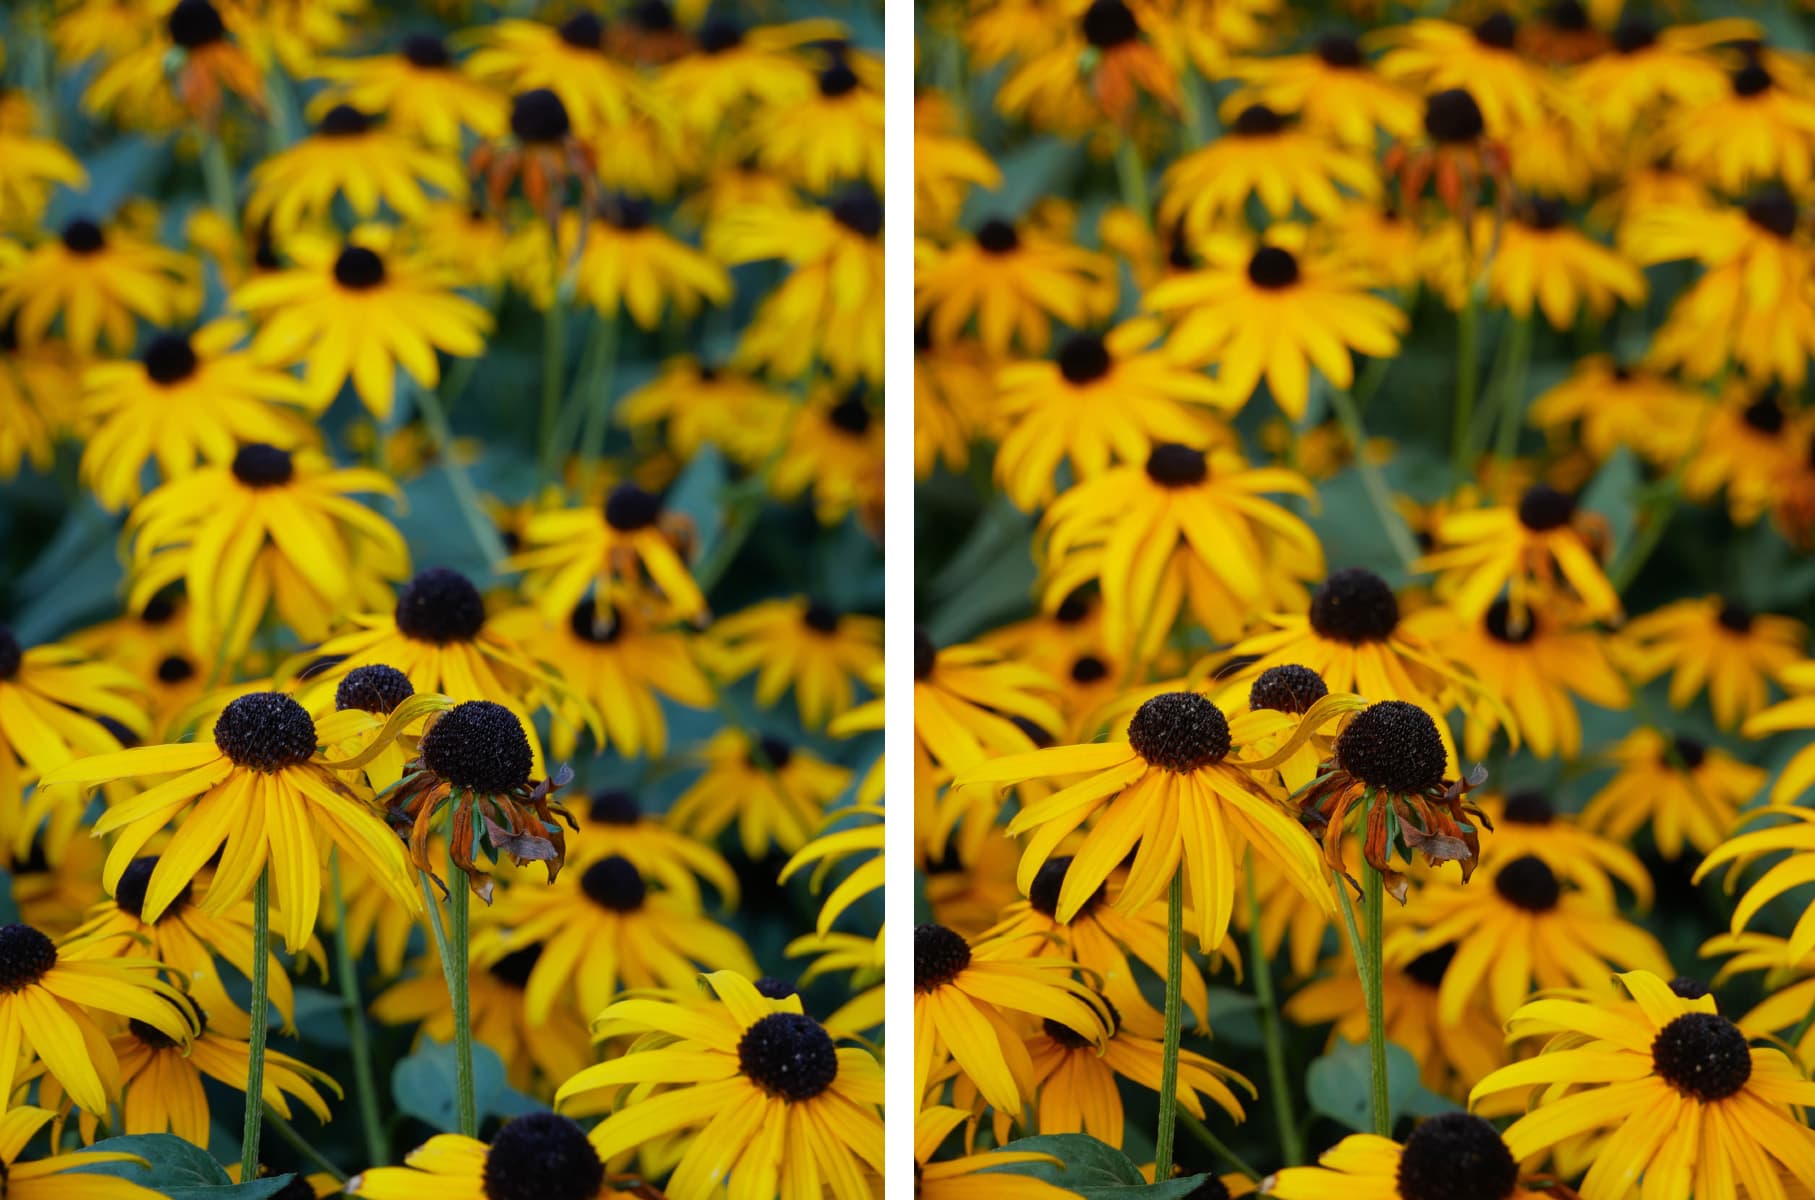
i.Dynamic
i.Dynamic is Panasonic’s primary dynamic-range-enhancement tool.
It behaves much like that of other brands, reducing the exposure to avoid blowing out highlight detail, then selectively pulling up the shadows while trying to retain local contrast overall.

On older models it was a simple on/off option and didn’t seem to do much. However, in more recent cameras it’s available in three steps and can be much more effective, so long as you’re showing images at a relatively small size.
If you examine your image files closely you’ll find that fine details in the shadows are obliterated by noise reduction as the setting is raised, so it’s best to use this sparingly if want to make large prints.
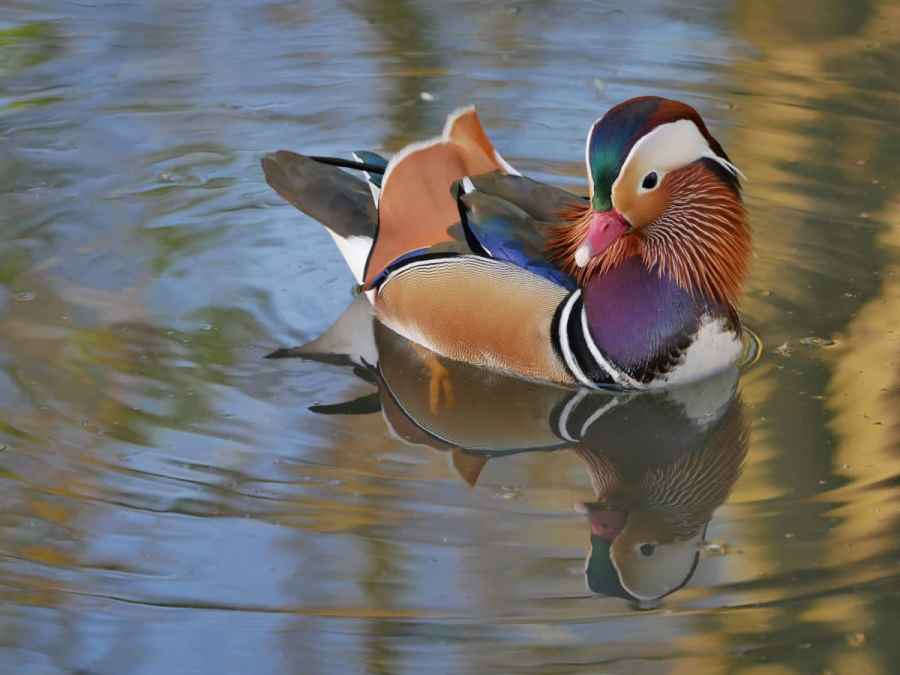
Here I used in-camera raw processing to give a warmer image than the camera’s original effort
Other camera manufacturers:
How to get the best JPEG images from your Olympus camera
Our guide to the best JPEG image settings for Pentax cameras
Our guide on how to get the best JPEG images from your Fujifilm
How to get the best JPEG images from your Canon camera
How to get the best JPEG images from your Nikon camera
How to get the best JPEG images from your Sony camera


