
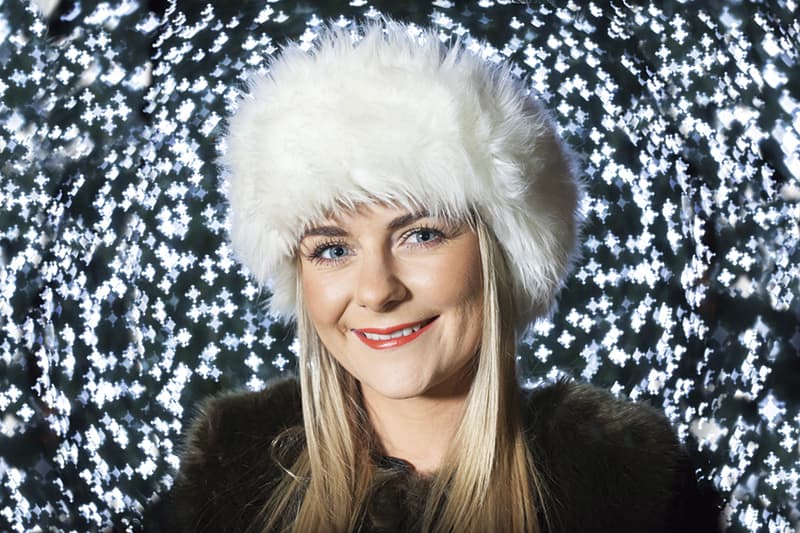
If you have a lens that’s capable of beautiful bokeh, you can use it to create some fun Christmas images. Using only a few items from a craft shop, you can make a shaped iris that allows you to achieve different-shaped bokeh when background light sources are out of focus.
By creating a range of shapes, such as snowflakes or Christmas trees, you can introduce a Christmas theme to almost any subject. Here, we show you how to make the modifier and explain what kit is best. We also give some general tips on how to get the best results.
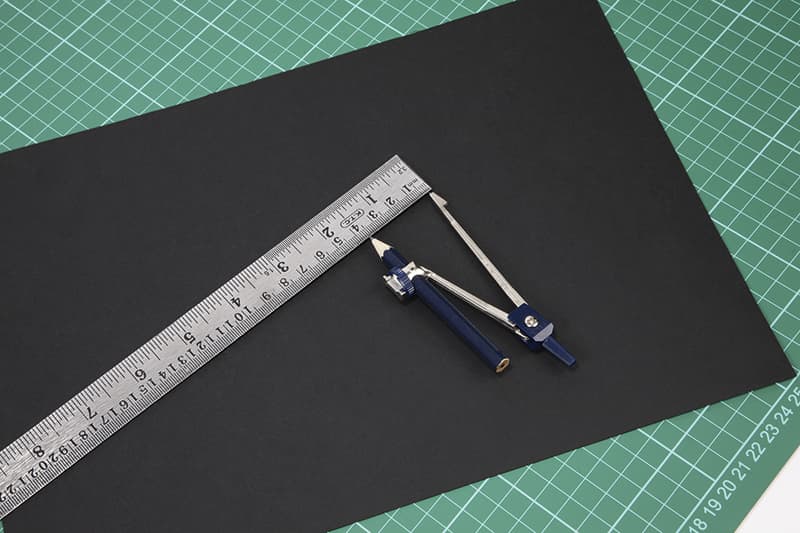
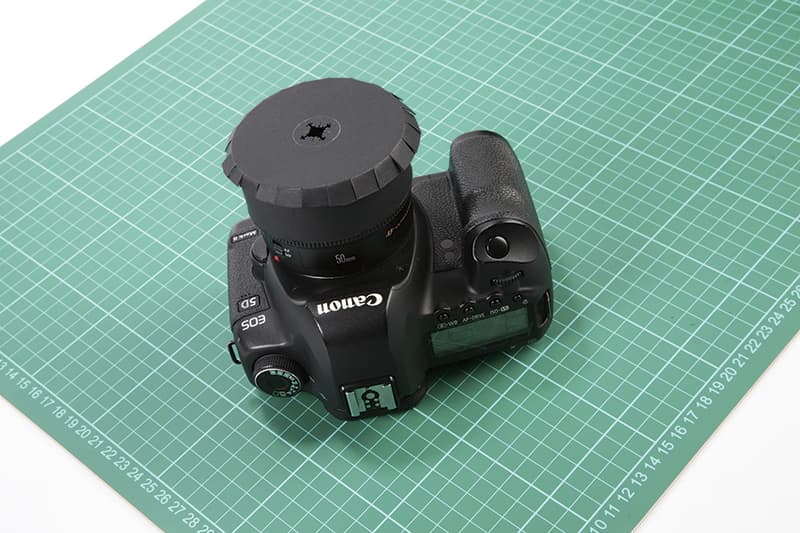
For this technique, you’ll need a long-focal-length lens with a fast maximum aperture to achieve a good defocused background when shooting wide open. As well as your camera and lens, you will also need an A4 piece of black card, a compass, a pencil, a ruler, some tape and a scalpel or craft knife to make the bokeh shapes.
How to make it
1. Cut card to length
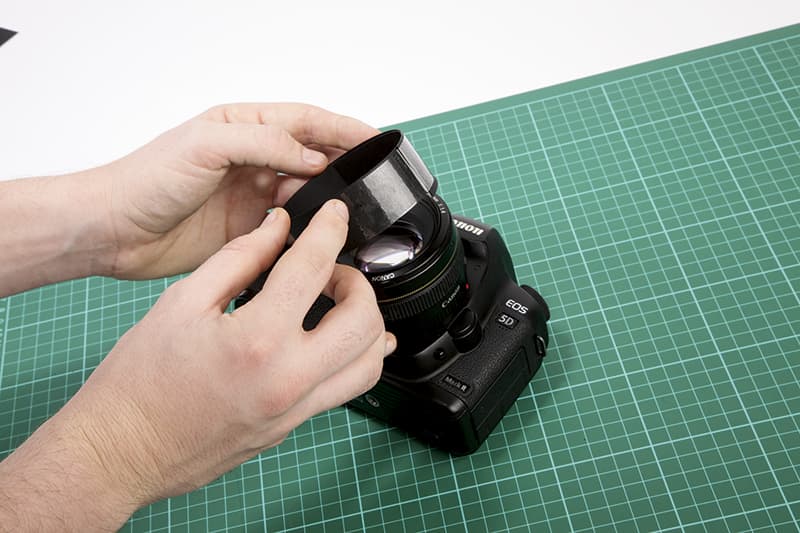
Take a piece of card long enough to wrap around your lens, and, using a scalpel, cut a 3-4cm strip from it. Wrap this strip around your lens reasonably tightly, and tape it in place.
2. Use a compass
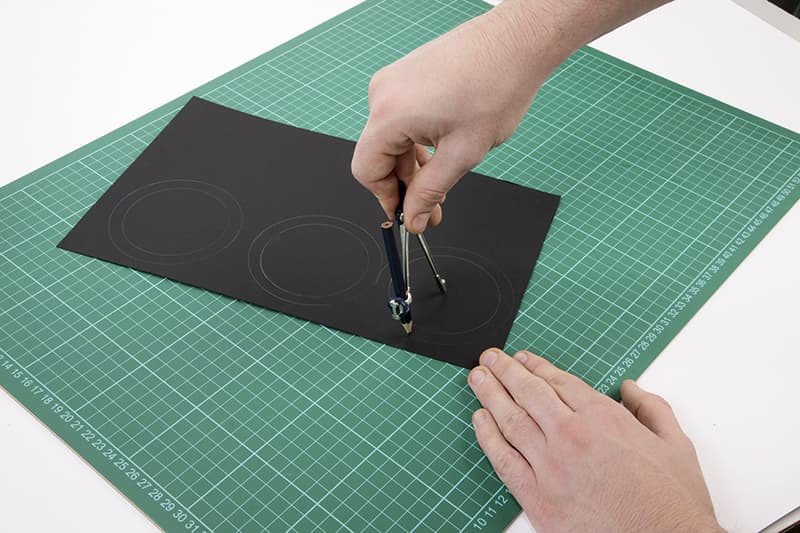
Using a ruler, measure the diameter of the card circle, then set your compass so that the distance between the compass point and the pen equals half the circle’s diameter, plus approximately 1mm. For example, my circle was 75mm across, so I set the compass at 38mm to achieve a 76mm circle.
3. Make circle
Using your compass, draw a circle on the remaining paper. Push down hard with the pointed end to ensure you can keep track of the centre point. Next, widen the compass by 1cm and draw a second circle around the first one, using the same centre point. Repeat to make more than one.
4. Make shapes
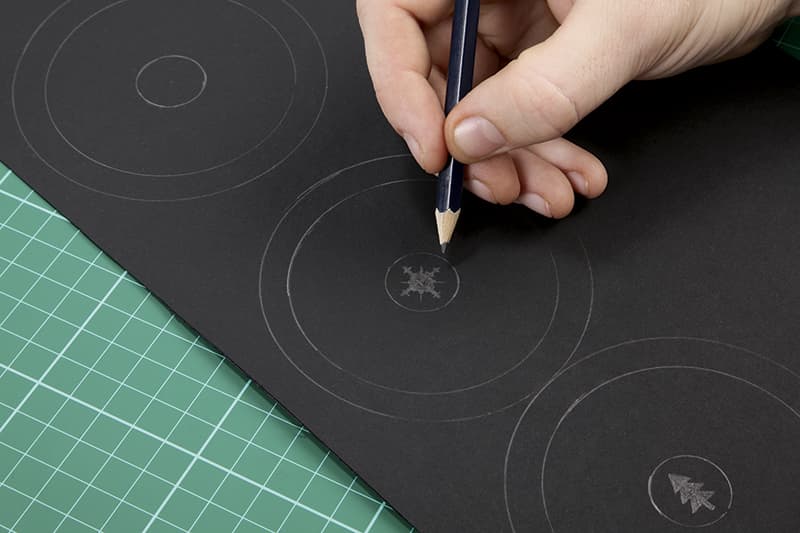
Set the compass to 10mm and draw a circle in the middle. Draw your desired bokeh shapes inside this small circle. Try to keep the shapes between 12mm and 18mm to allow enough light to come through, although the size may vary between lenses.

5. Be precise
With everything drawn, it is time to cut it all out. Using a scalpel, cut out your bokeh shape as neatly as possible. Torn paper in the corners will result in jagged bokeh.
6. Finishing touches
Cut out your circle around the outer edge. Then, at 1cm intervals, snip into the inner circle. Do this all the way round the circle. Fold in the resulting flaps, place the card circle over the paper hood and tape it in place.
Shooting tips
- To achieve these bokeh shapes, you will need small but bright light sources that can be defocused. Christmas tree lights are one of the best light sources.
- Both still life and portraits can be shot using this technique. However, the modifier does block out a fair few stops of light. Instead of pushing the ISO high to get an exposure, try using fill-in flash on manual power for your portraits to balance the exposure. Also, for still-life images, try using a tripod and a slow shutter speed to achieve the shot.
- To shoot using your modifier, shallow depth of field is key. To achieve this, place the subject close to the camera and shoot with the widest aperture possible. Then, with your modifier attached to the front of the lens and the lights far enough from the subject, you can take the shot.


