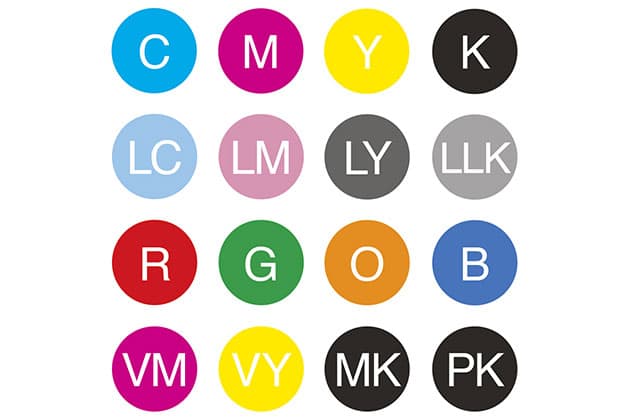
More ink colours ultimately mean better print quality
1 How can I reduce ink costs?
Third-party, refillable or remanufactured cartridges use mostly dye-based inks that are unstable in daylight. Pigment inks, on the other hand, such as Epson UltraChrome and Canon Lucia, are more lightfast and better for making prints for sale or display. Although the cost of a set of professional printer inks can be as much as 30% of the original hardware price, you can minimise wastage by using print profiles. Dye-based inks are perfectly acceptable for reference or contact prints, so a good option is to run an A4 all-in-one inkjet with separate ink cartridges with third-party dye-based inks, in addition to a professional inkjet with pigment inks. An A2 proofer-style inkjet such as the Epson Stylus Pro 4900 also accepts higher 200ml capacity ink cartridges, which gives a cheaper unit cost per print in the long run.
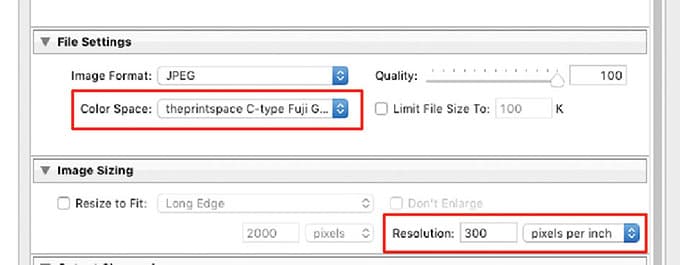
When remote printing, it’s essential to re-tag your image file with the recommended lab profile
2 What’s the best way to prepare files for printing?
To make effective prints, first ensure your image file has a pure black and white point. In Lightroom, move the Black and White sliders in the Basic panel until the two tiny white triangles at the right and left top corners of the histogram turn white. This confirms pure black (left) and white (right). After your creative edits, increase the Exposure slider by +0.5 to brighten the image. Finally, sharpen by setting 25, 1, 25, 0 in the Detail panel, then select the print profile in the Color Management panel. For printing with an online lab, skip this last step and go to File>Export. Here, you need to save the file as an 8-bit, high-quality JPEG and change the Color Space to the print profile that your chosen lab has provided, such as ThePrintSpace Fujifilm Gloss.
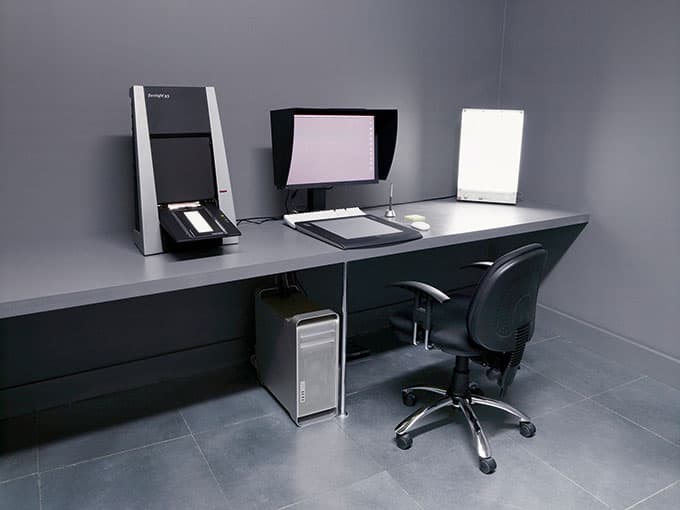
A professional workstation at ThePrintSpace, painted in neutral grey for accurate colour work
3 What are the best working conditions for home printing?
The way we perceive colour and brightness can be influenced by many external factors, so it’s important to remove as many distractions from your workspace as possible. First, set up your monitor using the D65 white point, sometimes referred to as 6500K, or ‘daylight’, which is the industry standard viewing source for the photo industry. The same D65 standard can also be specified for examining prints through a desktop viewing light or booth with prices starting from £80 for the Color Confidence GrafLite Mode. The best kind of colour to paint your room is a neutral grey like an 18% Kodak Graycard. Trade paint manufacturer Leyland makes a similar grey called Frigate. Next, consider using a ColorMunki Display calibration device that is left plugged into your workstation and responds dynamically to changes in ambient light levels in your room.
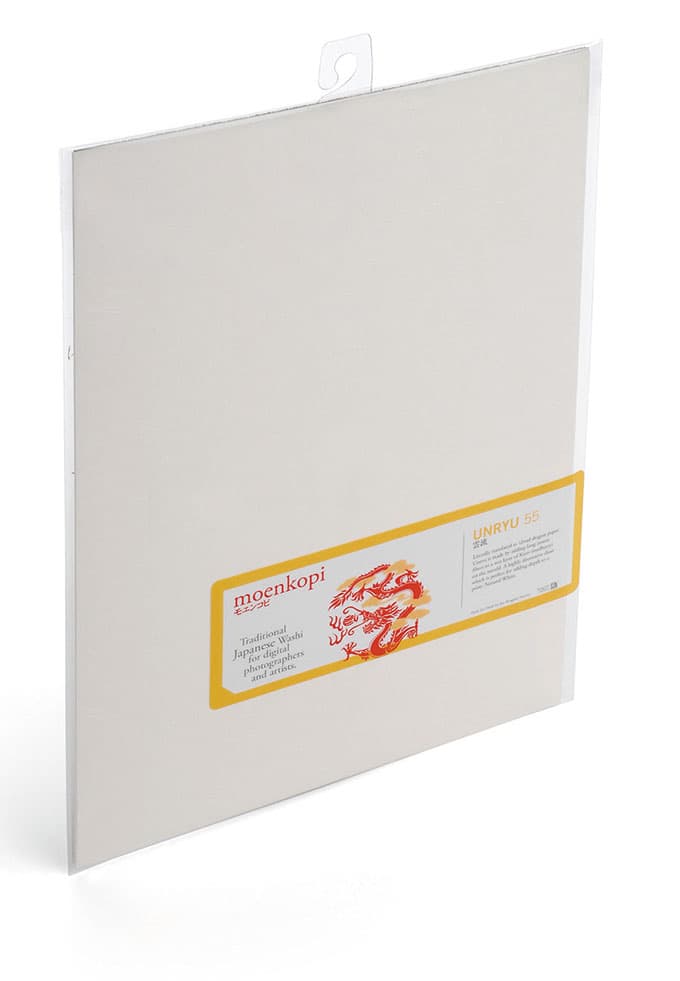
Experiment with third-party papers, like Moenkopi’s
4 Which type of printing paper should I use?
There are many more different types of inkjet papers available compared to digital C-type media. In addition to the standard glossy, matt and lustre inkjet papers, thicker media such as the heavyweight baryta are excellent for exhibition printing. In addition to weight, art inkjet papers made from 100% cotton can also make your print feel like a handmade artwork. These cotton papers can have a smooth surface or a variety of textures.
Hahnemühle, Innova and Canson all make a wide range of luxury papers supported with free print profiles. Digital C-type prints are usually limited to Fujifilm gloss or matt surfaces, with the better labs printing on the plastic-based Fujiflex or the silver-based Kodak Metallic. If you make black & white prints consider cream-based papers from Harman and PermaJet. Broadly, gloss papers have the widest gamut and create less colour loss when soft proofing.
Print profiles are tiny data files used to convert pixel colour to ink colour
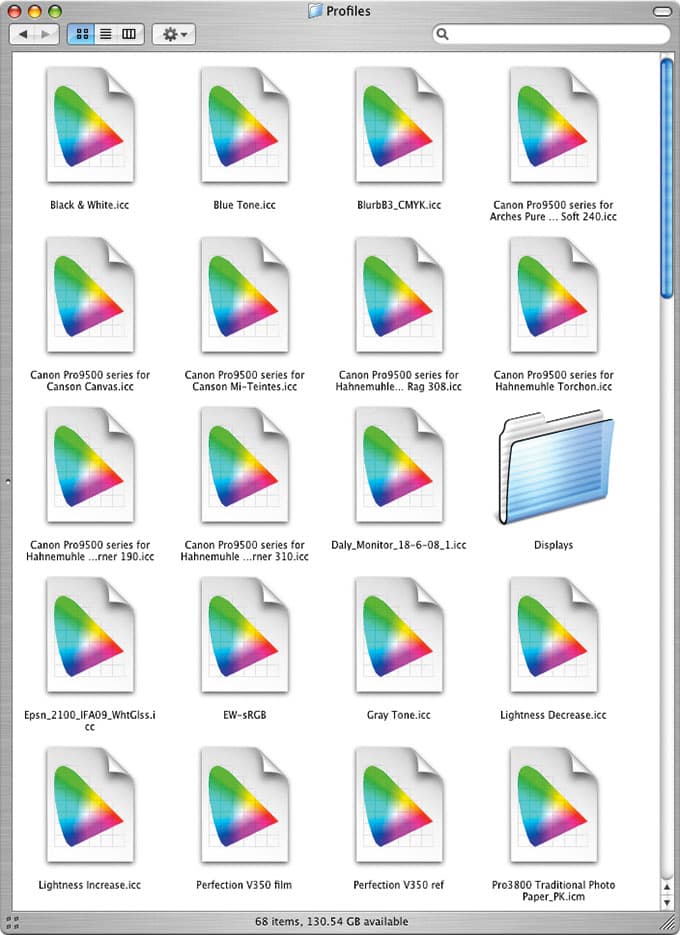
5 How do print profiles work?
Print profiles work by getting the best results from these three variables: printer model, ink type and paper type. Print profiles are freely available from third-party paper manufacturers’ websites and are tiny data files with the .icc or .icm extension, typically100K or less in size. Profiles need to be installed into the correct folder of your OS for them to be made visible: Windows PC users need to right click on the profile and choose Install Profile; Mac users need to drag the files into Library>ColorSync>Profiles.
Profiles make a great job of converting pixel colour into ink colour and also adjust the tonality of the image to fit the characteristics of the paper, so they are essential for black & white printing too. Each paper has its own profile that is linked to a specific printer model and ink, so if either is changed, such as using third-party inks, the profile is useless. When printer manufacturers such as Epson and Canon design printer drivers they also include purpose-made print profiles for each of their papers within the driver. In fact, by choosing one of the Media Type options from the printer software, you are triggering the use of a hidden print profile.
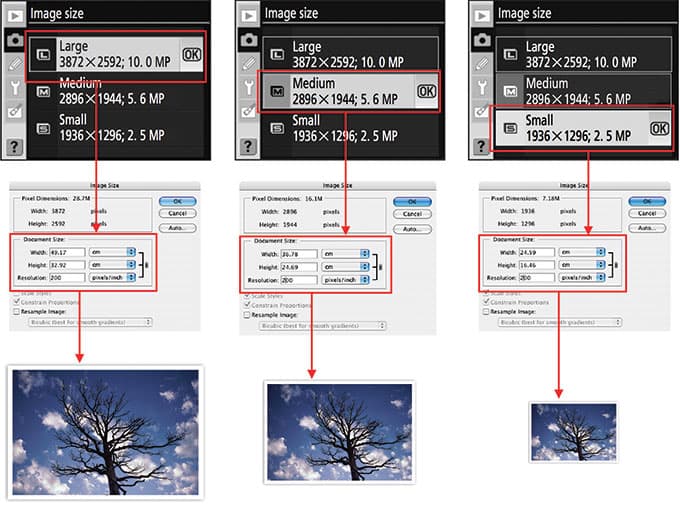
You can work out the maximum print size by checking the Image Size dimensions
6 How large can I print?
The bigger the megapixel value of your DSLR, the bigger pixel bitmap it creates and the bigger print you can make. Inkjets and digital C-types require files prepared at a different pixel per inch (ppi) size, but it’s easy to work out how big you can print if you know the pixel dimensions of your image. For inkjets, your files need to be a minimum of 200ppi to make a photorealistic print. For digital C-types, files need to be packaged at 300ppi. As an example, a file with dimensions of 6000×4000 pixels can make a 30x20in inkjet print or a 20x13in C-type. You’ll see no extra sharpness or detail if you prepare your files for inkjet printing at 300ppi. Although many inkjet printer manufacturers advocate printing at 240ppi, there’s little visible difference between this and 200ppi. Most online labs flag up files that are below their recommended resolutions, helping you to avoid blurry prints.
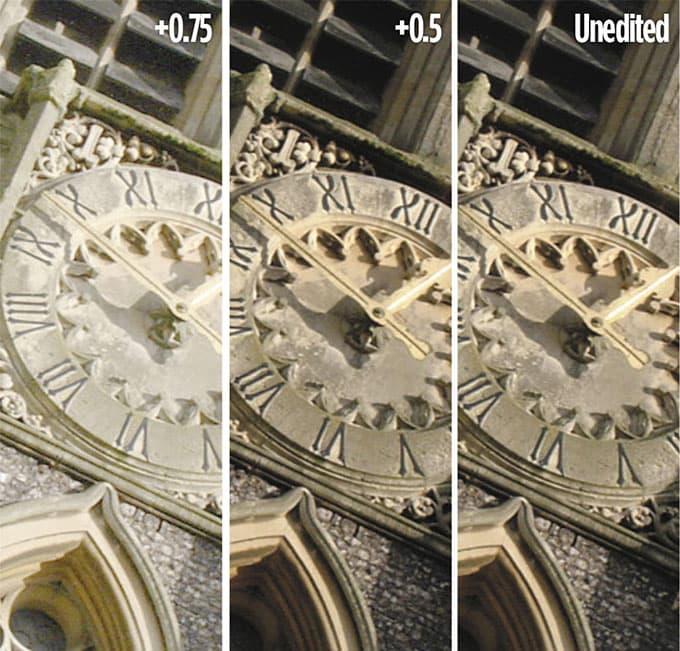
Make your edits slightly brighter than you think is necessary
7 My prints never seem to match what I see on my computer screen
At the root of many printing problems lies the incompatibility of two very different technologies. Coloured light transmitted by a desktop monitor is different to coloured light reflected from printing inks on paper. Both systems have their own unique way of reproducing colour and both have fixed characteristic ranges or gamut. Although these two ranges overlap in parts, the colour gamut of a print will always be smaller than the range of a monitor. Do not hold up a print next to the same image on screen as it will never match. High-contrast glossy screens on most desktop and all-in-one computer systems make judging print brightness difficult too, so always make your edits slightly brighter than you think is necessary – this will always be at least +0.5 stops than you think, as shown above.
Both Photoshop and Lightroom will display out-of-gamut colours to help you edit files within the limits of the paper/ink/printer combination
8 What exactly is colour space and why does it matter when printing?
Another term for colour space is colour palette. At the point of printing, our image file has often been translated across three different colour palettes: shot in-camera as Adobe RGB (1998), edited in Lightroom within ProPhoto, then converted by a print profile. These palettes have their own characteristics, so it’s important to take control of each step. Always shoot in the biggest palette such as Adobe RGB (1998), and if you are a Photoshop user ensure its Color Settings are synchronised to the same space (Lightroom uses the all-inclusive ProPhoto colour space, so there’s no need). Always soft proof and print with a print profile. Gamut warnings show up the areas when two spaces (input v output) don’t quite meet.

Inkjet prints with two or more dot sizes mimic the tone of a traditional print
9 What is dpi and why does it matter?
The term dots per inch (dpi), when applied to a printer, should not be confused with the resolution of an image file – they are two separate issues. Dpi describes the density of physical ink droplets per inch sprayed by an inkjet printer onto receiving media. Individual colour dots are placed on top of each other or overlapping – they are not spatially separated. The bigger the dpi number, the more photo-real your prints will be. Printers that can drop an additional half or quarter-sized dot can inflate their dpi values to 2880 or 5660. Most inkjet printers’ true resolution (it’s capability to drop spatially separate dots of ink) is 180-240 droplets per inch.
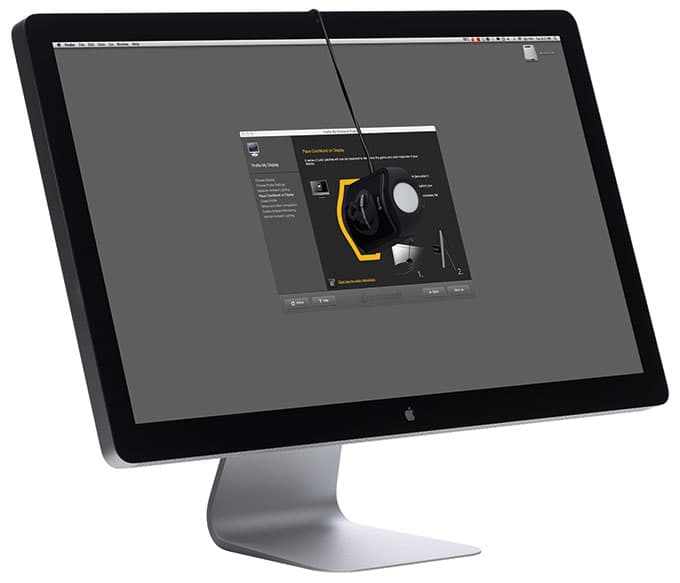
A hardware calibration device will vastly improve print quality
10 Why should I calibrate my
Most printing problems are the result of not calibrating your monitor. However, the cost of a basic monitor profiler is easily less than a year’s supply of wasted ink and paper. Calibration is all about setting a neutral colour balance and an industry-standard level of brightness and contrast and is the first stage in establishing a colour-controlled workflow. An uncorrected monitor will always give you a false representation of your image and make accurate colour printing virtually impossible.
Although there are software-based monitor profilers available, it’s much better to buy a purpose-made hardware profiling device such as a ColorMunki Display. After attaching the device to your screen, the software automatically generates a series of tests and measurements to create a bespoke display profile file that is automatically placed in your computer’s system folder. The profile is independent from any application and is loaded as the default setting each time the monitor is switched on. It’s a good idea to reprofile your screen every six months.
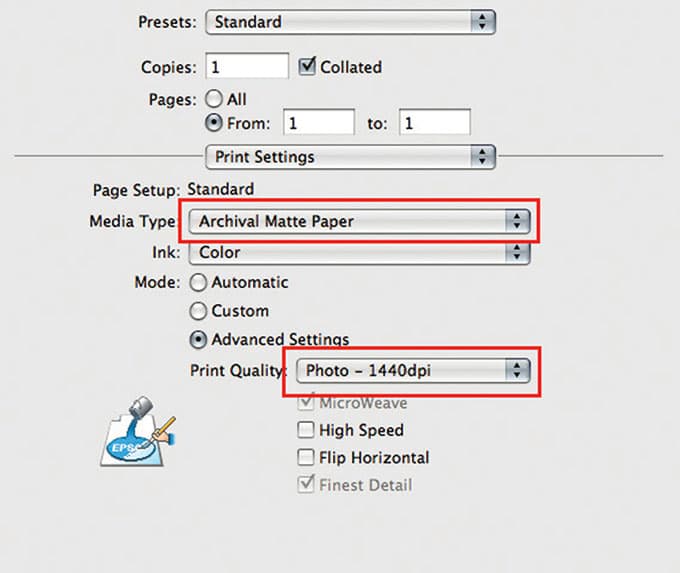
Mid-range Print Quality settings give the best speed/quality combinations
11 Explain print speed and quality
It can be difficult to see the difference in quality between prints made with 1440dpi and 2880dpi settings. Prints made with the finest possible ink droplets, such as 2880dpi, take much longer to print than those printed at 1440dpi and show little visible benefit. Many of the better printers use dynamic dot distribution to drop only the smallest dots in finely detailed areas when printing with the faster 1440dpi setting. At the finer 2880dpi, smaller dots of ink are put down everywhere, doubling the time it takes and with little visible advantage in detail.
The black cartridge became blocked during this print
12 Why do my prints have lines/bands across them?
When your inkjet has a blocked nozzle, you’ll see faint white lines on your print lying parallel to the direction of the print head, or your print will have an unexpected colour cast (see above). In your printer software utility, run a head-cleaning routine to see if this solves the problem. Using cotton or textured inkjet papers often creates nozzle blocks and these can take a couple of runs of the cleaning routine to clear.
Always print the test sheet to see if the blockage has cleared. Many new inkjets have by default an auto head-cleaning routine that starts each time you switch your printer on – switch this option off, as over time it will waste an enormous amount of ink. White dots on a print running perpendicular to the print head are a sign of head-alignment issues and can be caused after printing with thicker paper or card. Use the utility again and run the printer-head alignment routine to get it back into position.
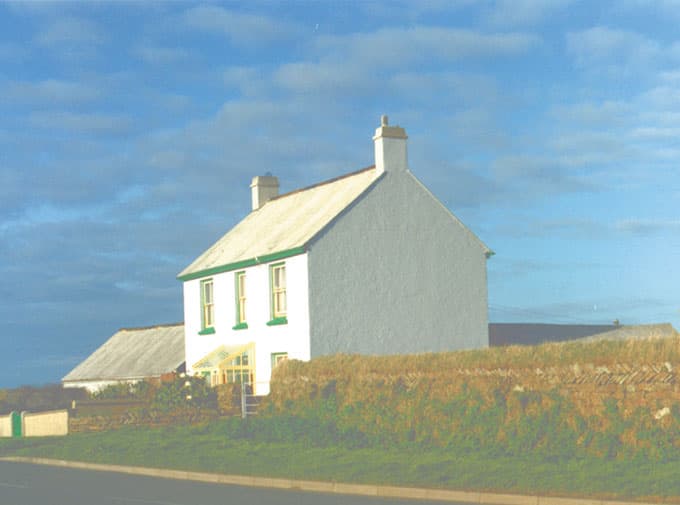
Neutral b&w prints are best made from RGB files together with print profiles
13 Why do my black & white prints have a slight colour cast?
Colour casts in black & white prints can be caused by many things, including not using a print profile and blocked printer nozzles. For the best results, keep your image in RGB mode and avoid printing black & white inkjets using just the black inks, as this reduces fine detail. Alternatively, try the online Ilford Lab service. Ilford Lab prints onto resin-coated silver gelatin paper, rather than colour C-type paper, creating neutral and colour cast-free prints.

14 How do I choose a reliable printer?
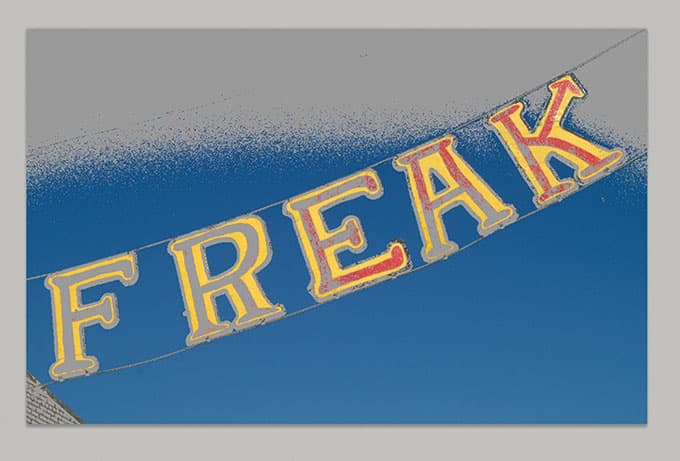
Currently, there are 16 colours employed in the world of inkjet printing. In addition to the standard CMYK and their lighter versions, recent innovations have introduced red, green, orange and blue. Prosumer inkjets are based on an eight-colour set, which includes three strengths of black, but the latest high-dynamic-range printers use an inkset that includes green and orange. These extra colours really extend the gamut of the device. There are three price tiers to consider: an A4 all-in-one with separate inks (try the Canon Pixma MX925, £110), an A3+ professional inkjet with nine pigment inks (try the Epson SureColor SC-P600, £500), or an A2 proofer style (try the Epson Stylus Pro 4900, £1400, with 11 pigment inks). The images above show the gamut warning for a saturated image made using a mid-range printer (right) and a top-of-the-range printer (left). More inks mean less lost colour.
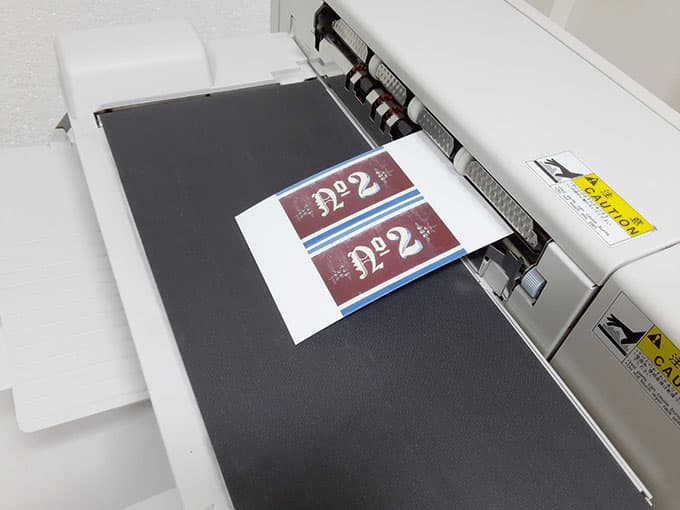
C-types are fast with excellent quality, and are the cheapest way to make volume prints
15 Are there benefits to digital C-type prints?
Many people prefer to print digital C-types as they offer great dynamic range, rich colour saturation and fine resolution. There’s also the added benefit of chemical permanence. Digital C-types are made up to 12in wide on mini-lab systems such as the Frontier or Noritsu, and larger prints on Chromega or Lightjet systems. Most C-type printing services can be accessed online with prints returned in the post. Just like inkjet paper profiles, chemically processed C-types have their own print profiles. Professional labs such as ThePrintSpace provide free bespoke print profiles for all their different C-type papers that you can download and use in your workflow.
Printing services to try online
Whitewall uk.whitewall.com
ThePrintSpace www.theprintspace.co.uk

C41s www.c41s.com

Ilford Lab Direct www.ilfordlab.com

Peak Imaging www.peak-imaging.com

DS Colour Labs www.dscolourlabs.co.uk
Tim Daly
Tim Daly is a photographer, teacher and author who has contributed to most UK photography magazines over the past 15 years. He has written numerous books on digital production, printing and the creation of photobooks, and currently teaches photography at the University of Chester, and for the RPS in Bath. To find out more, visit www.timdaly.com.


