We’ve rounded up some of the best low budget tips to help you improve your photography without breaking the bank.
Many existing tips to improve in this industry cost money, and along with cameras, lenses and all the other photography paraphernalia that you will no doubt need, it can prove a very expensive hobby.
However, there are some essential techniques that will greatly improve your photography, which don’t involve any additional expense.
Follow these tops tips and I guarantee you will start to take better photographs.
1. Low budget tips: Think light
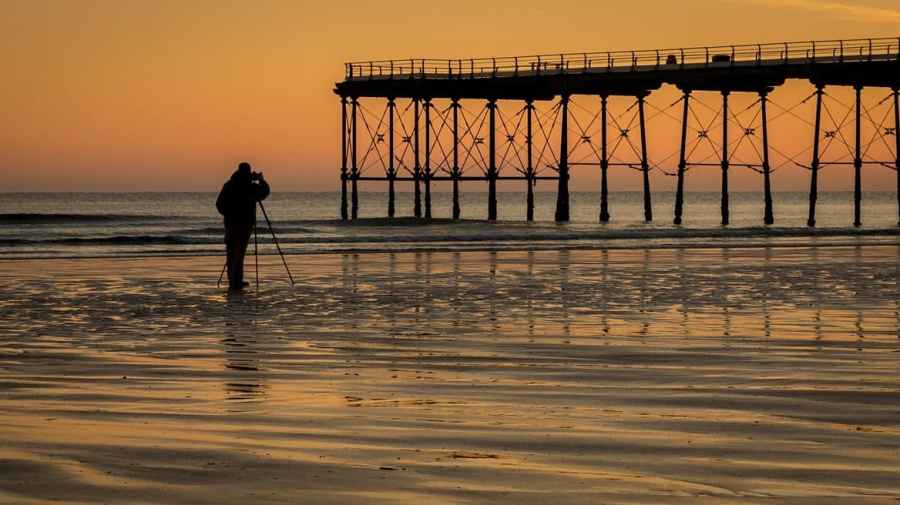
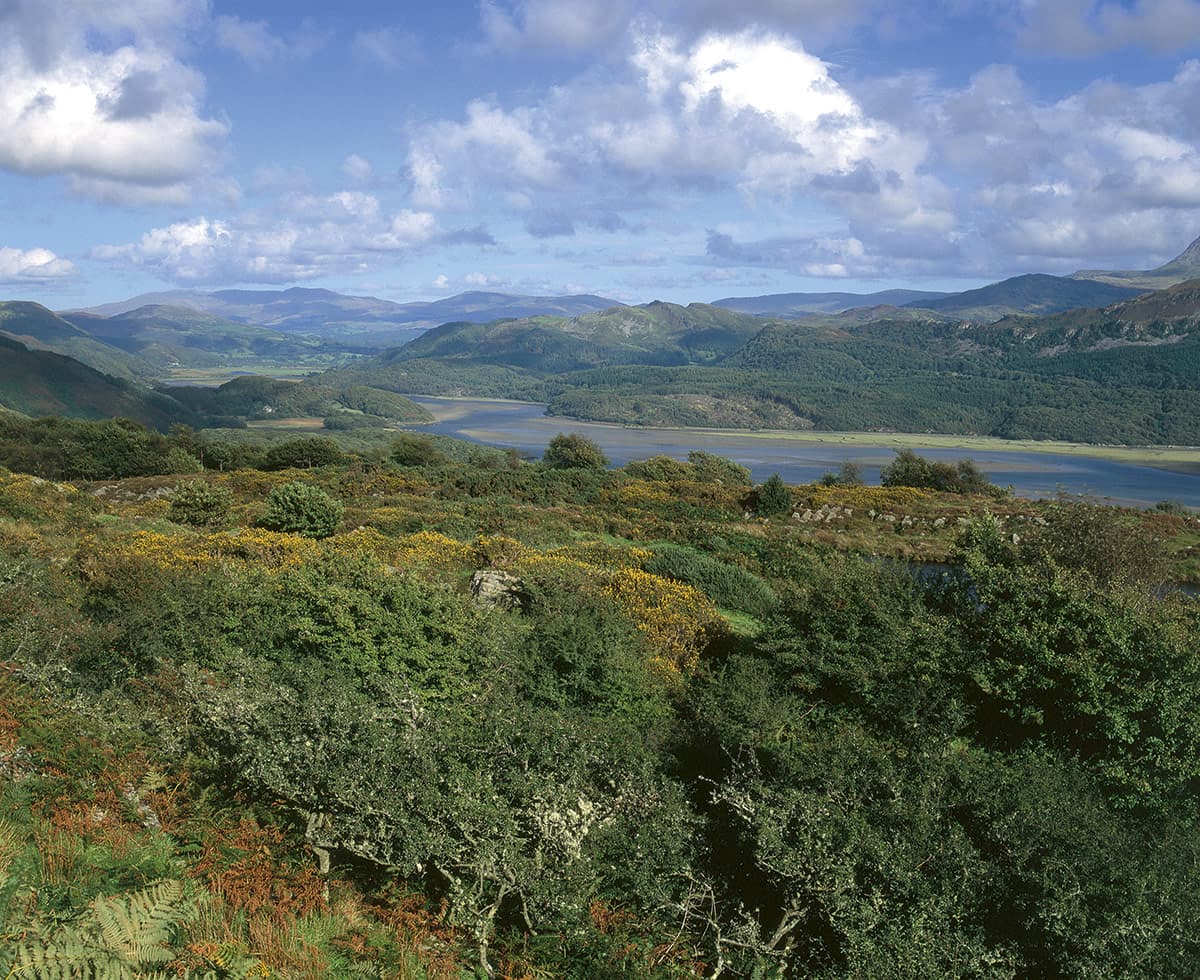
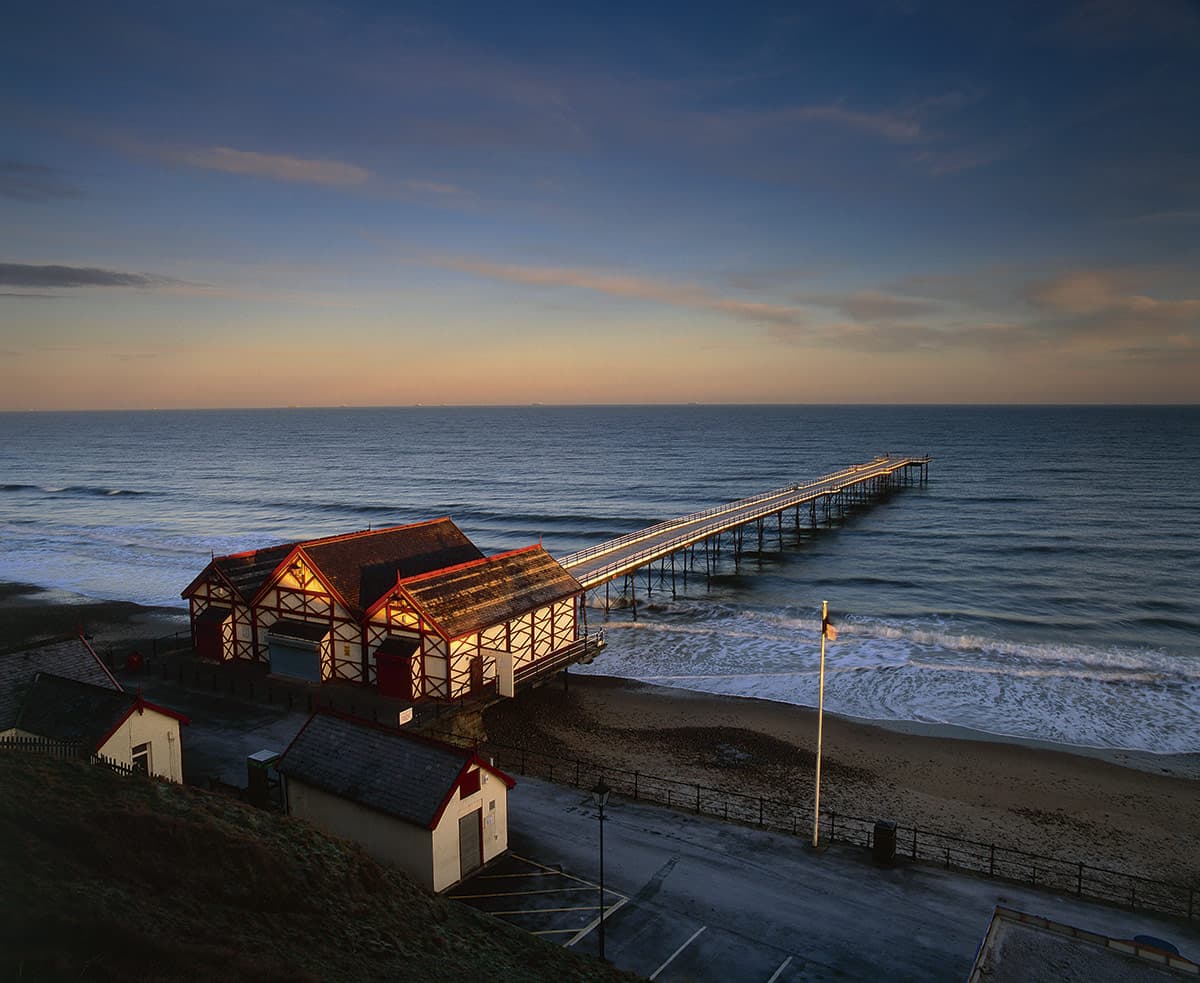
Light is free and will make or break an image. Take the time to study and understand light, and how it changes throughout the day, Credit: Craig Roberts
Photography is all about light, and landscape photographs distinguish themselves by how well they are lit. This means that images taken in the middle of the day won’t do a location justice, as the light is harsh and unflattering.
The golden hours for landscape photography are an hour after sunrise and an hour before sunset. These are the peak times for good landscape images, as the light is soft, revealing a gold warmth, and it flatters any subject lit at this time.
In reality, this hour can be extended a bit further to take in a variety of locations, but the closer you get to midday, the worse it gets. In autumn and winter you can get away with shooting all day, as the sun never really gets that high in the sky. However, this all changes in summer, when you might have to finish shooting at around 9am and not start again until after 6 o’clock in the evening.
2. Low budget tips: Use a tripod
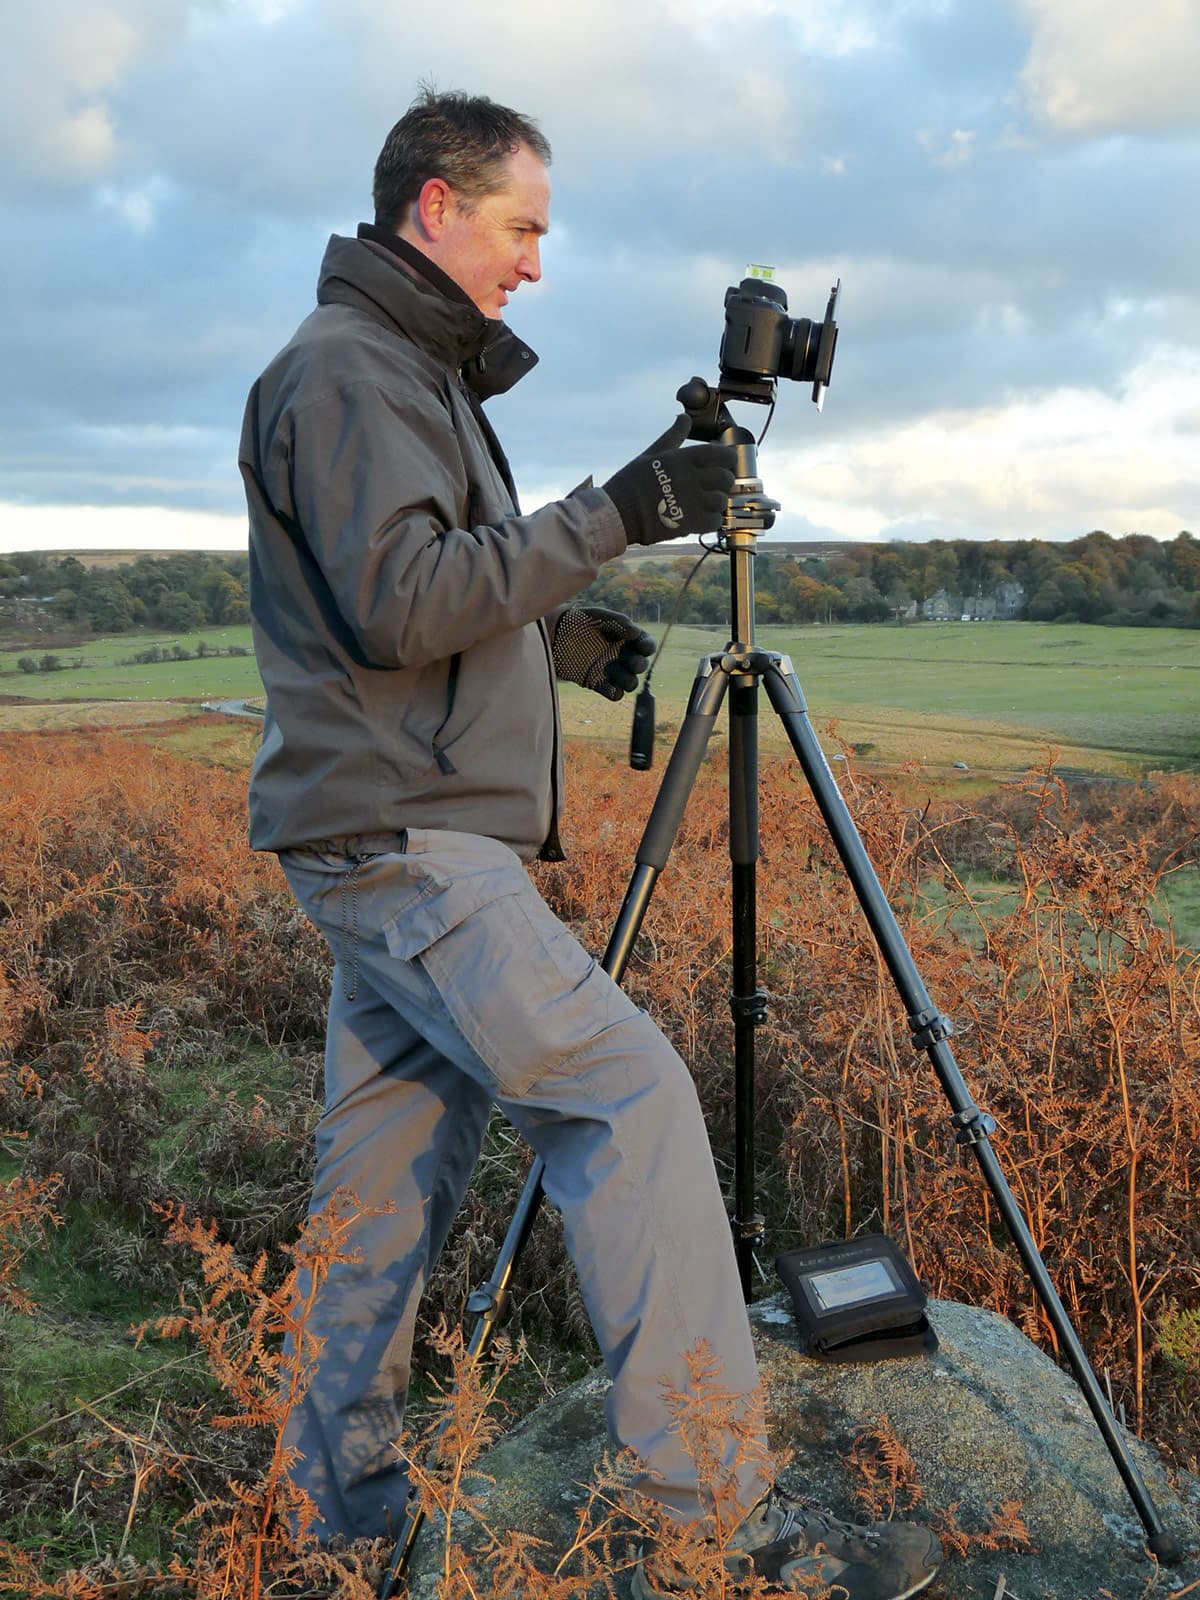
Investing in a good tripod is essential if you want to improve your photography, Credit: Craig Roberts
Camera shake ruins any picture. However, there are several ways to keep your camera steady and pictures shake-free. The easiest and best way is to use a tripod, which should be regarded as an essential piece of kit, alongside your lenses.
A good solid tripod not only provides a rock-steady platform, but it also slows down the picture-taking process, which in landscape photography is essential for well-composed images.
If you’re going to spend money on any accessory, this is the one. It doesn’t have to be too much money though.
3. Low budget tips: Compose yourself
Good composition is key to a successful image, so incorporate the key techniques when you can, such as lead-in lines as illustrated here, Credit: Craig Roberts
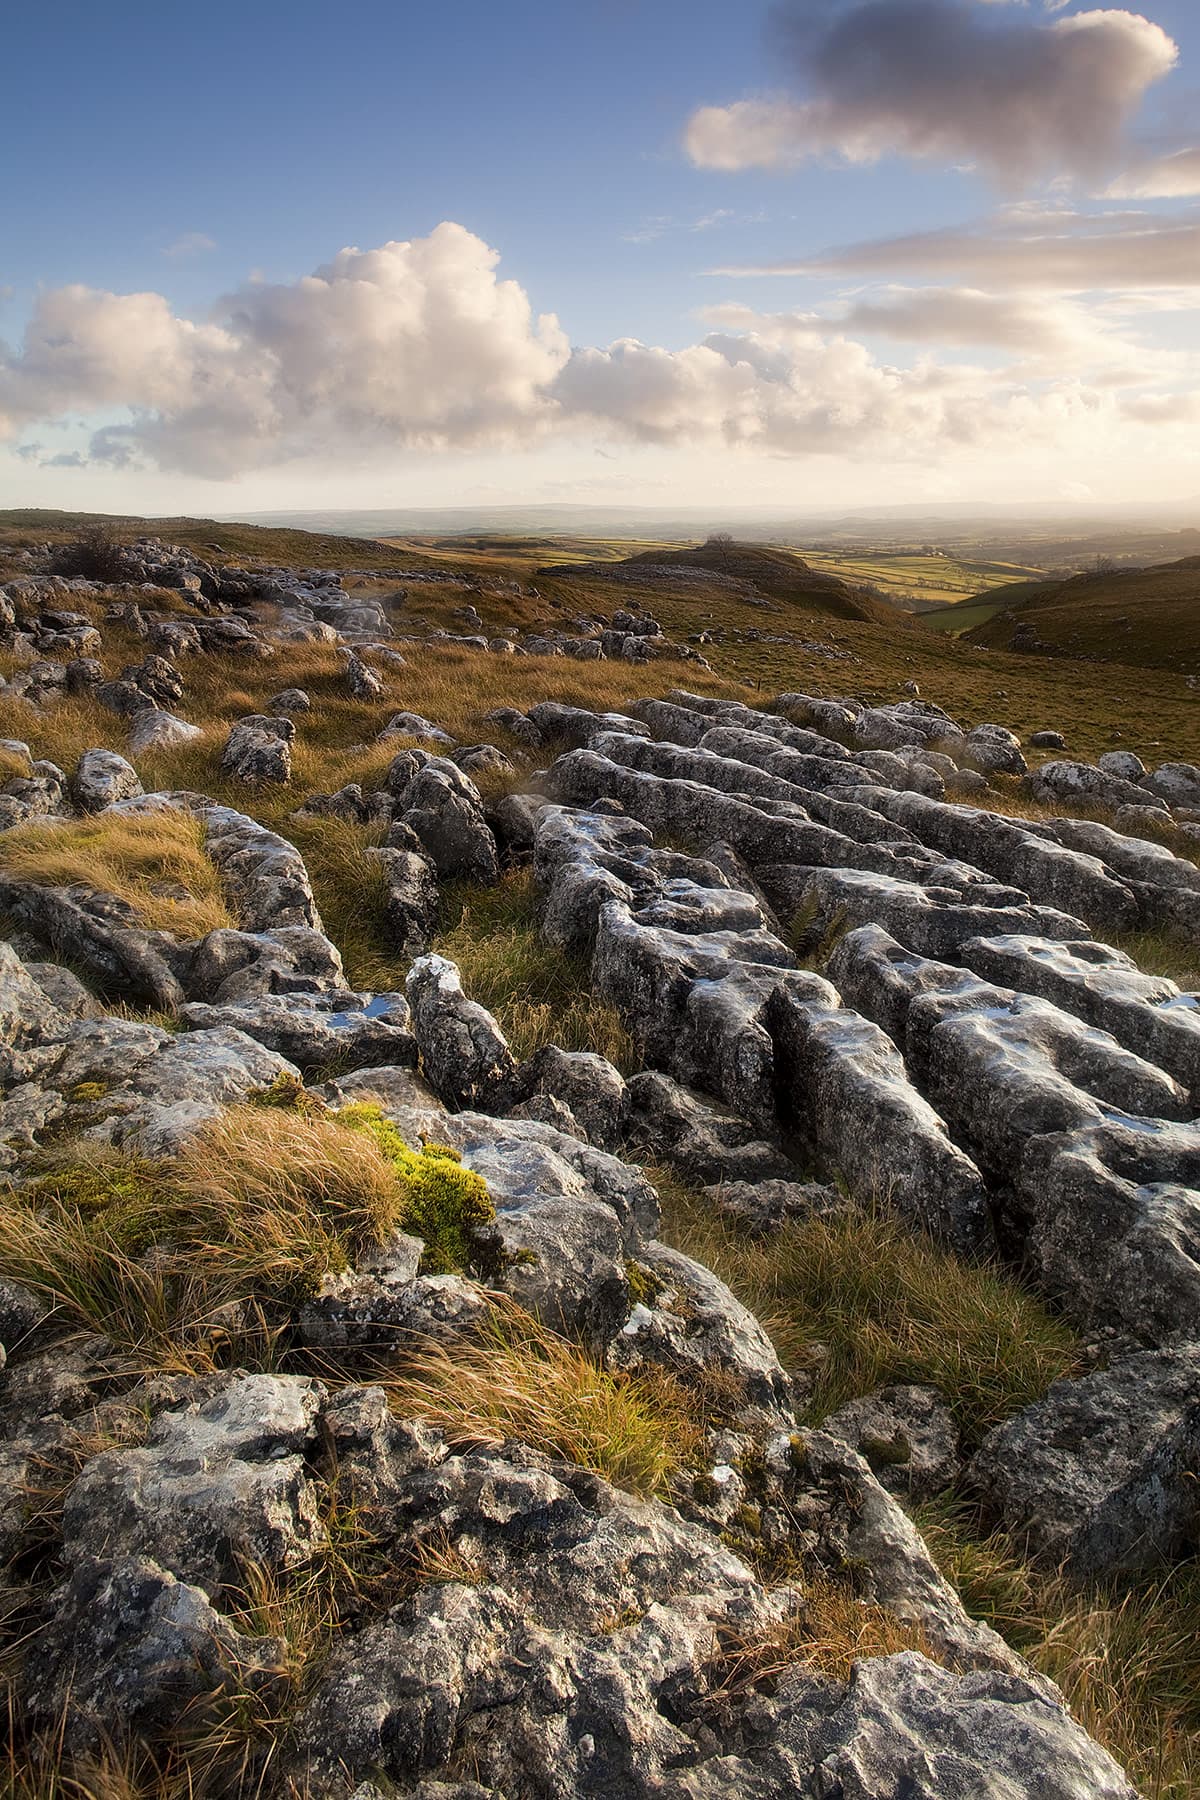
Thankfully, good composition costs nothing, but it is invaluable for successful photography. Landscapes benefit greatly if you can fill the foreground and help give your compositions a sense of depth. So don’t concentrate solely on the view beyond, but instead consider your foreground by including a rock, gate or fence as the starting point of the journey into your photograph.
Fences and pathways can also be used as lead-in lines, and are a great technique for adding interest to your images. These can be used to draw the eye into the picture towards the great view beyond, and is an interesting way for the eye to be led towards that view.
When composing your image, think about where to place the main subject. Bang in the centre of the frame is not usually the best place, so use the rule of thirds technique for deciding where to position the key subject. To do this, divide the picture into thirds, by having two vertical lines and two horizontal lines dissecting the frame. Your key subject should then be placed on any of the cross sections where these lines meet.
All these techniques will greatly improve your pictures, so think about their benefits as you compose your images.
4. Low budget tips: Edit
Edit and delete your weaker shots. Here the wrong composition and flat light prevent this image from being as good as it could have been, Credit: Craig Roberts
Deciding which images to delete is as important as keeping the best ones. Including weaker shots will diminish the effect of the better images, especially when viewing many photos at once. You need to be quite ruthless with the editing process, so don’t be afraid to delete an image if it doesn’t work.
If you understand why an image is not right, then put it down to experience or return to the location and re-shoot. Edit carefully and weed out the shots that failed, so you will have a portfolio of great pictures that you are proud of.
5. Low budget tips: Project yourself
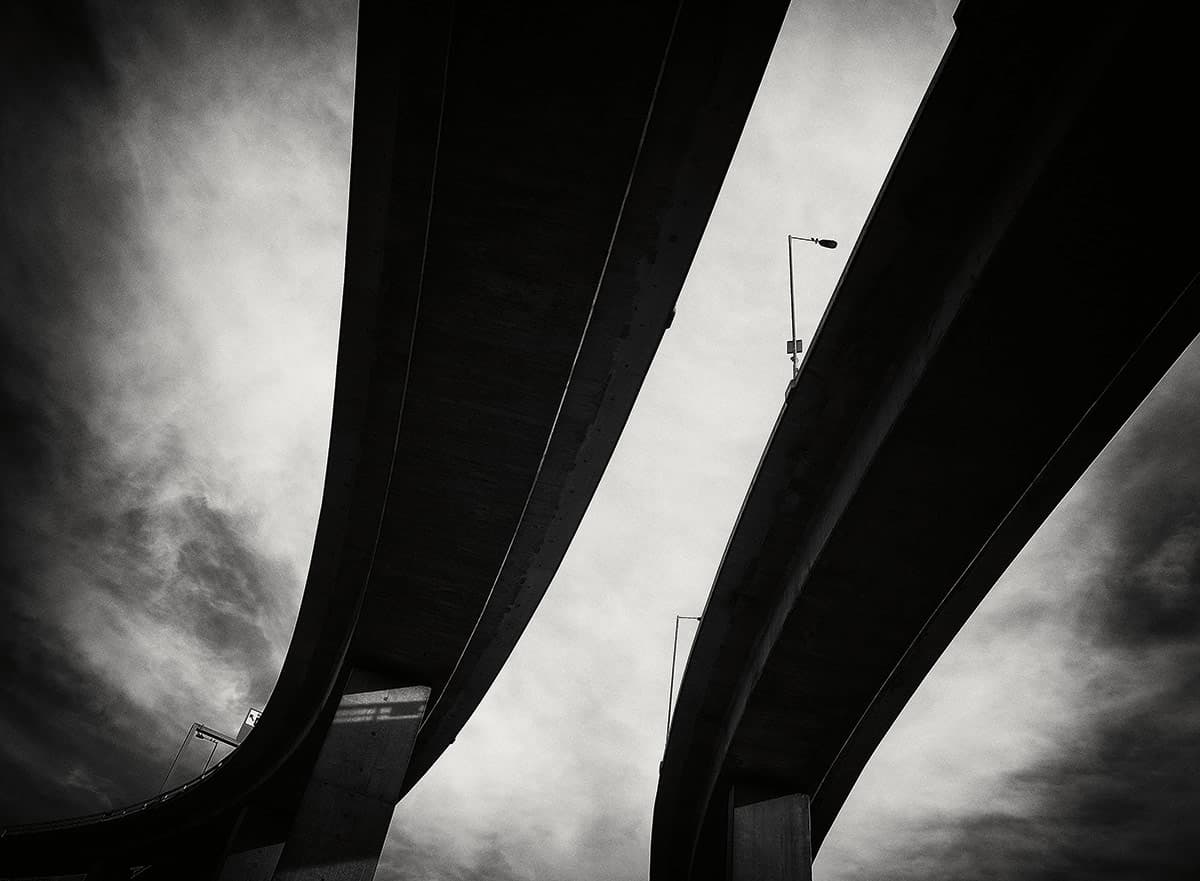
Pick a subject and photograph it as creatively as possible, just as I did for my ‘Flyover’ project, Credit: Craig Roberts
Setting yourself a project is an ideal way to focus your attention. Shoot themes, subjects and places, or focus on a particular technique. You’ll be less distracted by other elements and you can think about how to get the best out of the subject. You can tailor your techniques to that one subject and even visit certain locations based around the project.
It’s a great way to improve your photography and you can often take any new skills learned from the project and use them in your regular photography.
[collection name=”small”]
6. Low budget tips: Get creative

Being as creative as you can is the key to composing images with impact and originality, Credit: Craig Roberts
Keep your images fresh and exciting by using more creativity in your viewpoint and technique. If you always shoot from standing-height level, then all your images will have the same perspective. Consider shooting from a higher or lower viewpoint. Getting lower usually just means kneeling or lying down and looking up at your subject. In contrast, a high viewpoint can mean anything from climbing a few stairs to getting to the top of a building for a bird’s-eye view.
Experimenting with different apertures and shutter speeds also adds creativity to your images. You don’t always have to shoot at f/11 or f/16 – indeed, using f/4 for a shallow depth of field will make a subject stand out from its background. The same applies to shutter speeds – using a longer speed is a great way to give your images a new and exciting look.
7. Low budget tips: Crop for effect

Your images don’t have to stay in the rectangular format that your camera shoots them. Changing the format to suit your subject can produce more interesting results, Credit: Craig Roberts
In addition to editing your images, consider cropping and reformatting them to make them work, or even make an alternative frame for them. Cropping a rectangular image to a square or a long panoramic format will give the image a different look and may even make the image work, where it may not have as a regular rectangle.
Also, consider cropping your images to keep the composition tight. This may be just to avoid or exclude any distracting elements in the full-framed image or just correcting the viewpoint if you shoot with too-wide a lens. Often this only becomes apparent as you view the image large on a computer screen, so don’t be afraid to crop the image if you feel it will benefit from this.
8. Low budget tips: Take notes
To help you improve your photography, it’s worth taking notes of any settings you used so you can use them for reference next time. This will help, even if things went wrong first time, as hopefully it will allow you to analyse your mistakes and avoid them in the future.
Digital cameras have made this note-taking process much easier, and the main camera settings, such as aperture and shutter speed, as well as metering mode and which lens you used, are all stored in a file with the image. You can therefore easily refer back to this information when reviewing an image and know exactly the settings that created the technique evident in the picture.
It is still a good idea to carry a notepad with you in your bag. In this way, you can easily jot down factors that aren’t registered by the camera. These include locations visited or how you took an exposure reading and from where you metered in the scene.
9. Low budget tips: Get it right in-camera
Photoshop doesn’t have all the answers and getting things right in-camera is the best approach. It may mean using a filter, if you have one, but simple things like exposure, composition and depth of field are other important factors, too, Credit: Craig Roberts
Digital imaging has totally revolutionised photography and there is so much you can do to change or correct an image.
However, it can become all too easy to fall into this trap and think that you can correct any mistakes or dramatically change the image if it doesn’t look right. Just as in the days of film, it is important to get things right in-camera as much as possible. This means things like composition, light and exposure, all of which will benefit your final image if they are correct when you click the shutter.
For this reason, Photoshop and other editing options should ideally be seen as tools for tweaking your images rather than rescuing them. Software has its limitations, and if you try to change too much it will become blindingly obvious and the image will fail as soon as your tinkering becomes evident.
If you feel you are rescuing the photo with the software, then perhaps you should actually think about going out and reshooting the image.
10. Low budget tips: Deconstruct other people’s photographs
If you feel deflated looking at the superior work of others, define what you like about the images and where you feel they excel.
Deconstructing an image in this way will help you to reconstruct your own version on location and create an image with identical elements from the view that you are faced with. Look through photography magazines, search images on websites such as Flickr and 500px or, best of all, go to a photo exhibition.
Work out why the photographer captured the scene in the way they did, and what they may have been thinking as they pressed the shutter. You are trying to tap into the mindset of the photographer, and through this, you can pick up tips and ideas of how to achieve similar results at your chosen location.
Here are a few points, techniques and questions to consider when deconstructing other people’s photographs:
Read the image like a book
Credit: Craig Roberts
Where does it begin, where is the middle and where does it end? What is the main focal point or subject and what gives it its personality? How did they make use of foreground and its relationship with the other elements in the composition?
Did they use a filter?
Credit: Craig Roberts
Although a well-taken image should not reveal signs of a filter, you should still be able to determine which filter has been used. With clear skies and rich colours, no doubt a polariser was used. With good sky detail an ND grad will have been added to control contrast.
What format?

Credit: Craig Roberts
Horizontal or vertical? Square crop or panoramic? Why does the image suit its format? Does the vertical frame make use of the foreground or does the square format add balance to the composition? These are all essential questions to ask yourself.
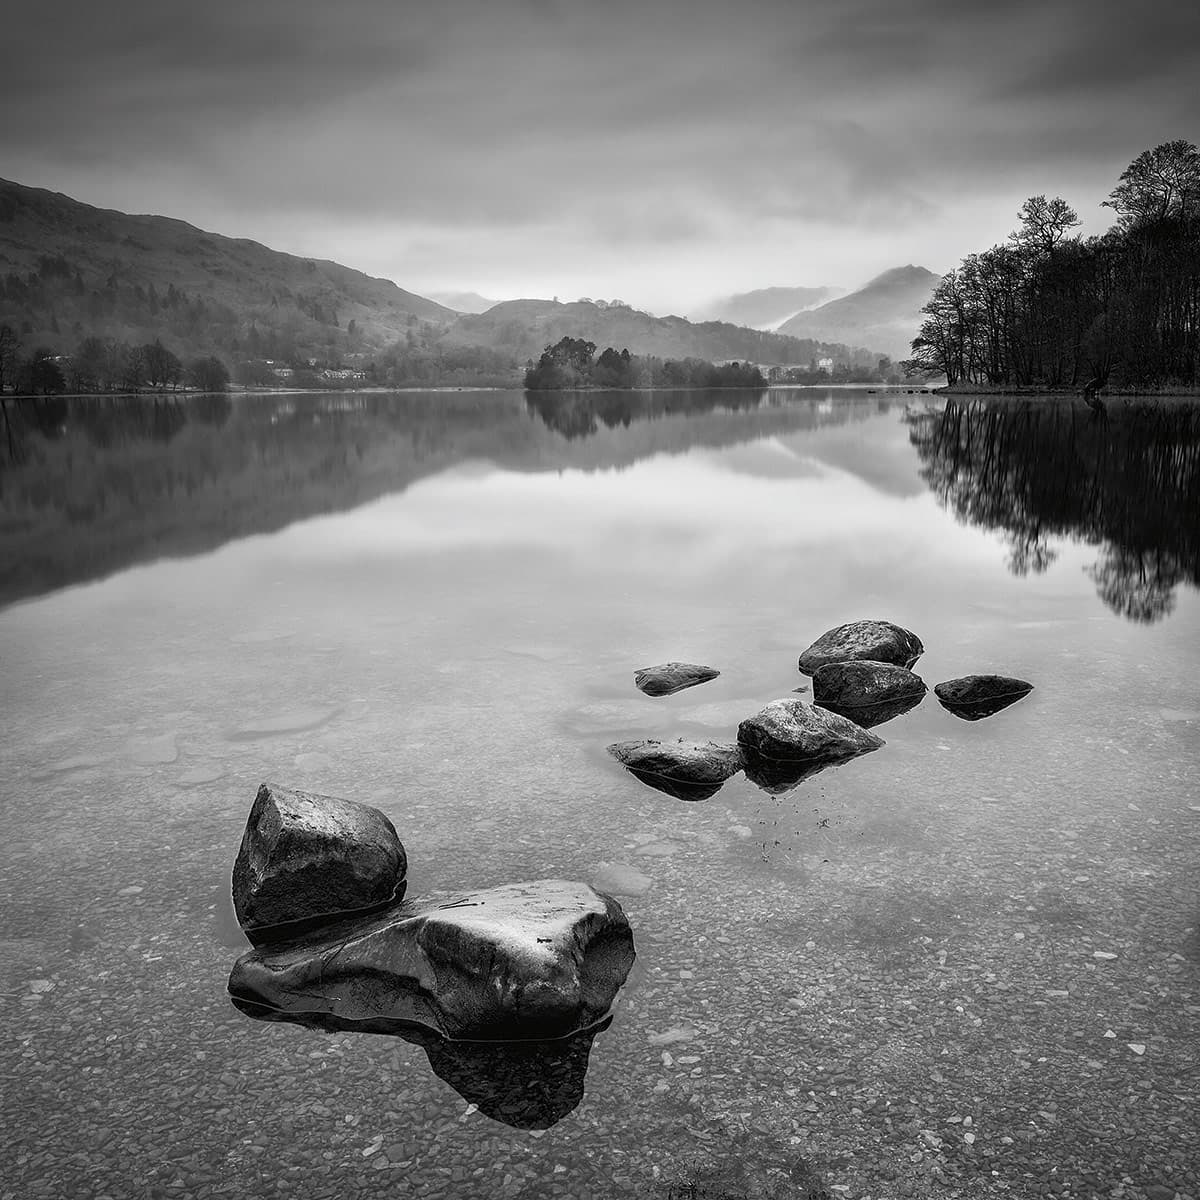
Colour or black & white?
Credit: Craig Roberts
Many views are improved by a black & white conversion. Why did a photographer choose black & white? Is it the use of tones or the added contrast? Why would a colour version have failed? See the world in black & white and your options are increased.


