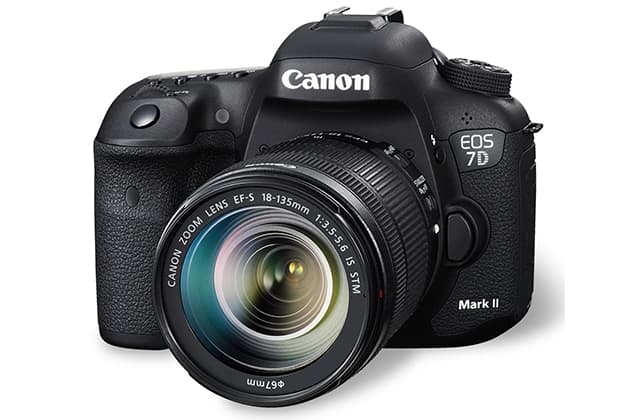
Towards the end of 2014, fans of the Canon 7D were finally given the news they’d all been waiting for – the release of the Canon 7D Mark II. With five years separating the original from its upgrade, the Mark II offers a host of new and improved features over its predecessor. In particular, a number of upgrades to its video recording function made the ears of keen videographers prick up.
To start with, the 7D Mark II has been given a much-needed headphone port, which means you can now live monitor the audio that’s being recorded. Sitting alongside the CF memory slot is a newly included SD card port, which effectively doubles the amount of data that can be recorded without having to manually replace memory cards. There’s also the option to record footage in the more widely recognised MP4 format as opposed to the standard MOV files.
The 7D’s AF during live view has also seen a much-needed improvement and now features the more accurate on-sensor phase detection, compared to the previous contrast detection of the Mark I. Not only does this allow for much more responsive AF while in live view, but it also opens up the door to full AF during video recording – pretty impressive.
Smaller but still noteworthy improvements include a faster DIGIC 6 processor, higher-resolution LCD screen (1,040k dots, up from 920k dots) as well as an extended ISO range, spanning from 100 to 16,000 natively, with the ability to expand all the way to 51,200 when unlocked via the settings menu.
We’ll be delving deeper into what makes the 7D Mark II a top choice for avid video makers, and how you can utilise these features to get the most out of this impressive piece of kit.
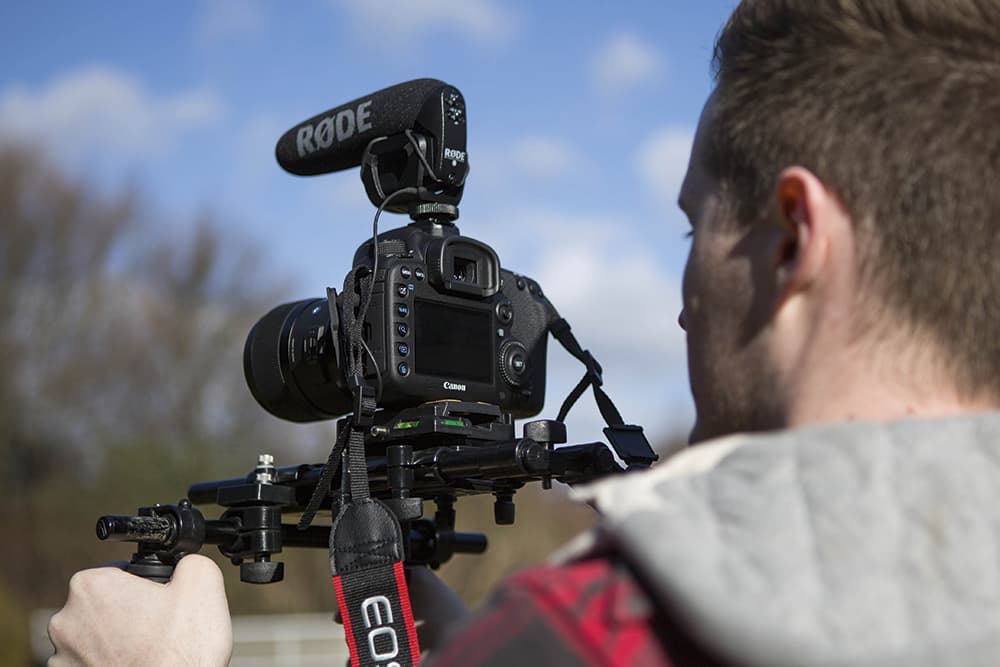
To create smooth handheld footage, I usually pair my EOS 7D Mark II with my shoulder mount, as illustrated here
Frame rates and resolution
For those who are unfamiliar with the term ‘frame rate’, this refers to the number of frames that camera will capture within a second, and is displayed in frames per second (fps). The standard frame rate used in the UK is considered to be 25fps, though this differs to North America, where 24fps is the norm – 24fps is also widely adopted in film. The 7D Mark II offers a healthy selection of frame rates, consisting of 24, 25 and 50fps. Being able to record at 50fps is a great advantage because it allows you to create smooth and professional-looking slow-motion footage by simply reducing the playback speed by 50% using video editing software (effectively taking it back down to 25fps).
The other choice you’ll have to factor in is the video resolution. As with still images, video can be recorded at a variety of different resolution sizes, which are measured in pixels – the 7D Mark II offers the choice between 1920 x 1080 (Full HD, or Full High Definition), 1280 x 720 (HD), as well as 640 x 480 (SD, or Standard Definition).
One thing that makes the 7D Mark II stand out above other DSLRs is its ability to record 50p at a resolution of 1920 x 1080. In the past, other DSLRs that have been able to offer 50fps video recording have only been able to record at a lower resolution of 1280 x 720. This means that with the 7D Mark II you’re able to create full HD slow-motion videos, without having to interpolate the footage in post-production, which can lower the image quality.
Aperture and DOF
The ability to create beautifully blurred backgrounds by using a wide aperture is a feature that played a significant role in kickstarting the DSLR video movement. By combining the 7D Mark II with a fast prime lens, such as the Canon 50mm f/1.8 (£89), it’s incredibly easy to create professional-looking video with a stunning shallow depth of field. However, in terms of practicality, it can be notoriously tricky to keep your subject sharp and in focus when using a shallow depth of field in video mode – especially when shooting handheld. At extremely wide apertures such as f/1.8, even the slightest movement can throw your subject out of focus – enough to ruin the entire piece of video. One workaround would be to use a tripod; providing your subject isn’t moving, this will keep everything in focus. Alternatively, some videographers prefer to err on the side of caution and use a mid-range aperture of f/4 or f/5.6 as this will give them a larger in-focus area, while still producing a pleasing (albeit slightly less) blurred background.
Exposure control
When shooting in video mode, the exposure triangle (aperture, shutter speed and ISO) largely operates in the same way as it does when capturing stills. The aperture value controls how much light enters the camera through the lens, as well as affecting the depth of field. ISO functions in the same way, and allows you to increase or decrease the camera’s sensitivity to light – albeit with the compromise of increased digital noise at higher ISOs.
The shutter speed is often where people start to get confused. It’s important to remember that the shutter speed dictates how long each frame within your video sequence is exposed to light. For example, if you were shooting with a shutter speed of 1/100sec at a frame rate of 25p, each of the 25 frames taken within that second would be exposed for 1/100sec. How this translates into a moving video is that using a slower shutter speed will create a smooth blurring effect (especially when shooting a moving subject), while a fast shutter speed will make your video appear jittery and quick paced (a trick often used in action movies).
A good rule of rule of thumb is to simply use a shutter speed that’s double that of your frame rate. So, if you’re shooting at a frame rate of 25p, aim for a shutter speed of 1/50sec.
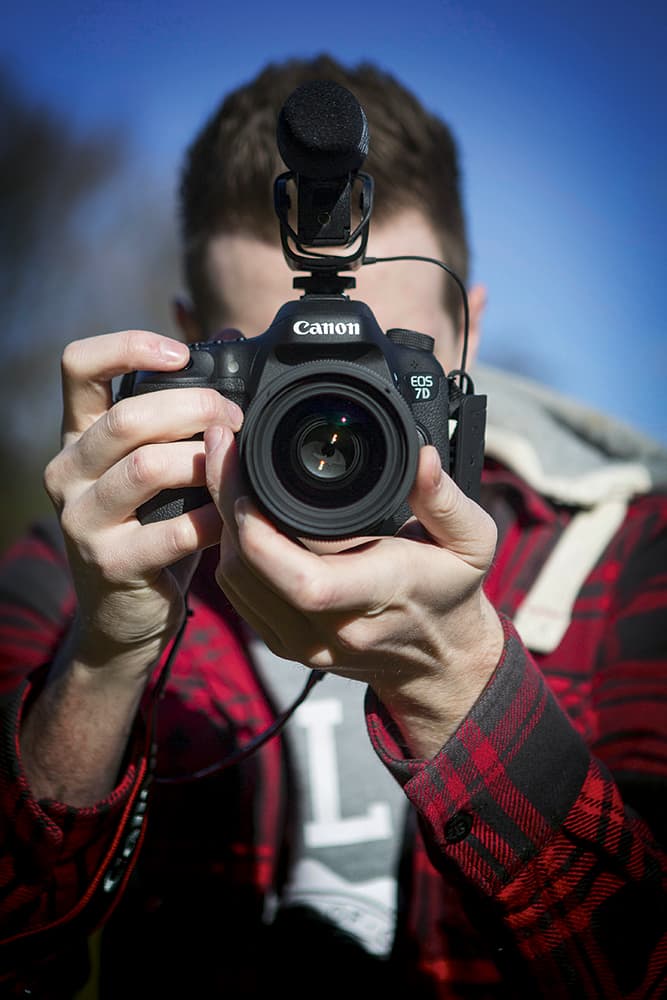
To improve the audio you record, an external microphone that attaches via the hotshoe is a must. I’ve been impressed by the Rode Video Mic Pro compact shotgun mic, which can be picked up for £140 on Amazon
Autofocus
There are two main ways of focusing during video capture – autofocus or manual. You may think the obvious choice would be to rely on the camera’s AF system, but this has its pros and cons. The downside of autofocus is that it’s sometimes possible for the 7D’s built-in microphone to pick up the whirring motor noises created by the lens as it seeks out its target. The fix for this would be to either attach an external microphone, which reduces the chances of the motor noise being picked up, or you could purchase a Canon lens that features a Stepper Motor (STM). These lenses have been developed specifically with video in mind and feature a special AF motor that produces very little noise.
Personally, I prefer manual focus, as this gives me full control over what areas remain sharp. It takes a bit of practice to get used to this method of focusing, but I find that it pays dividends, especially when filming faster-moving subjects where I’m ultimately able to predict and react to movements much quicker.
Still image capture
If you’re worried that you’re going to miss out on too many photo opportunities while you’re recording video, don’t be. The 7D Mark II allows you to take stills even during video capture. And this isn’t a case of the camera simply grabbing stills from the video footage. It will actually allow you to snap a proper photo in any resolution in either single or continuous burst mode, as well as giving you the option of shooting in raw or JPEG. All you have to do is fully depress the shutter button at any point during video capture. The compromise is that while the photo is being taken, live view mode is temporarily deactivated and your video capture will be paused. Once the final exposure has been captured, the video will resume recording. While this results in a noticeable gap in your footage, it’s still a great way to give photographers that added flexibility. It’s worth noting that this function is not available when shooting in 1920 x 1080 at 50p.
Full frame to APS-C
Prior to owning the 7D Mark II, I had the 5D Mark III and 5D Mark II. With my increased video workload, I decided that it was time to look for a DSLR that offered more advanced video options than my 5D cameras – the 7D Mark II stood out as the clear choice. My plan was to trade in my 5D Mark II and use the money towards a 7D Mark II. I did have reservations about trading a full-frame body for an APS-C, but it was clear to me that the overwhelming advantages the 7D offers over the 5D Mark II – not only in terms of video but also with its rapid 10fps burst rate for stills – would complement my 5D Mark III perfectly. I now use my 7D Mark II primarily for video and sports photography, while my 5D Mark III remains my photography workhorse.
Video viewing
The Canon EOS 7D Mark II also gives you the choice between recording ‘i’ (interlaced) and ‘p’ (progressive). These are just different ways in which the frames are captured within the video clip. Without going into too much detail about the technicalities, interlaced footage is only really suited for playback on a TV, while progressive is best for viewing on a computer monitor. If you’re just starting out in video and you’re unsure which to use, I’d recommend setting your DSLR to progressive.
Setting up your Canon 7D Mark II to shoot video
Whether you’re a newcomer to the Canon EOS 7D Mark II or a more experienced user, you’ll want to make sure you set it up carefully in order to shoot the best movie footage you can. Here, I have broken down the way I set up my camera before a video shoot into five easy steps.

STEP 1
1. Activate video recording mode by switching the live view dial to video. If no information is displayed around the edge of the screen, tap the Info button a few times, then press the ‘Q’ Quick Menu button to access the list of settings down the left of the screen. Use the joystick to navigate to the Movie Rec Size option and press the Set button. Next, choose 1920 x 1080.

STEP 2
2. Switch the camera over to full manual (M on the mode dial) and dial in a shutter speed of 1/50sec. Next, set the ISO to the lowest possible setting (usually 100) and adjust the aperture accordingly to achieve a correct exposure by using live view as a guide. Also, for the best results, don’t forget to double check the camera’s white balance is set to auto.

STEP 3
3. If you want to use the camera’s AF system during video capture, first ensure that the lens is set to AF on the lens barrel, then press the Quick Menu button and scroll to the AF Method option. Use the rear command dial to select Face Detection + Tracking, then hit Set. Alternatively you can switch the lens to MF and use the focus ring to focus manually.

STEP 4
4. If you’ve purchased an external microphone, attach this to the hotshoe mount and plug the jack cable into the mic input that’s located beneath the rubber flap on the side of the camera body. Press the Menu button and under the ‘Shoot4: Movie’ tab, set the Sound Recording option to auto. Insert a set of headphones in to the headphone input and you can monitor your audio.
STEP 5
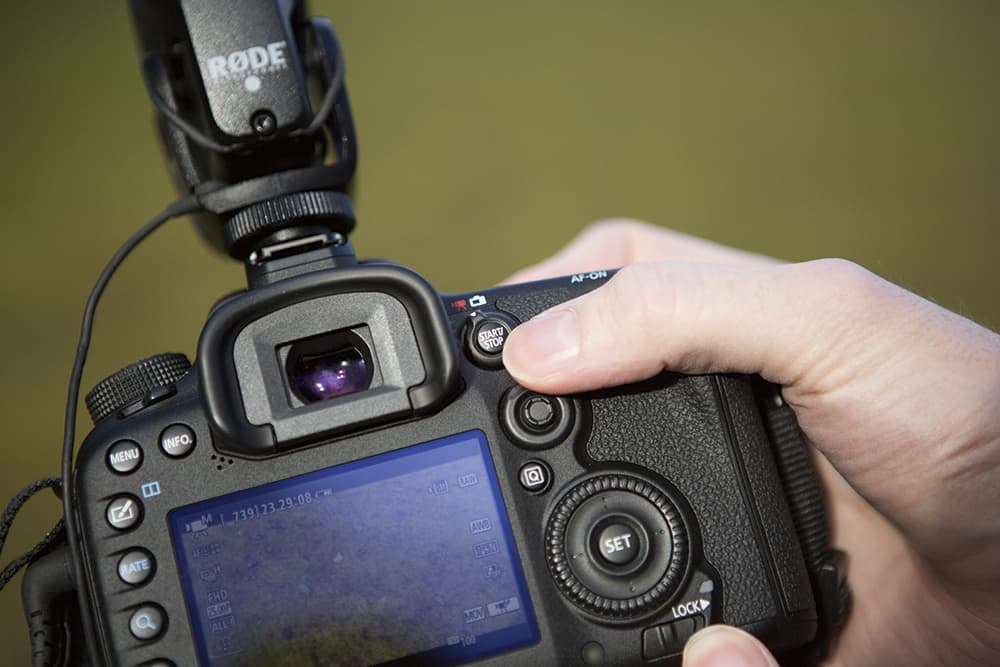
5. Once you’re ready, simply hit the start/stop button to start recording – you know that it’s recording if you can see a red dot at the top right of the screen. While you’re recording, you can monitor your video by viewing the live feed on the rear screen, so keep an eye on the focus and for changes in light. To stop recording, simply press the start/stop button again.