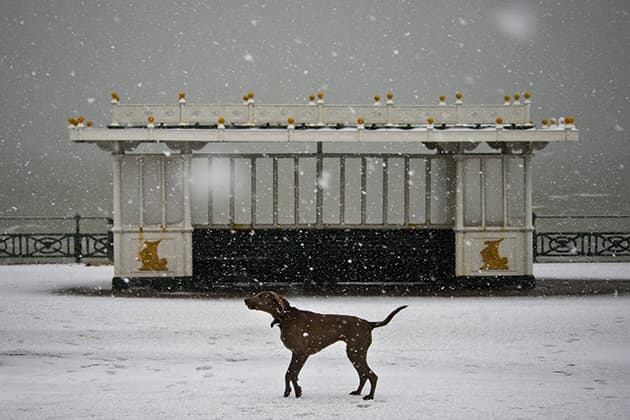

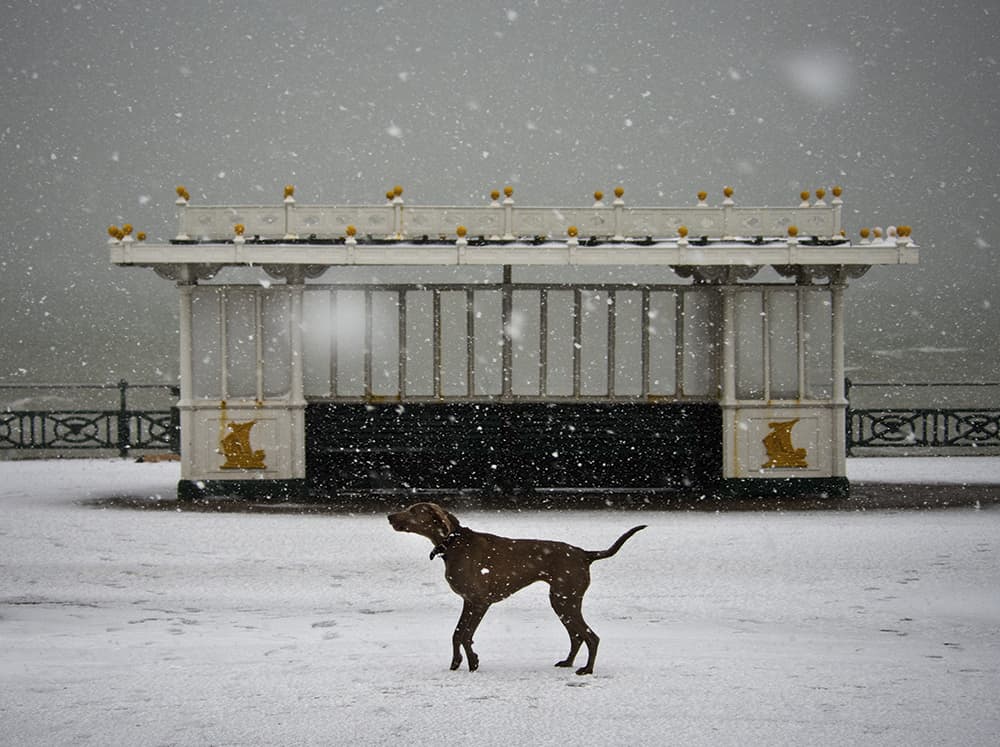
If you shoot a lot of landscape and architecture images, creating a pre-set can make the shooting process much more straightforward. All photos by Nigel Atherton
If there is one aspect of Olympus cameras that reviewers and photographers complain about with some justification, it’s the complexity and sheer verbosity of the menus and other on-screen settings and controls. However, therein lies one of the strengths of Olympus’s current range of cameras; you can access and adjust an almost unparalleled level of camera functionality and, through extensive customisation options, make it work better for you. With a bit of help, it’s not that difficult to set up personal custom settings, and the benefits of doing so can be huge. This article aims to show you how to master your OM-D E-M10’s settings and controls, but as Olympus’s core camera operating system is very similar from model to model, you will find useful pointers no matter which Pen or OM-D model you use.
I will show how you can choose the most appropriate central settings control display for your preferences, how this ties into deeper camera settings and options, plus how to make sophisticated customisations from re-assigning button functions to reconfiguring the camera’s controls and default settings to custom sets, and switching to and from them at a moment’s notice.
Control display options
By default, you can access and alter basic camera settings that are displayed along the right-hand margin of the screen, by pressing ‘OK’, but you need to scroll to reach all the options. This control mode is called Live Control. Its advantage is that the live view remains mostly unobscured, so you can see your composition at the same time. If that isn’t important, then the Live Super Control Panel (Live SCP) has a lot to recommend it. It’s a matrix of settings in one screen that can be navigated quickly and easily. In SCP mode, you simply highlight the item you want to alter and then turn a settings dial or click OK to reveal a dedicated adjustment window for that item. You can choose the LCP or SCP as the default for different camera modes via Menu> Custom Menu> D Disp> Control Settings.

For portraiture, set up a preset that includes a wide aperture, which allows you to create a shallow depth of field
Menus
Probably the first thing you’d look for when switching on an unfamiliar camera for the first time is the menu button. It’s no different for Olympus cameras, and the E-M10’s menu button brings up a set of top-level menu options identified by icons along the left side of the screen.
Shooting Menu 1 (Camera icon with the number 1)
Shooting Menu 2 (Camera icon with the number 2)
Playback Menu (Play button icon)
Custom Menu (Gear cogs icon)
Setup Menu (Spanner icon)
By the way, the touchscreen does not work with these menus, you need to use the four-way control and buttons as prompted. By default, a box will pop up with a brief description of the menu or mode you have highlighted. You can toggle this on and off at any time by pressing the Info button.
On first use, you will need to use the last menu or Setup Menu to configure the time and date and other basic preferences. Olympus knows that the Custom Menu is intimidating, so you have the option of hiding it from here if you wish. But we’re not going to do that here. Briefly, let’s go through the Setup Menus:
Shooting Menu 1 offers just six options – there are no more available by scrolling the screen. Card Setup is straightforward for formatting memory cards. Reset/Myset is for resetting the camera either to factory defaults or for your preset custom settings, which we will explore further later. Option three is Picture Mode, while the fourth option with the icon (resolution) is for setting the still picture and movie quality settings. Image Aspect gives you a choice of crop frame modes and Digital Tele-converter is a digital 2x zoom mode.
Once we move on to Shooting Menu 2, things start to look a little more obscure. The first option, with the two icons, is for single, continuous and self-timer delay. Image Stabiliser is fairly obvious, as are Bracketing, HDR, Multiple Exposure and Time Lapse settings, and these are covered quite well in the manual. RC Mode is for setting up multiple wirelessly controlled external flash units and deserves a whole article to itself. Again, this menu does not scroll.
The Playback Menu starts with a play button icon that leads to settings for slideshows, the next icon toggles auto image rotation, and then there is an Edit mode. Again, the camera manual covers this and the Print Order and Reset Protect options. Connect to Smartphone deals with one-off setup of Wi-fi connection to your host device.
The next Setup Menu option is the Custom Menu – a leviathan of many levels and sub-levels which scrolls several pages. With time and practice, you will become familiar with some of the many options that are available, and some of these you will want to alter more than others. Some of these options are already assigned by default to physical camera buttons. You also have two programmable function buttons labelled Fn1 and Fn2, and either of these can be assigned many of the Custom Menu options. That’s not all, as many of the other buttons, even the four-way controller keys and the video record button, can also be used as programmable function buttons.
To position your focus point over your subject, use the d-pad on the back of the camera
Custom camera modes
Once you have become used to customising buttons and setting your own preferences, you will realise that some settings are required for one situation and different settings for another. Olympus provides four mode memories it calls Mysets. Each Myset remembers the state of the camera settings when it is set or programmed. You can then recall these in each Myset according to your needs. Mysets are numbered 1-4, which is sometimes difficult to relate to each customised set of controls and so far there is no way of substituting the numbers with customised names.
Here’s how you program a Myset. Say you want to set up the camera for landscapes with a low ISO, no image stabilisation as you’ll be using a tripod, manual focus, single-shot shooting and you’d like function button Fn1 to operate as an exposure-compensation mode button. All you need to do is set the camera up with these options, then to remember them in Myset1, hit the Menu button. In Shooting Menu 1 navigate to Reset/Myset, click OK or the right key, move down to Myset1, click the right key and scroll to Set and press OK.
To recall this camera state, do exactly the same except instead of clicking right at Myset1, which will indicate it has been programmed by the word ‘Set’, press OK and to use that memory choose Yes. You really need to set at least two Mysets with one being your basic default vanilla mode. If you think it’s a bit longwinded getting to the Myset/Reset mode, you can assign it to a function button. The uses for Mysets are only limited by the user – you could have one set for action photography, one for macro, another for street photography, etc.
Programming function buttons
Here are a couple of examples of how to use the E-M10’s programmable buttons. First, for example, let’s make button Fn1 – which by default operates as an auto exposure and auto focus lock (AEL/AFL) button – into a depth of field preview button.
From the Custom Menu select the second option (Button/Dial), then Button Function. Note that here you can alternatively reprogram what the control wheels or dials adjust, even in which direction.
After pressing Button Function, select Fn1 and then scroll down one option to Preview, with the aperture iris symbol.
Press OK to confirm, and from now on the Fn1 button is your depth-of-field preview button.
Indeed, there are 24 different functions that can be assigned to the Fn1 and Fn2 buttons, and the movie record button. If you have a lens fitted that has an L-Fn function button, then it too is able to be assigned any of 24 different functions.
The four-way control buttons can be programmed, too, but in a different way. The first option treats all four buttons as one, with the single function of selecting your focus points and groups. But in from the Function Menu, switching to Direct Function lets you treat the right and down arrow keys as separate programmable function buttons, although each can only be assigned one of a selection of seven functions.
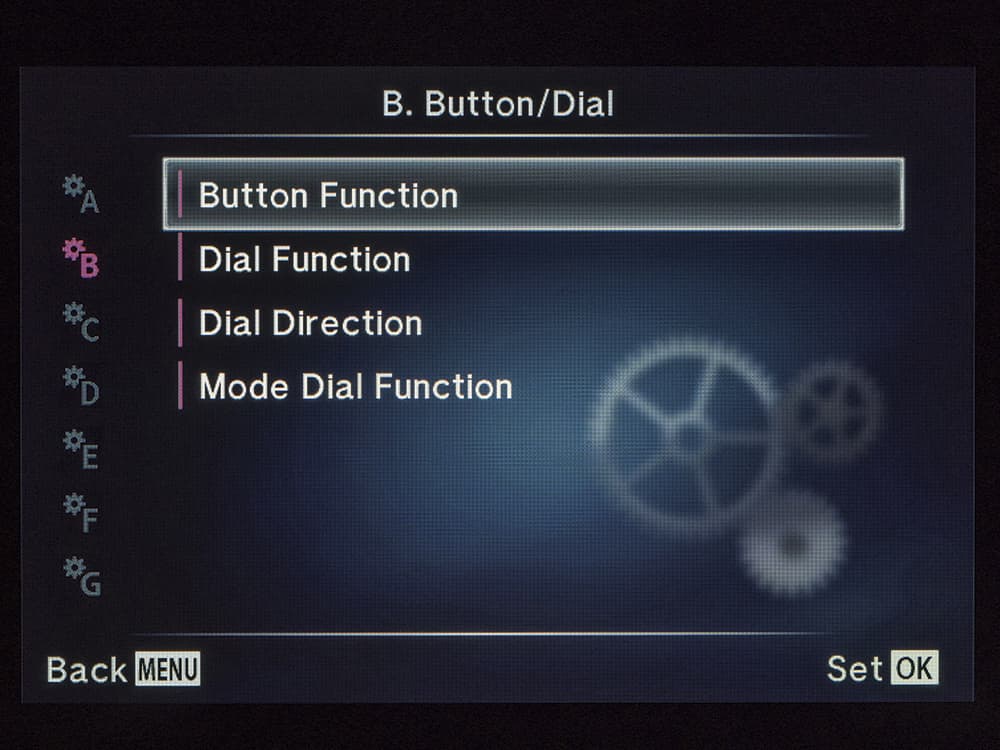
The Button Function option in the Button/Dial menu leads to your choices for re-assigning camera button functions
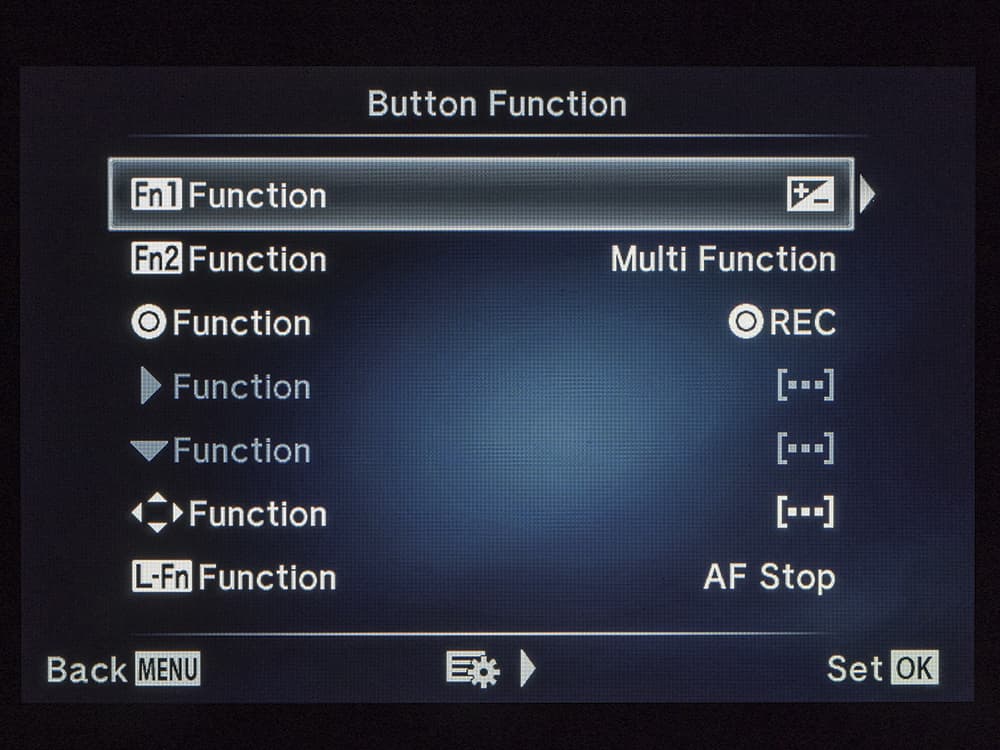
Here we’re selecting Function button Fn1. It’s currently programmed to act as an exposure compensation mode button
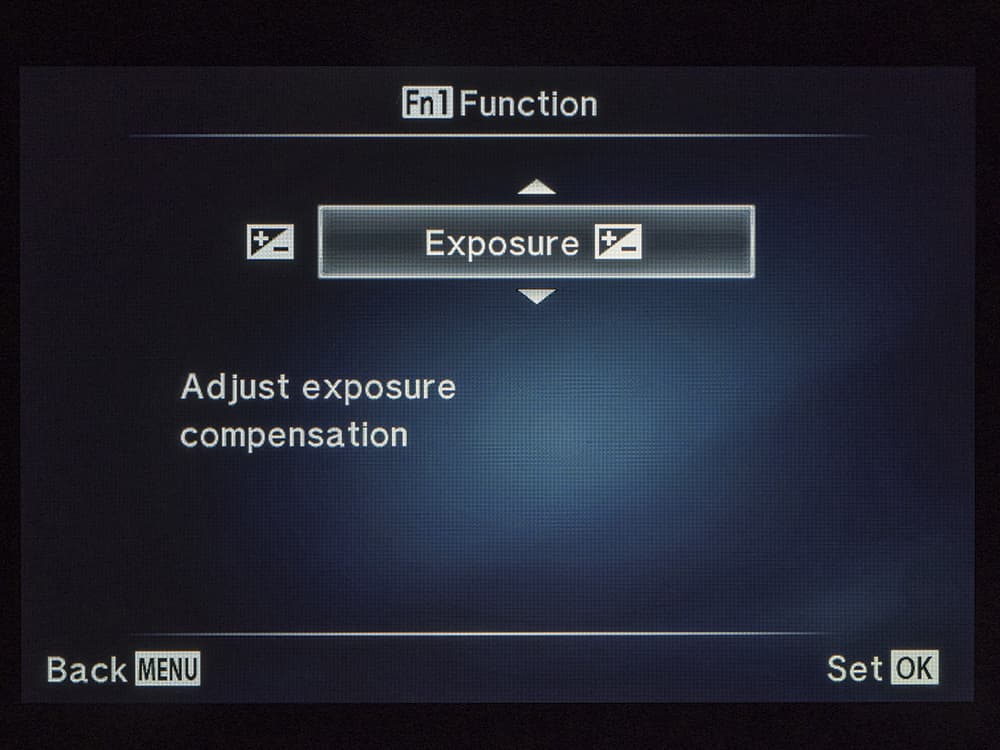
By scrolling up or down you can find over 20 different functions, to assign to Function Button Fn1
How to choose the right control panel for you
Step 1
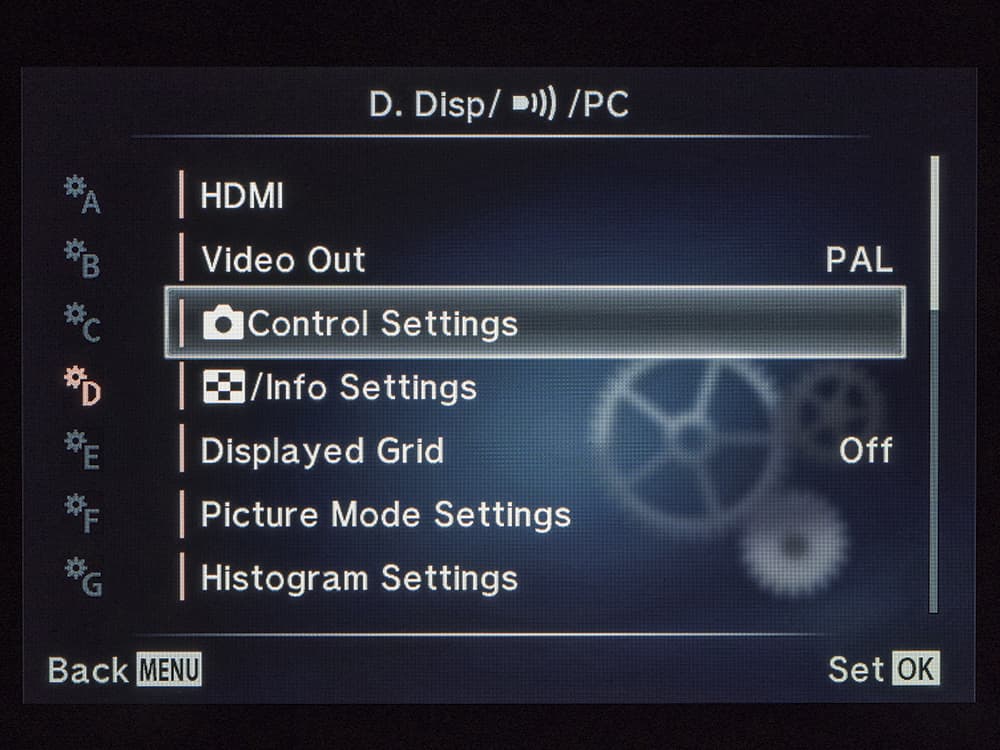
The most commonly adjusted camera settings are accessible from either the Live Control panel or the Super Control Panel (SCP). You can choose which to use by default and in which camera mode, from the Control Settings menu option in Custom Menu> menu D (Control Settings)
Step 2

You can choose different default control panels for iAuto mode, the PASM modes, Art Filters mode and Scene modes
Step 3

For PASM modes, we’re choosing the Live SCP (Super Control Panel) as our default control panel
Step 4
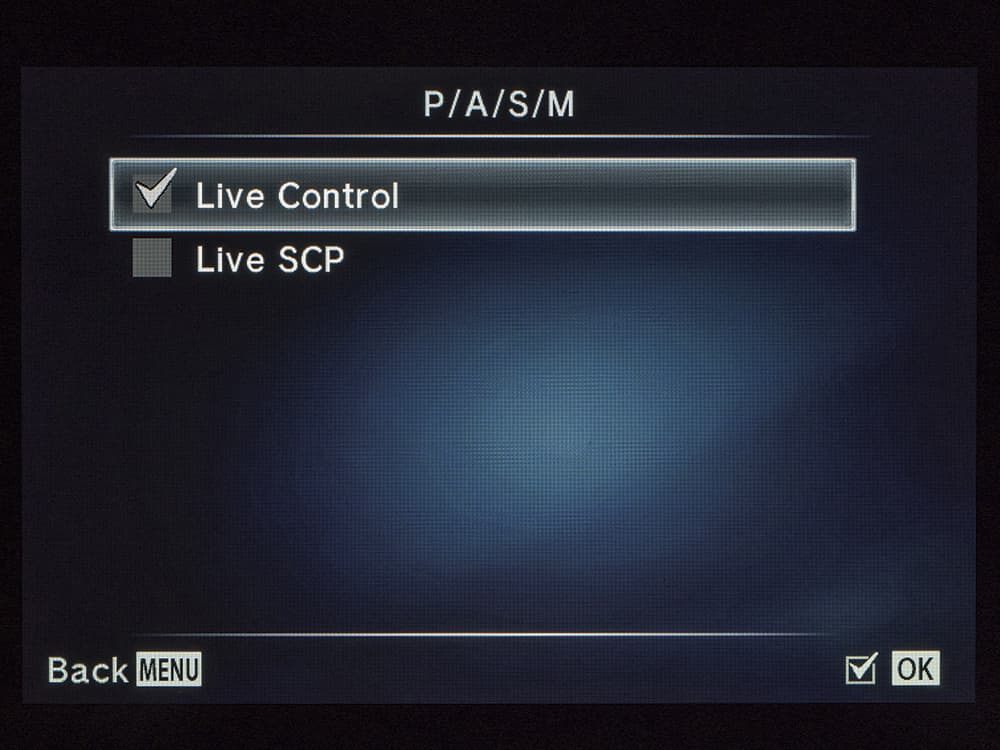
Alternatively, for PASM modes we can choose the Live Control panel as our default control panel
Step 5
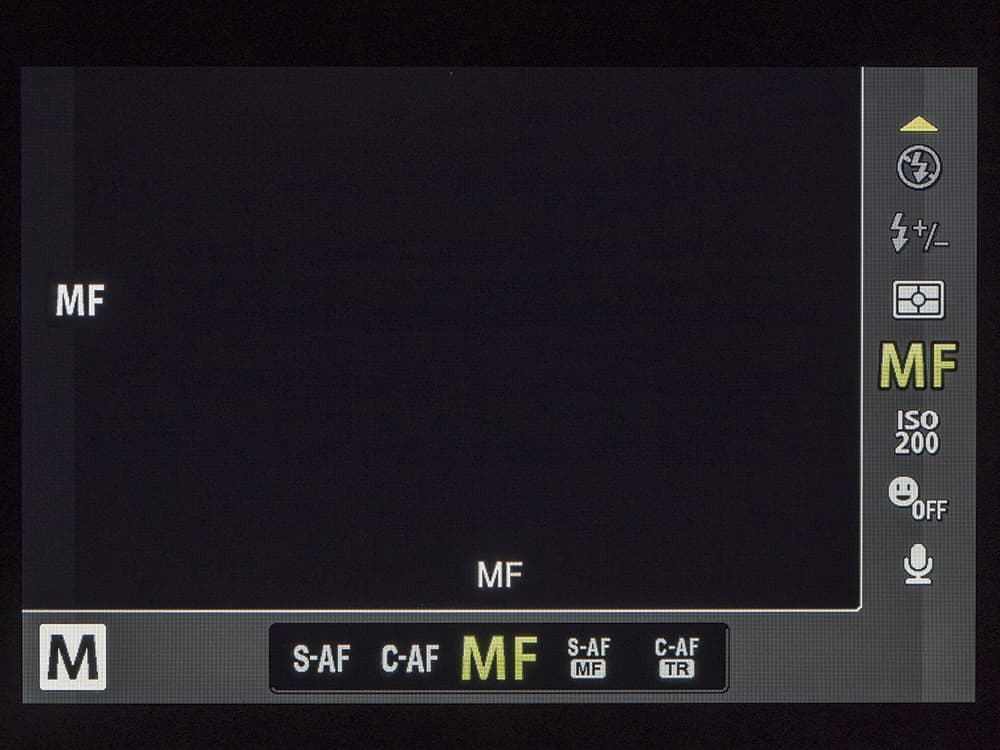
This is the Live Control panel, which preserves the centre of the live view screen but reduces the number of options on the screen at any given time compared to the Super Control Panel