
For this image, pro Tim Bird could go as low as 0.3sec shutter speed at f/22 and ISO 200 handheld and still manage to keep the foliage sharp, thanks to image stabilisation. © Tim Bird
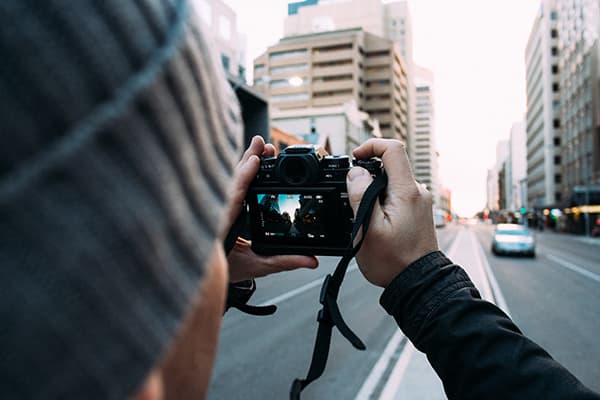
There are plenty of times when a tripod is essential – for instance, in order to keep the image acceptably sharp at very long exposures – but there are also times when a tripod becomes a burden, weighing you down and sapping your energy. There are also some situations, especially in busy cities, when using a tripod can attract unwanted attention and prevent you from getting the shot you want. Thankfully, because of improved high sensitivity noise control and image stabilisation systems there are now fewer occasions when you need to use a tripod, so you can leave your three-legged friend at home and lighten the load.
Most photographers understand the trade-off between pushing up the ISO sensitivity setting of their camera to allow faster shutter speeds and the increase in an image’s noise, so they stop before the speckling or loss of detail becomes too much of an issue. But what about the role played by image stabilisation? Let’s take a look at how it can help you achieve the best results.
WITH IS: The Olympus OM-D E-M1 II’s 5-axis stabilisation system is the best currently available, even allowing handheld shots to be taken with a 2sec exposure time.
WITHOUT IS: Switch off the IS and the image becomes very soft
Lens stabilisation
Image stabilisation mechanisms first appeared when the majority of cameras on the market used film. As it’s far easier to shift a lens element than it is a roll of 35mm film and pressure plate, Canon and Nikon opted for in-lens stabilisation systems. Naturally this was also the preferred system of thirty-party lens manufacturers like Sigma and Tamron as it adds extra value to their optics.
Stabilised lenses have gyro sensors that detect the direction and magnitude of any movement; this information is then relayed to a microcomputer that tells a floating element (or elements) the direction and distance to shift to compensate for the movement. The aim is to keep the rays of light from the subject at the same angle to the optical path, as they would be if there was no camera movement. Achieving it keeps the image sharp.
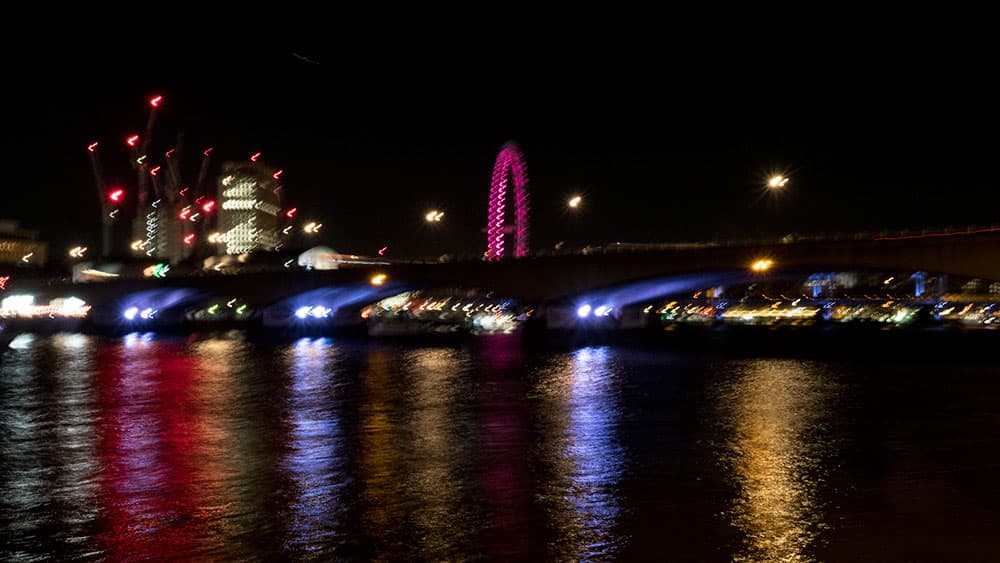
WITHOUT IS
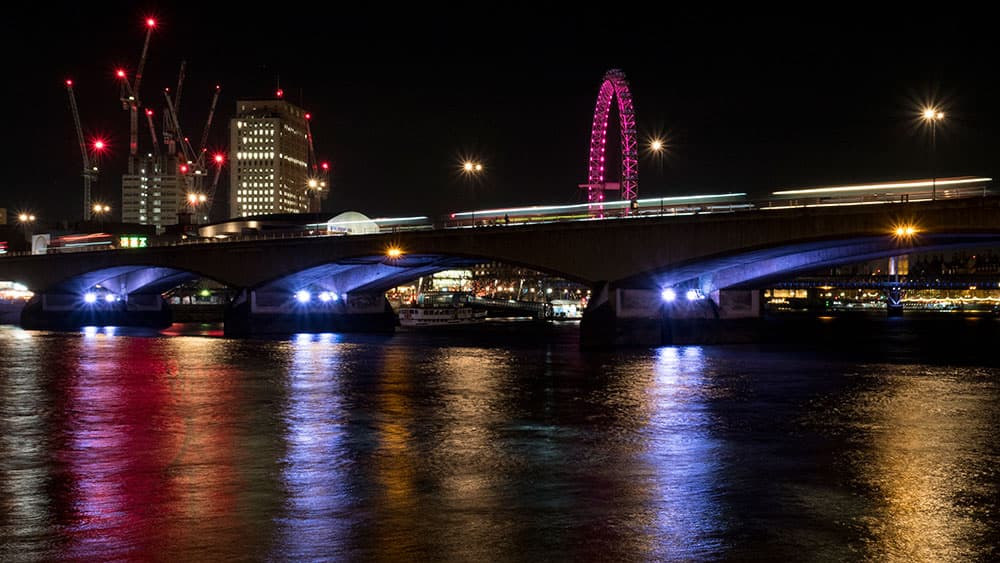
WITH IS: If you shoot with care you can use IS to help you get sharp night-time shots without pushing sensitivity up very high
Sensor-based stabilisation
Rather than using lens element movements, sensor-based or in-body image stabilisation (IBIS) relies on the sensor of a digital camera moving to compensate for camera shake. As in a lens-based system, gyros are used to detect any movement that is then analysed before compensation instructions are sent to move the sensor assembly accordingly.
The first IBIS systems used mechanical movements, but modern ones are controlled electromagnetically. This means the sensor is ‘free-floating’ and faster, so smoother movements can be made. It also means that in addition to making up-and- down (Y-axis) or side-to-side (X-axis) movement it’s possible to make rotational adjustments. As a small movement has a more dramatic impact on a small sensor than it does with a larger sensor, in-body stabilisation tends to be more effective with smaller format cameras than it is with larger format models. Nevertheless, it is still effective with full-frame cameras.
Lens-based vs sensor-shifting
A lens-based stabilisation system enables the correction to be seen in the viewfinder of whatever camera it’s mounted on. This is particularly useful when using long telephoto lenses, because even a small amount of shake can have a major impact on the view in the viewfinder and image sharpness. Consequently, a stabilised lens makes it easier to compose images with longer focal lengths. The downside of this, however, is that the dampened movement can sometimes make you feel a little nauseous.
The impact of a sensor shifting stabilisation system isn’t visible in the optical viewfinder of an SLR, but it is in the electronic viewfinders of compact system and Sony SLT cameras as they draw their image signal from the image sensor itself.
While a lens stabilisation system is specifically designed to work with a particular optic and focal length (or zoom range), an in-body system can work with virtually any lens that can be mounted on the camera. When the camera isn’t able to read focal length information from the lens, in some cases it’s possible to input the data via the camera’s menu.
Another key advantage of having in-lens stabilisation is that it’s possible to compensate for much greater movements than sensor- based stabilisation because a small optical element movement has a significant impact. In order for sensor-based stabilisation to be effective the sensor has to move, and functioning pixels should be outside the ‘normal’ image frame. The movements also need to be larger than those made by a lens element – hence sensor size and movement range are key limiting factors of an in-body system. So with long lenses, lens-based is more effective than sensor-based stabilisation.
In the past an in-body stabilisation system added significant expense to the camera’s production, but prices have fallen over the years and this is less of an issue. Similarly, in-lens systems cost less than they used to, though naturally stabilised lenses are still more expensive than non-stabilised versions. As the moving element inside a stabilised lens alters the light path through it, there can be a slightly detrimental effect on the bokeh.
Stabilisation can also improve autofocusing performance as the AF sensor gets a clearer view of the target. With compact system cameras that use the imaging sensor for focusing, the AF benefit comes from either lens or sensor- based stabilisation.
Panasonic, Olympus and Sony have started to employ a new breed of hybrid or dual stabilisation that uses both lens- and sensor-based systems. It extends the range of movement that can be corrected and enables the camera to use the system that’s most appropriate to the lens and the type of movement taking place.

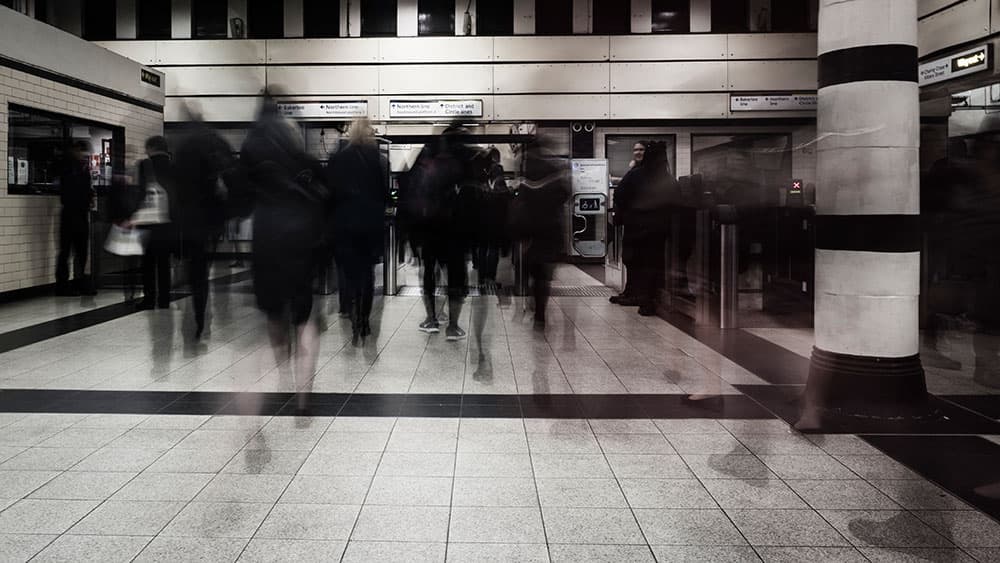
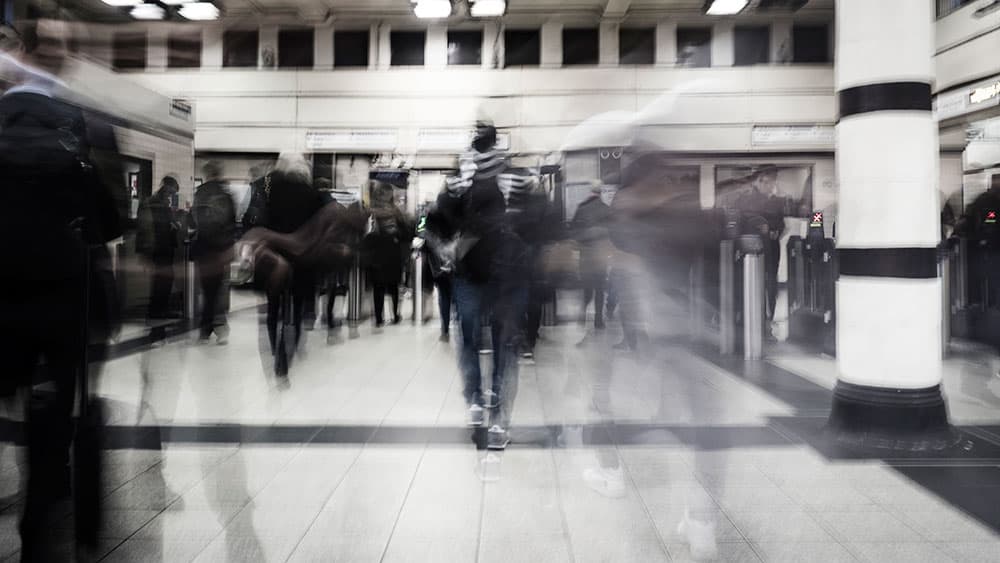
WITH IS: Image stabilisation can enable you to use low sensitivity settings to maximise detail. Both the shots shown here were taken at a shutter speed of 1/5sec – the impact of IS is clear

WITHOUT IS
Digital stabilisation
Digital stabilisation has been around for quite some time in one form or another, but today it’s mainly used for video and it usually employs cropping. The camera detects accidental movement and adjusts the framing of the image to compensate, cropping rather than shifting the sensor. While this effectively reduces the size of the image frame, if you’re shooting 4K there’s plenty of room to crop without deteriorating the image noticeably and the smoother footage looks much better than a jerky clip.
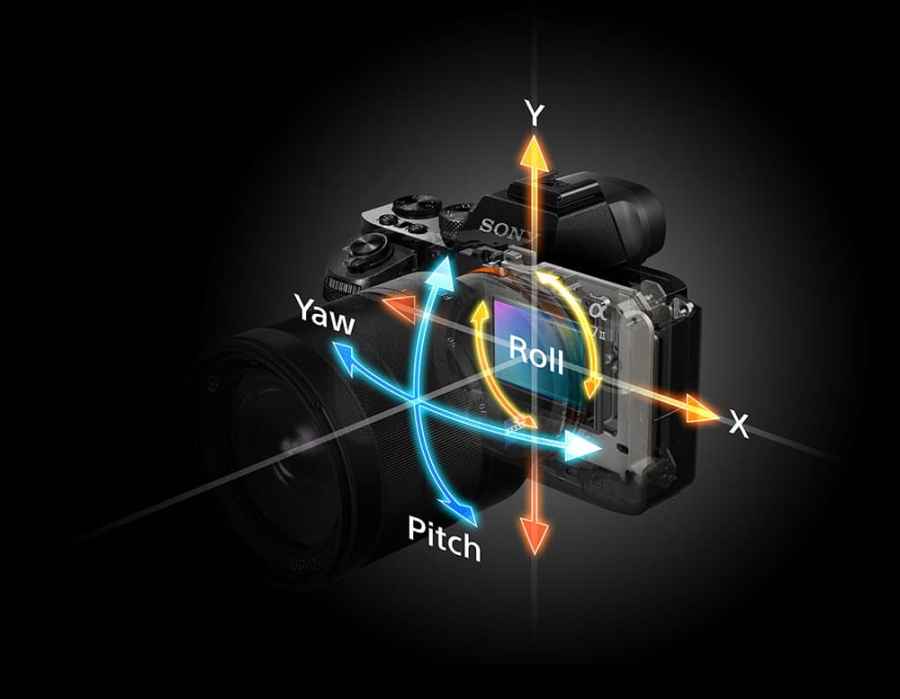
Types of camera movement

The first stabilisation systems were only able to correct for movement along two axes but we’re increasingly seeing 5-axis image stabilisation, which means a greater range of movements are corrected. It’s useful to understand what these are as it makes you think about how you might move your camera when you’re using it, and the steps you can take to produce sharp images.
Pitch
This is a vertical tilting or pivoting movement that happens as the camera tips up or down in your hands. Although it can happen with a lens of any length, it’s more noticeable with longer lenses due to their narrower angle of view. It’s one to beware of at the end of a lengthy shoot with a heavy lens when your arms are starting to get tired.
Yaw
Another pivoting movement, but this time the rotation is side-to-side. Like pitch, it’s a common movement that’s likely to take place when handholding the camera, but in a strong wind longer lenses are especially prone. Pitch and yaw are the main contributors to camera shake in most situations, and are the only movements that are corrected by the vast majority of in-lens stabilisation systems.
Roll
This is a rotation around the lens axis, such as might be made when pressing down the shutter button while cradling the lens loosely in your left hand. It tends to be most important during long exposures, and can’t be corrected using in-lens stabilisation.
X-axis or horizontal
This is a simple side-to-side movement, with the camera moving parallel to the subject. It’s most often an issue with close-up photography.
Y-axis or vertical
This is perpendicular to X-axis movement, and again is most commonly found with macro photography.
Expert tips for stability
- Lean against a wall or tree for stability, but otherwise keep your feet roughly shoulder-width apart. Hold the camera with both hands and keep your elbows down and close to your body.
- The camera tends to be more stable when you compose the image in the viewfinder, as it’s pulled in towards your body and resting against your face. If your camera doesn’t have a viewfinder, keep your arms relaxed as you hold it out to see the image on the screen.
- Squeeze the shutter button gently. If it’s a long exposure, apply just enough pressure to trip the shutter and keep your finger lightly on the release.
- Getting sharp shots handheld is harder in low light, so try placing the camera on a wall or similar flat surface and then using a shutter release.
What type of stabilisation do I have?