While Lightroom seems to have limited local editing tools compared to Photoshop (by local we mean just affecting a selected part of the image rather than the whole thing) it is actually a very versatile program. Here’s how to master the key local adjustment options.
Targeted tools
There are three tools for local adjustments in Lightroom. Each lets you isolate part of an image then adjust it using the sliders to the right. The Graduated Filter lets you make transitional adjustments from one side to another. The Radial Filter makes circular adjustments (either inside or outside the circle) and the Adjustment Brush lets you paint freehand.
Non-destructive editing
The great thing about making local adjustments in Lightroom over Photoshop is how everything stays editable throughout the workflow. So you can change either the area affected or the tonal change at any time either by altering the mask overlay or tweaking the tonal sliders.
Adjustment pins
All local adjustments are represented by a pin that appears when you first click on your image with an adjustment tool. If you ever need to go back and edit the adjustment you can simply click on the pin and change the settings. If you find these pins get in the way you can tap H to hide or reveal them.
Mastering the local adjustment tools will take your Lightroom skills to the next level
Copy pins
You can quickly copy a pin by holding Cmd/Ctrl+Alt and dragging it to another part of the image. This can be useful if you need to duplicate an adjustment to affect a similar area. Here, for example, it lets us quickly copy an eye-enhancing tweak from one iris to the other.
The Mask Overlay
The Mask Overlay determines the parts of the photo covered by the adjustment. It’s best to turn it on (press O) when defining an area, then turn it off while judging the tonal settings that affect the area. You can press Shift+O to cycle through different overlay colours, and hover over the pin to temporarily see the mask.
To make targeted adjustments use one of three tools – Graduated Filter, Adjustment Brush and Radial Filter
The tonal controls
Select each of the three local adjustment tools in Lightroom and the panel on the right will display a set of sliders that look very similar to those found in the Basic Panel. Except these control the look of the local adjustment. You can double-click ‘Effect’ to reset all sliders to their default values if necessary, or double-click individual sliders to reset.
New hue adjustments
The latest release of Lightroom (June 2020) introduces localised hue adjustments. Simply define an area with one of the three tools then go to the Hue box on the right to alter the colours. If you want to make incremental changes to the shade then check ‘Use fine adjustment’.
Use the Adjustment Brush to paint over areas you want to target and use the sliders to adjust settings
Collapse edits into one
Next to ‘Effect’ at the top of the tonal settings you’ll see a small triangle. Click this to collapse all the sliders into a single ‘Amount’ slider. You can drag this one way or another to uniformly adjust your combination of settings in one go. It’s like a strength slider that controls the overall effect of each adjustment. You can also Alt-drag left or right over a pin for the same control.
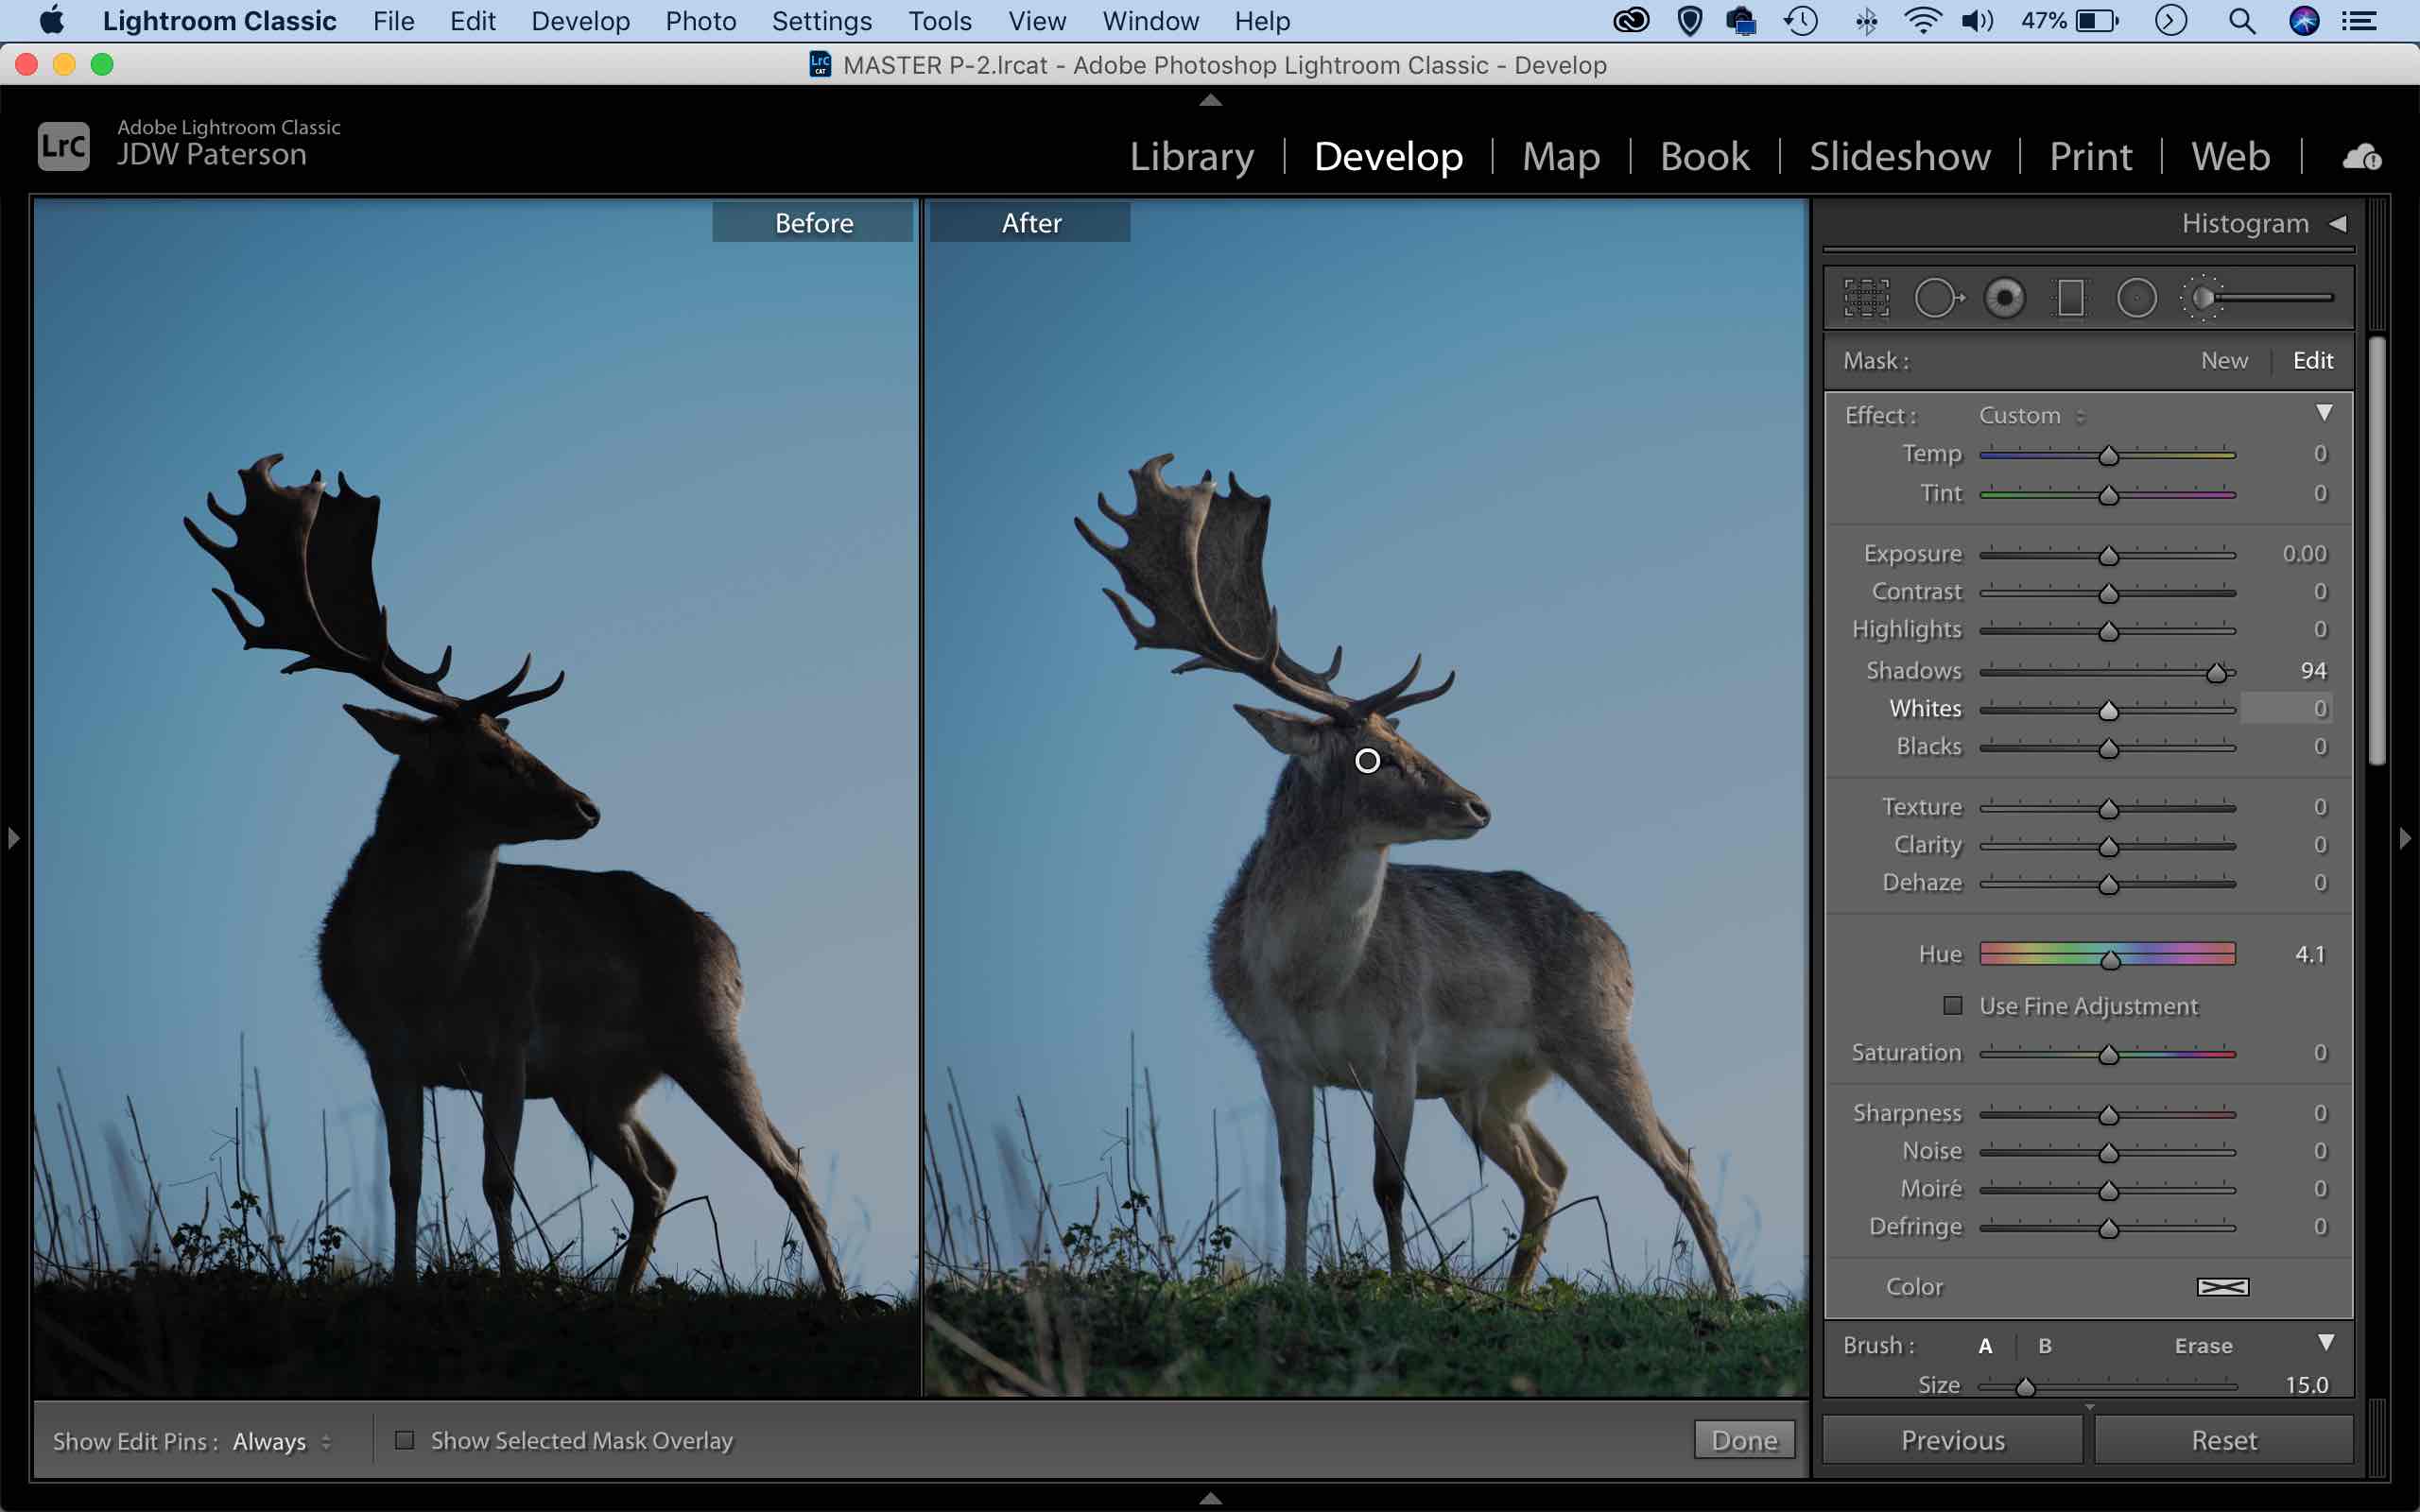
Reveal hidden details
If parts of a photo look too dark then you can tease out detail with the Adjustment Brush. Simply paint over the area then increase the Shadows slider to lift the tones. Adjusting shadows locally like this often looks more natural than attempting an image-wide shadow lift. Lifting shadows can amplify noise, so you might also want to dial in a little noise reduction.
Graduated Filter shortcuts
When dragging a Graduated Filter adjustment you can hold Shift to constrain the lines to a horizontal or vertical. If you hold Alt and drag then the lines expand outwards from the centre point rather than one side. After dragging a grad you can press Alt + apostrophe key to flip the direction.
Soften skin with Texture
The Texture slider is very adept at enhancing skin. Simply paint over the skin with the Adjustment Brush (you could use the Range Mask color options to target skin tones) then apply negative Texture. It results in a subtle skin softening effect while retaining skin pores.
Use Range Masking
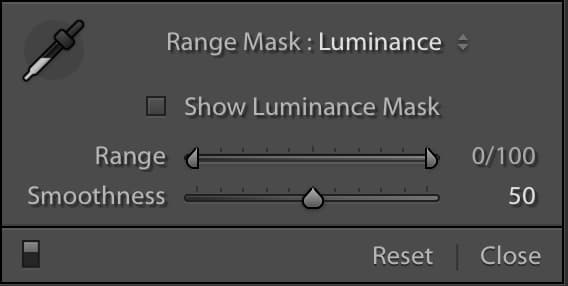
The Range Mask controls at the bottom of the tonal settings are very powerful. They let you make your adjustment more precise either by targeting a specific part of the tonal range or a sampled colour in the image. As such, they can let you zero in on details and shapes with a degree of precision that would otherwise be tricky and time-consuming.
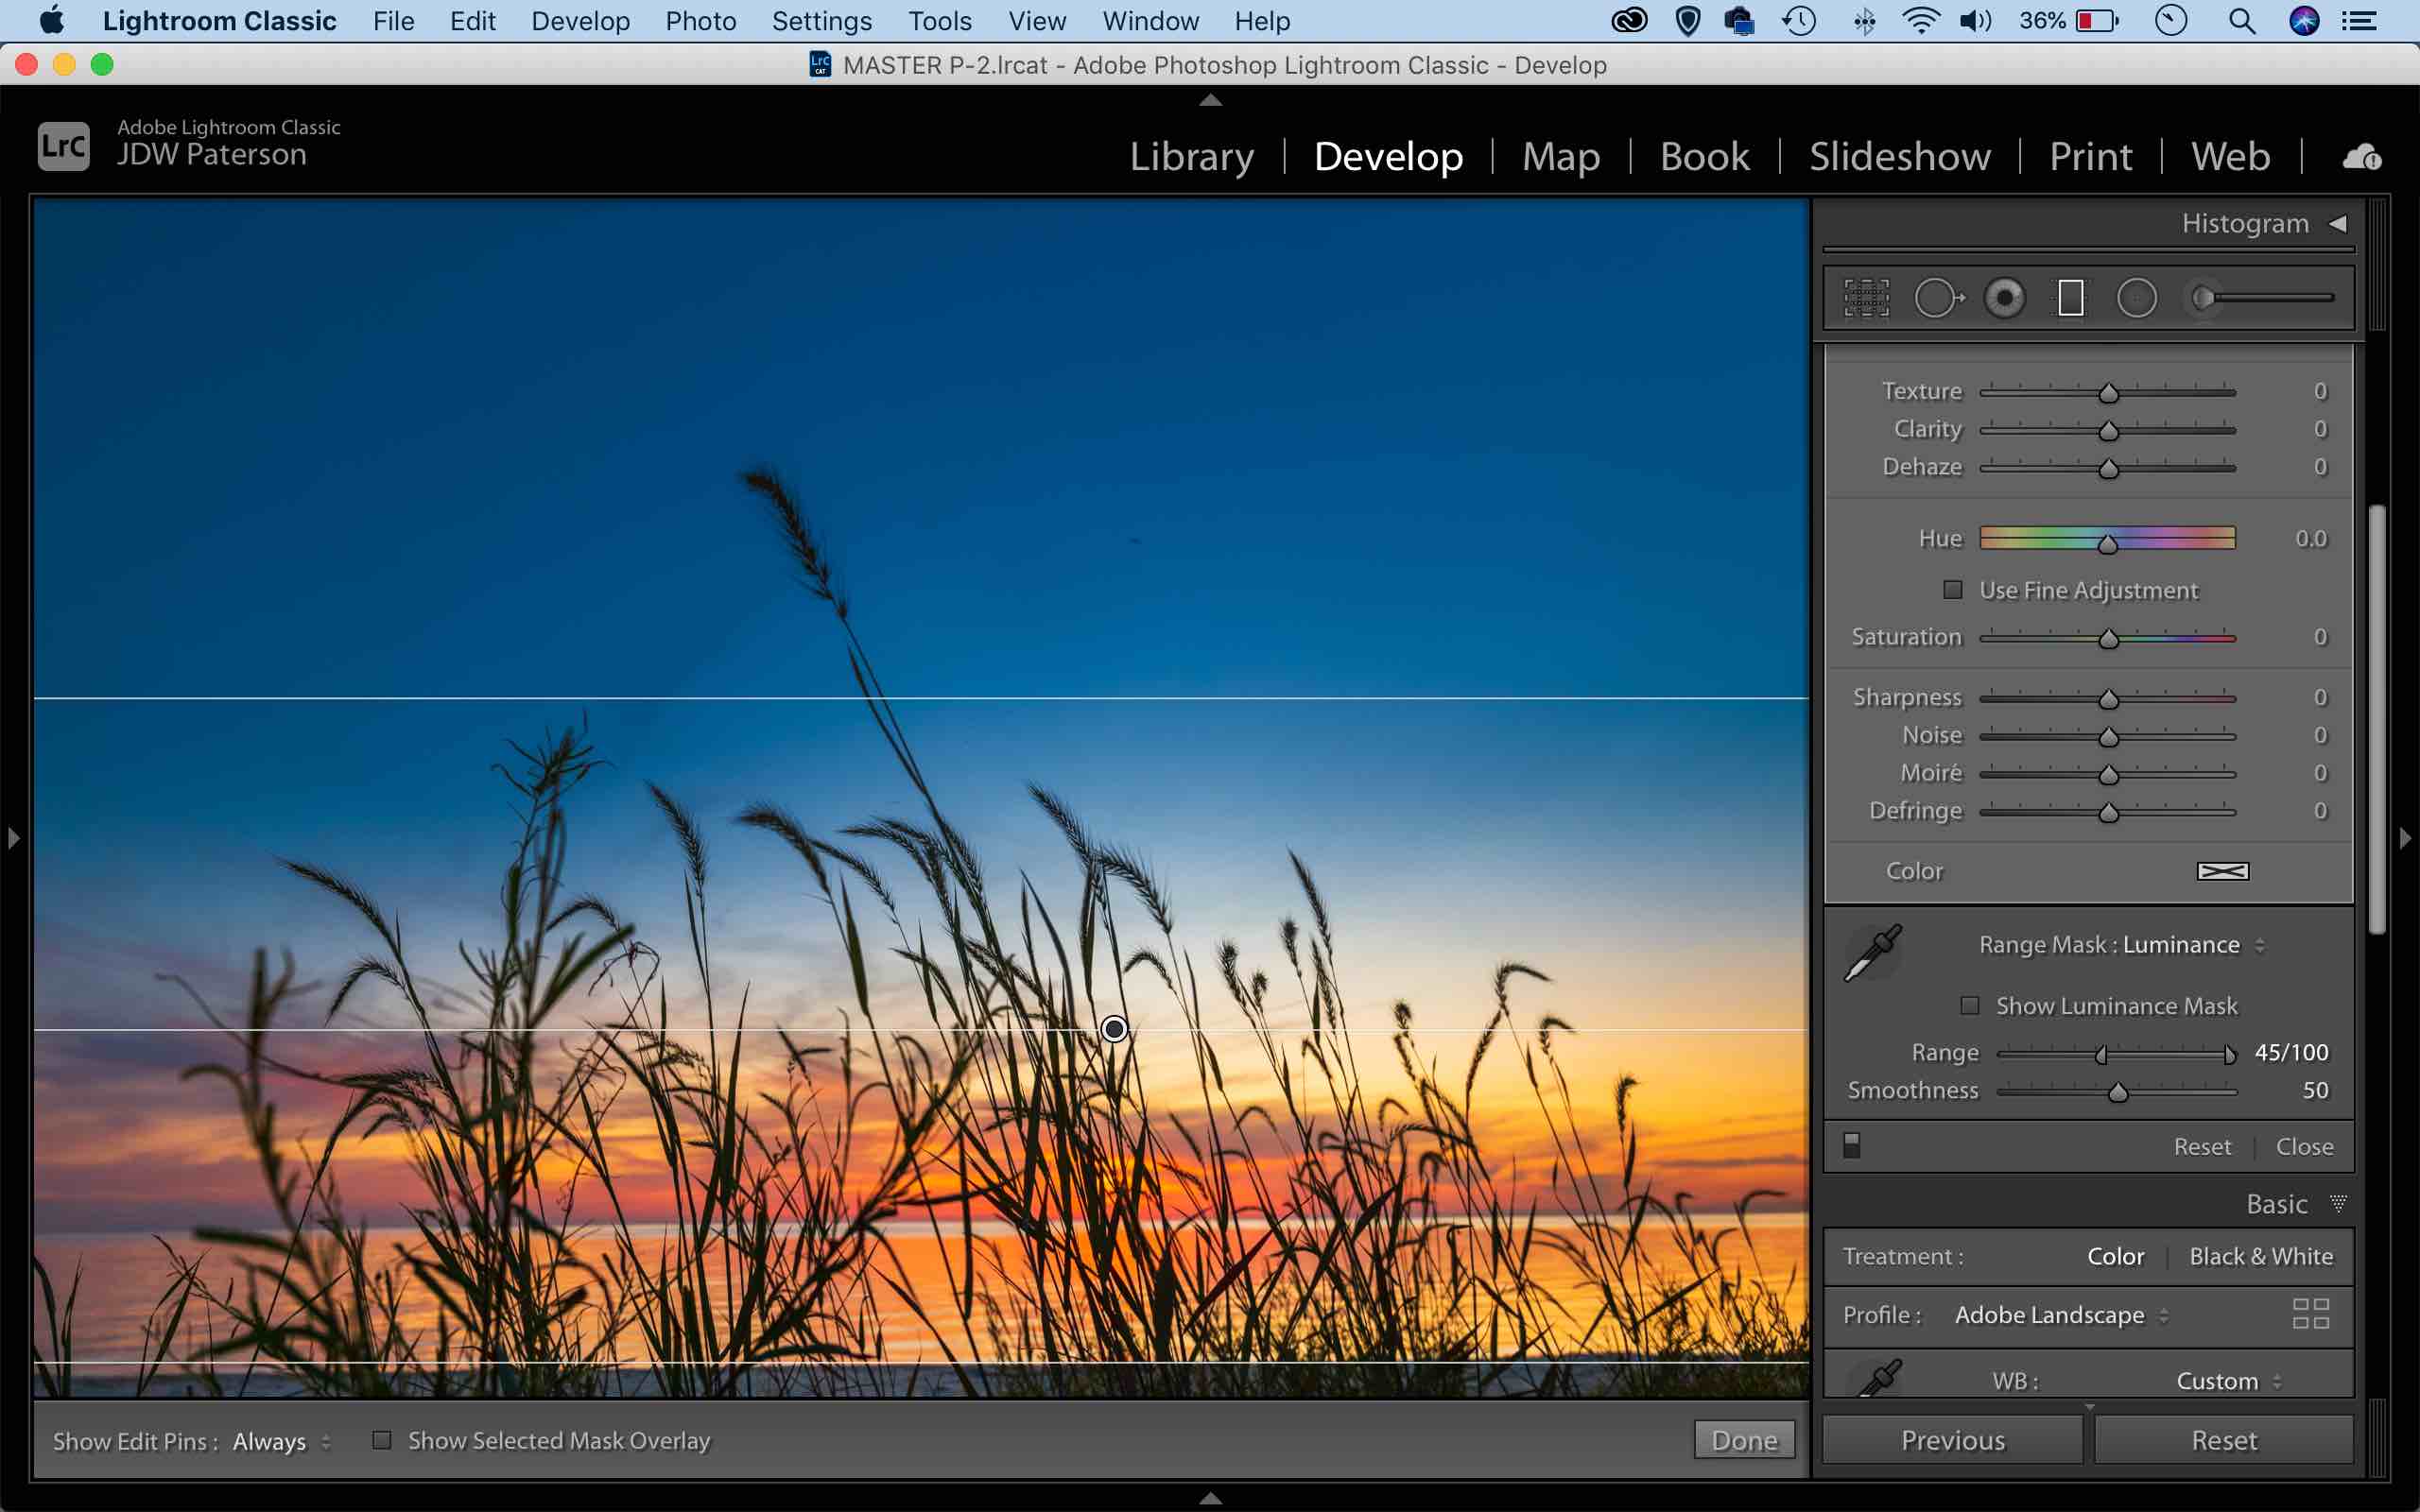
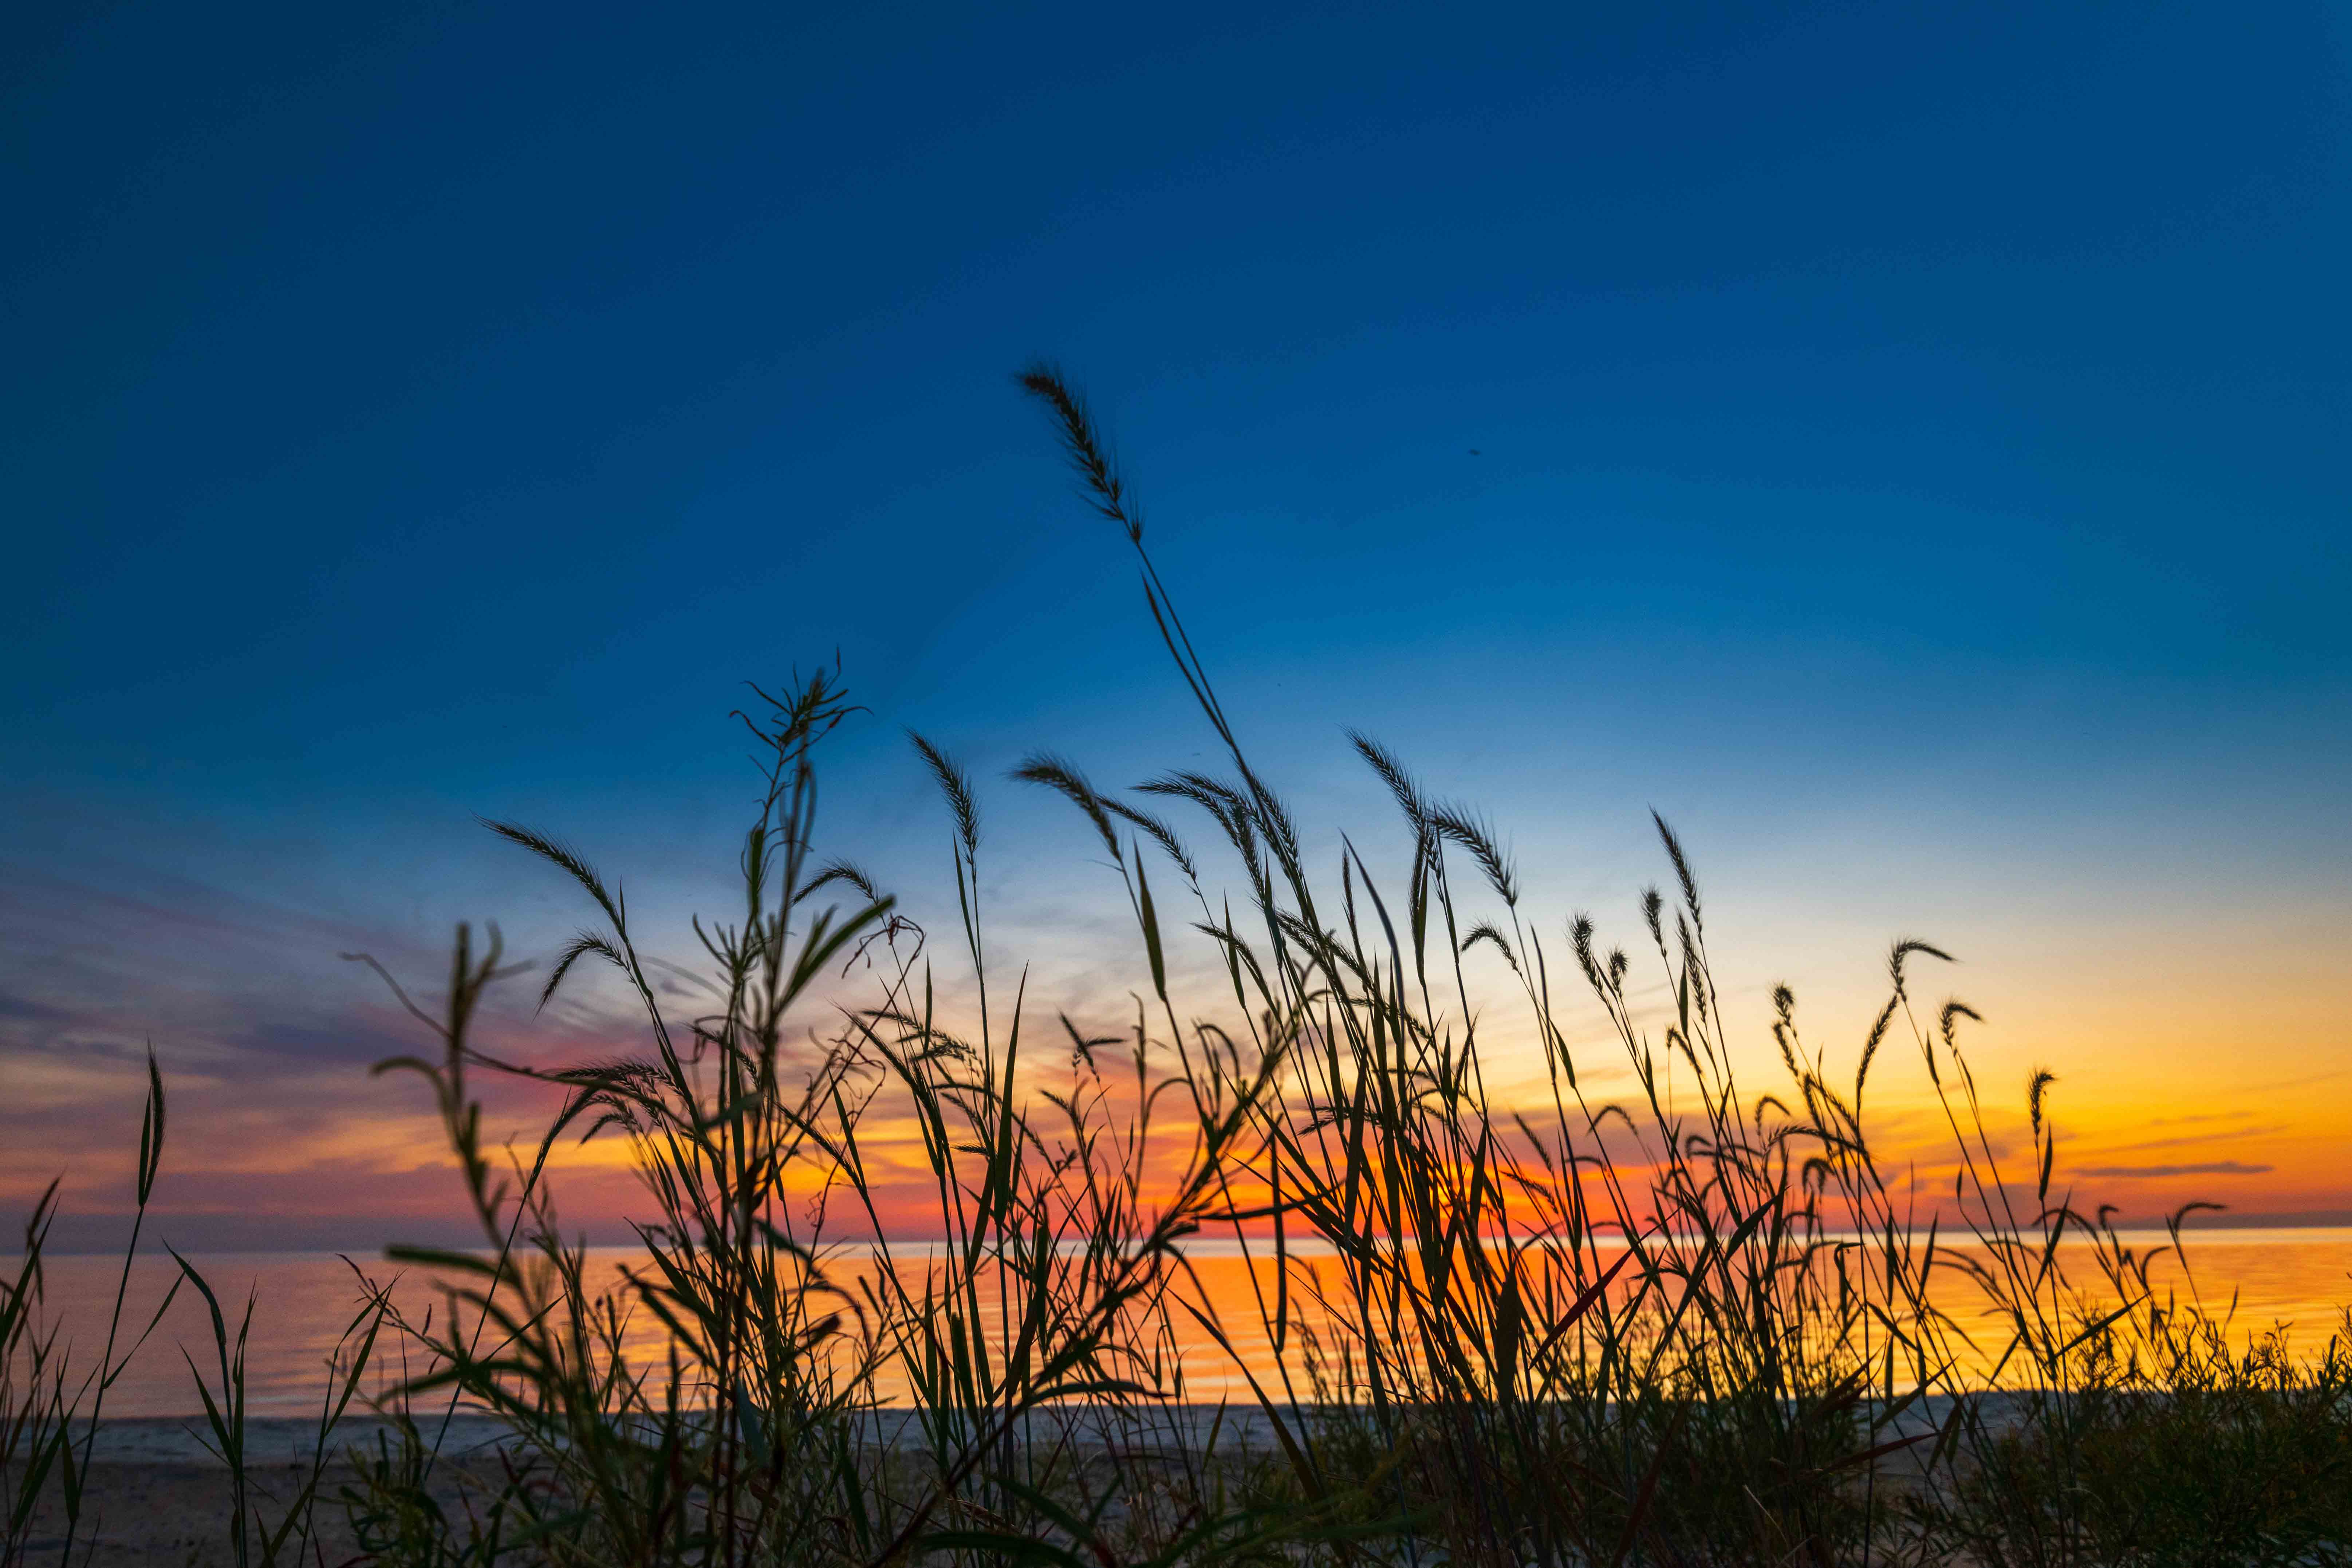
Restrict the gradient using Range Mask: Luminance
Enhance skies
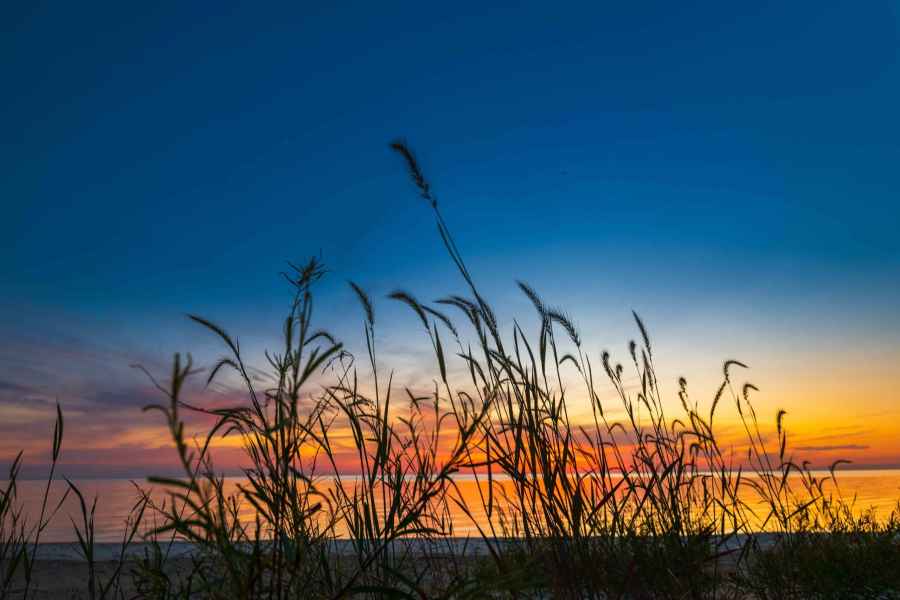
Like the traditional lens-mounted filters it mimics, the Graduated Filter is great for enhancing skies. Simply drag down from the sky towards land then use the tonal sliders to boost the area, perhaps by lowering Exposure and Highlights to pull out blown areas, or by increasing Clarity and Dehaze to crisp up clouds.
Restrict your grads
After making a Graduated Filter edit you can control what is affected by brushing or by targeting tones. Click ‘ Brush’ at top right or press Shift+T to toggle the brush mode on. Alternatively select Range Mask: Luminance and restrict the effect to highlights, for example.
Adjustment Brush tricks
When painting with the Adjustment Brush, hold Alt to erase the mask and Shift-click to draw a straight line between two points. The number keys let you set a flow amount. Turning on Auto Mask (A) makes the brush seek out edges as you paint. Then hit Return to apply.