How to use your grey, white and black cards
We show you how to use your free set of cards for balancing images when shooting digitally with any kind of lighting
Finding the extent of your tonal range and placing your black, white and midtone points are some of the most important tasks in image capture. Follow the tips below to ensure you do so when using your set of grey, white and black cards free in this week’s issue.
Correct exposure
Choosing the right part of a scene to meter from can be tricky. This is where the grey card becomes invaluable. However, there is slightly more to the process than simply holding the grey card in front of your subject and taking a reading. First, you need to fill the frame as much as possible. Go into your shooting menu and set the camera metering to Spot, then press the AEL or ‘*’ button on the back of your camera. This will lock the metering onto the grey card. Now remove the card, recompose your image and take the picture. The tones will be perfectly represented and not influenced by any predominantly white or dark areas in the image.
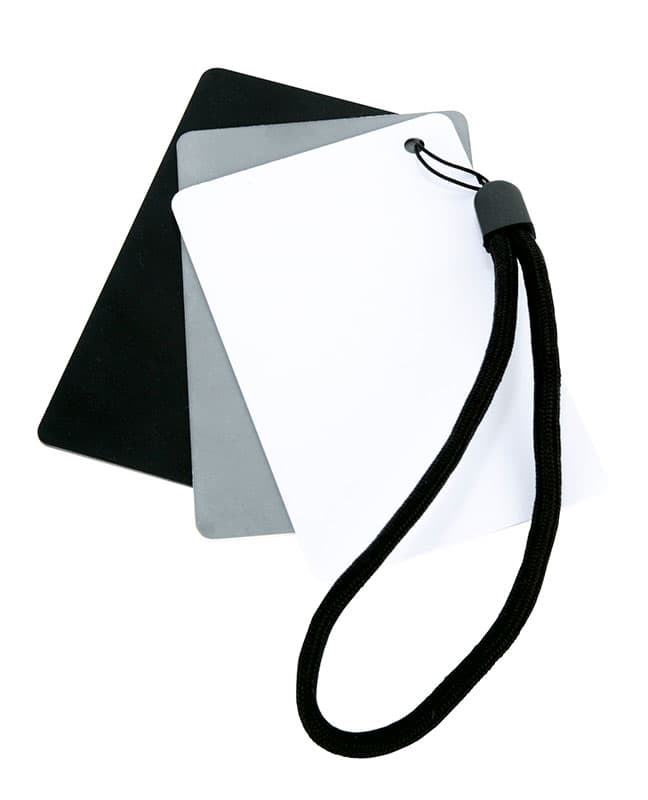
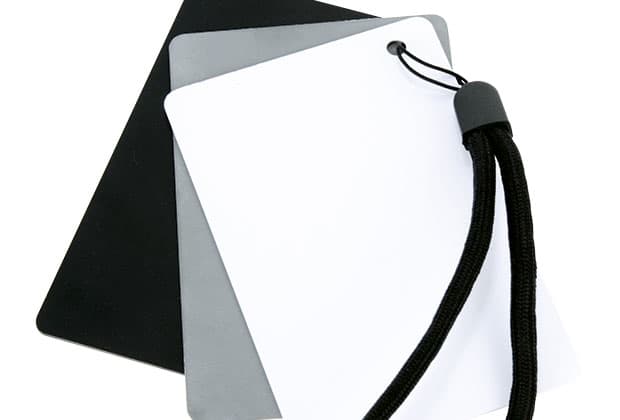
Grey, black and white cards
Manipulate tonal range
Exposure meters in our digital cameras are calibrated to reproduce the metered area as a medium tone, so if you take a reading from a grey card it will appear as midtone grey in the image. Meter from the white or black cards and you’ll get darker or lighter results, but ensure you maintain detail in the corresponding parts of your image. This approach gives you the option to manipulate the tonal range so it’s represented as you want it to appear in the final image.
White balance
To achieve a correct custom white balance either in-camera while shooting or when processing raw files, simply photograph the cards as a reference for each lighting situation.
If your lighting is in a controlled studio environment, have your subject hold the card near their face and take a reference shot. If shooting a still life, place the cards next to your subject. So long as the lighting doesn’t change, you’ll only need one reference image.
With mixed lighting sources that include daylight, fluorescent or tungsten, use the same process. Further image adjustments may be necessary, but the reference shot can be used as a neutral guide. Select all your images in your editing program, then click on the white or grey card using the White Balance tool.
White balance in video
Aim to white balance at the beginning of every shoot, and every time the lighting conditions change. It’s especially important to re-establish white balance when moving between indoors and outdoors, and between rooms lit by different kinds of lights. Point your camera at the white card, so that most of what you’re seeing in the viewfinder is white (between 50 and 80% of the frame is fine). Then activate the custom white balance setting and take a reading.
With the help of your card set, you’ll soon understand how tone is recorded over a wide exposure range. The ideally, you’ll eventually look at a scene and visualise how you’d like the density of an average grey tone to appear in the final picture. This is fundamentally how Ansel Adams’ Zone System worked and enabled him to match a tone in the negative to a tone in his final print. The principle here is the same: eventually, you will be able to look for an average tone or grey within your scene and use spotmetering to determine the exposure, knowing how the shadow and highlight areas will record within the exposure latitude of your camera.