Learn how to enhance your landscape photography editing skills with James Paterson’s 20 essential Lightroom techniques.
1. Landscape photography editing: Where to start
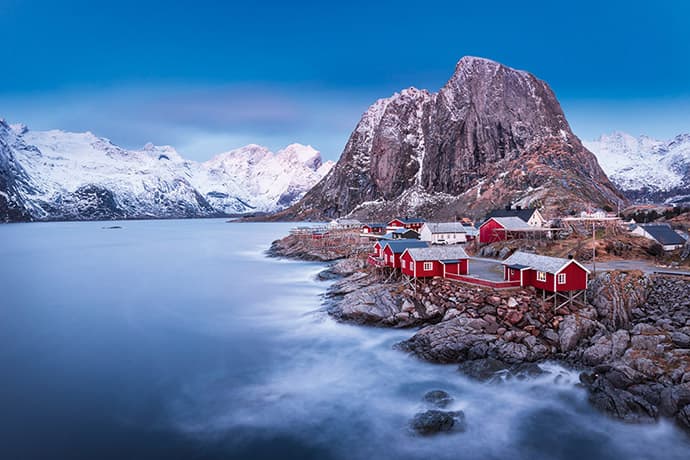
The best place to start editing your landscapes is in Lightroom’s Basic panel, the top-right panel in the Develop Module. First, adjust Temperature and Tint, then work down through the set of Tone sliders before finishing off with the Presence sliders. Any slider in Lightroom can be reset with a double-click.

Credit: James Paterson
2. Landscape photography editing: Check for clipping
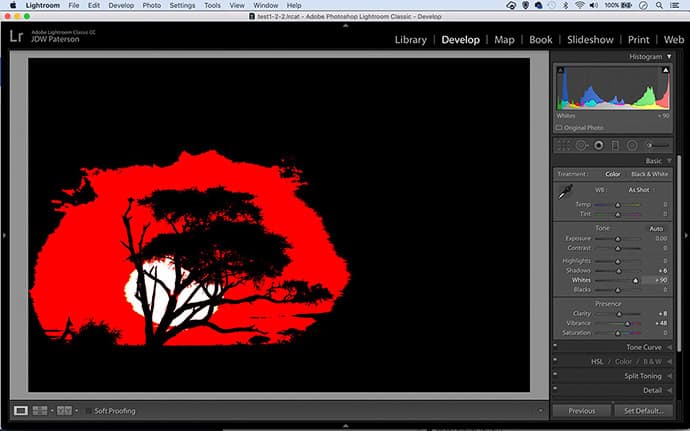
With landscapes, it’s often important to make full use of the tonal range from black to white, without losing clipped details in either the highlights or shadows. Hold Alt while dragging the Whites or Blacks slider for a view that shows clipped pixels as you drag – bring both sliders to a point just before pixels begin to clip to ensure a full tonal range.
Credit: James Paterson
3. Landscape photography editing: Fix recurring marks
Dust on your sensor is more visible when you shoot at narrower apertures – and many photographers use f/11 and upwards when shooting landscapes. However, sensor marks can be easily removed with the Develop Module’s Spot Removal tool. If a recurring mark affects a whole set of photos, simply paint to remove it once, then highlight the whole image set (Cmd/Ctrl+A), click ‘Sync’, check only ‘Spot Removal’ and hit OK.
4. Landscape photography editing: Vibrance for sunsets
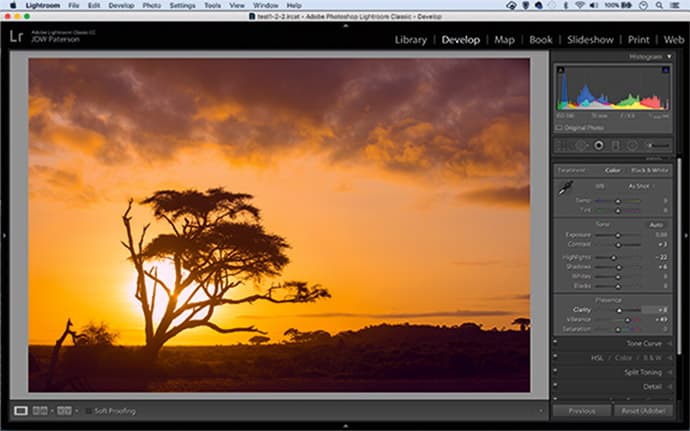
Often, a sunrise or sunset will display very strong colours around the sun, while those further out will be less saturated. Boosting those colours can make them pop, but don’t use the Saturation slider, as this will push the already strong colours too far. Instead try Vibrance, as this targets and boosts the less-saturated colours.
Credit: James Paterson
5. Landscape photography editing: Check for colour casts
Sometimes, a camera’s white balance isn’t entirely accurate, but we can use Lightroom’s white-balance tool to fix a colour cast in seconds (especially if you shoot raw, which means you can set the white balance afterwards). Simply grab the eyedropper tool next to WB in the Basic panel then click over a neutral point, such as a rock or a road.
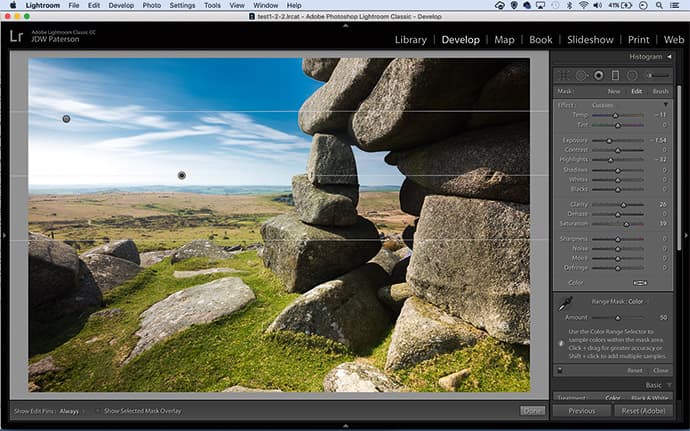
6. Landscape photography editing: Smart local adjustments
We can use the Range control to target specific tones when making local adjustments. When set to Luminance, the range slider can confine the effect to the highlights in the sky here without affecting the darker rock. Similarly, when set to Range: Color, you can click to sample a colour range to target, or Alt-click to target several shades.

Use the Range control to target specific tones. Credit: James Paterson
7. Landscape photography editing: Shoot in raw
Shooting in raw gives you greater editing headroom, which is often invaluable for landscapes. Not only can you set the white balance after the fact, but you also have greater dynamic range, which comes in handy for unbalanced exposures as you can tease out seemingly lost detail in bright skies or dark shadowy foreground with Lightroom’s Highlights and Shadows sliders.
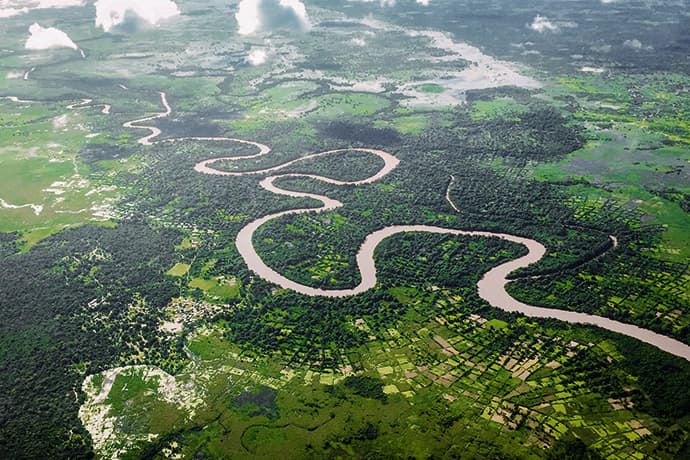
8. Landscape photography editing: Cut through the haze
Dehaze can be very useful for landscapes to reduce atmospheric haze and add punch to at scenes. The slider is in the Develop Module’s Effects panel. You can selectively decrease or increase haze with Lightroom’s three local adjustment tools – the Graduated Filter, Adjustment Brush and Radial Filter.
Credit: James Paterson
9. Landscape photography editing: Boost the blues
Here’s a quick tip for enhancing weak blue skies. Go to the HSL Panel to the right of Lightroom’s Develop Module. First head to the Luminance settings, click the little target icon and then click and drag down over the blue sky. Next click the Saturation target icon and drag upwards over the blues.
Credit: James Paterson
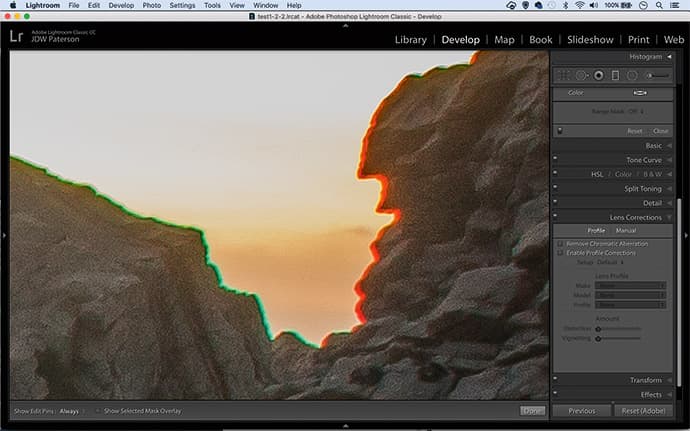
10. Landscape photography editing: Fix fringing
Wideangle lenses are susceptible to chromatic aberration, which causes colour fringing along high-contrast edges. Go to the Profile tab in the Lens Correction panel and check the box to fix it. To enable the fix by default on all imported images, check the box (and alter nothing else), then hold Alt and click the ‘Set Default’ button at bottom right.
Credit: James Paterson
11. Landscape photography editing: Strike a balance
One of the big challenges for landscape photographers has always been how to balance sky and land. Skies are usually much brighter than land, so by darkening them, we can create a more balanced exposure. This can be done in-camera with a graduated lens-mounted filter, or later in Lightroom with selective adjustments.
12. Landscape photography editing: Drag a grad
Found in the Develop Module toolbar, the Graduated Filter tool is ideal for enhancing skies. Grab the tool, then begin by loading it with an adjustment using the sliders to the right of the screen – negative exposure, positive clarity and saturation can work well. Drag within the image to create a graduated linear adjustment.
Credit: James Paterson
13. Landscape photography editing: Useful shortcuts for grads
Hold shift while dragging a graduated filter adjustment to keep it perfectly horizontal, so that it runs parallel to the horizon. If you hold Alt while dragging the grad, the blend begins centrally. Hold Alt and drag up or down over the grad’s central pin to alter all of the adjustment settings at once.
14. Landscape photography editing: Auto-fix lens distortion
The wideangle lenses often used for landscapes can be susceptible to barrel distortion, which makes straight lines appear to bow outwards. There’s an easy Lightroom fix – go to the Lens Correction Panel, click Profile and ‘Enable lens correction’. Your lens should show up in the list, but if not you can choose it manually.
Continues below…
[collection name=”small”]
15. Landscape photography editing: Blend exposures for HDRs
To create HDRs from a set of bracketed exposures, Cmd/Ctrl+click to select them all, then go to Photo>Photomerge>HDR. Once merged, you can go on to adjust the tones as normal, but you have greater headroom in that exposure goes from +10 to -10, and local adjustments can pull out more detail at the extremes of the tonal range.
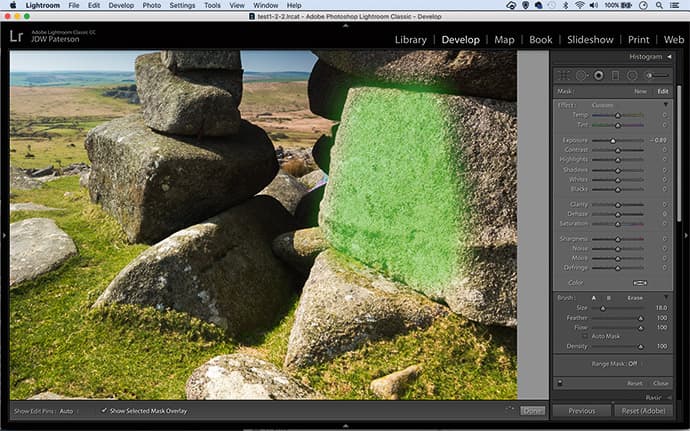
16. Landscape photography editing: Dodge and burn
Our eyes are drawn to the lighter areas of a photo, so with subtle lightening and darkening we can help to guide the eye around our landscapes. This is easily done with Lightroom’s Adjustment Brush. Grab the brush from the toolbar, use the tonal sliders to load it with positive or negative exposure then paint to dodge or burn the image.
Credit: James Paterson
17. Landscape photography editing: Mask your sharpening
There’s little point in sharpening areas of smooth, detail-less colour in our landscapes, as this only amplifies image noise. So after using the Detail Panel’s Sharpening Amount and Radius to get the desired strength of overall sharpening, hold Alt and drag the Masking slider below. Areas that appear in black as you drag will be masked from the sharpening.
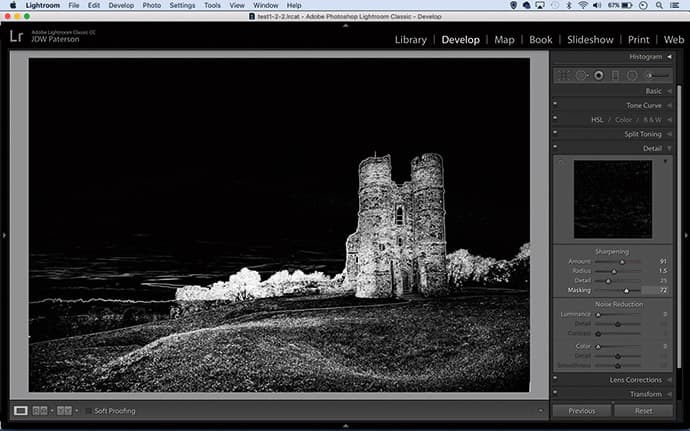
Credit: James Paterson
18. Landscape photography editing: Make panoramas
Lightroom’s panorama merge feature lets you stitch together several overlapping frames for detail-rich panoramic images. Cmd/Ctrl+click to select the frames then go to Photo>Photomerge>Panorama. Experiment with the three projection settings and use Auto-crop to remove messy edges from your resulting image.
19. Landscape photography editing: Fix wonky images
The Upright controls within the Develop Module’s Transform Panel can automatically correct wonky horizons and converging verticals for you. The Guided option is especially useful as it lets you plot guides through the image along natural lines you know should be perfectly horizontal or vertical.
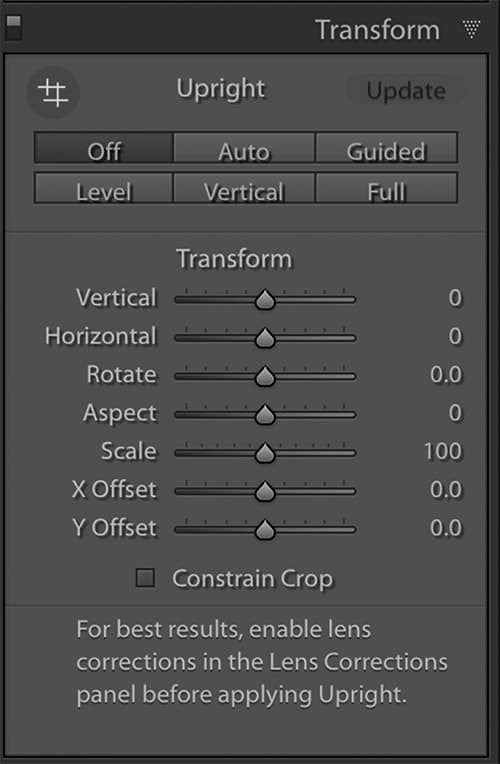
Credit: James Paterson
20. Landscape photography editing: Make a punchy mono
A punchy black & white conversion can add to the drama of a landscape scene. It also means you can push dodging and burning or local contrast adjustments further than you might get away with colour photos. Use the B&W panel to convert to mono then add contrast with either the Basic panel or the Tone Curve.
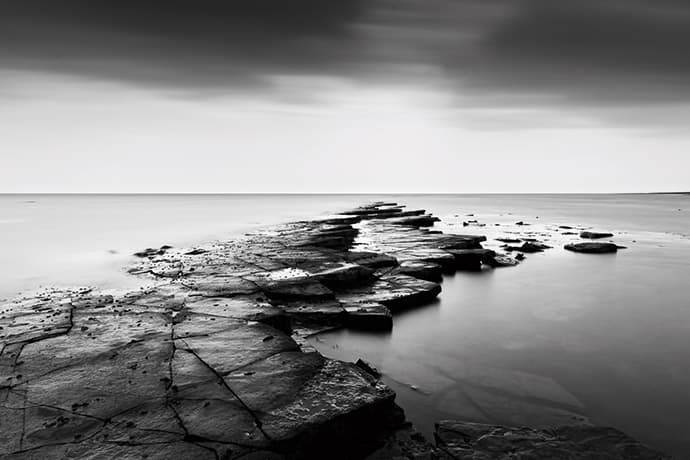
You can push local contrast adjustments further with black & white scenes. Credit: James Paterson
James Paterson is as skilled a photo editor as he is a photographer. His work has appeared in countless magazines and books, and in 2014 he was appointed editor of Practical Photoshop magazine. His subjects range from portraits to landscapes, architecture and underwater scenes. For James, Photoshop is more than just a work tool. Visit www.patersonphotos.com.