https://link.brightcove.com/services/player/?bctid=4690964250001
In the first part of this series we looked at making the jump to shooting digital film, but now it’s time to start getting down to the nitty-gritty and to demystify some of the terms you’ll come across.
While it may seem like there’s a minefield of acronyms and numbers to learn, the key concepts are quite easy to understand.
The different file types have different characteristics and use different compressors to code the video footage. Just like when shooting still images, the higher the compression, the smaller the file is, although the image quality suffers as a consequence.
Compression
Perhaps the most common compression format is H.264. Chances are if you have a DSLR, CSC or even a compact camera released in the last few years, it will record 1920×1080 resolution video using H.264 compression. The vast majority of consumer cameras that use H.264 compression capture the colour detail in 8-bit. This is the same level of colour detail as that in JPEG images.
From experience, photographers know that a lot of detail can be lost in the highlight and shadow areas of JPEG images. As we talked about in part one of this series, when it comes to colour grading the footage you have recorded, 8-bit video has very little flexibility. If you haven’t recorded the detail, and it isn’t in the file, there’s unfortunately nothing you can do.
10-bit and 12-bit
Professional digital film cameras will use 10-bit, or even 12-bit codecs. It’s these cameras that are used to record the films and TV shows we watch. The extra bit-depth means that professional filmmakers can change the look and feel of their footage by adjusting the colour, as they have much more information. This extra information allows you, the filmmaker, to make all the decisions about which details are kept.
The advantage of 10-bit compression is that rather than having just 256 levels, for each red, green and blue channel, there are instead 1,024 levels. The result is that there’s much more detail in this ProRes footage in terms of colour details, and in the subtleties of graduated tones. If you’ve ever noticed colour banding in video footage of blue skies, this is usually the result of a low bit rate.
Now imagine what 12-bit footage looks like, as each RGB colour has 4,096 different levels. This is a huge amount of detail and is exactly what a digital film camera can capture.

8-bit DSLR video: In this image you can see large blown-out highlight details and solid black in the man’s hair

12-bit raw video: Shot in12-bit raw, there’s plenty of detail and no blown-out highlights or solid areas of black
Shooting raw
Footage of this quality is generally saved in CinemaDNG raw format. Just like a still DNG raw, CinemaDNG records 24 or 25 DNG raw images every second, depending on the frame rate you’ve chosen. You can edit the image sequences in Lightroom, just as you would standard raw images. However, a program like DaVinci Resolve, developed for digital film, will allow you to not only edit, but also grade entire sequences – it’s a lot less painstaking than having to make adjustments across each individual frame.
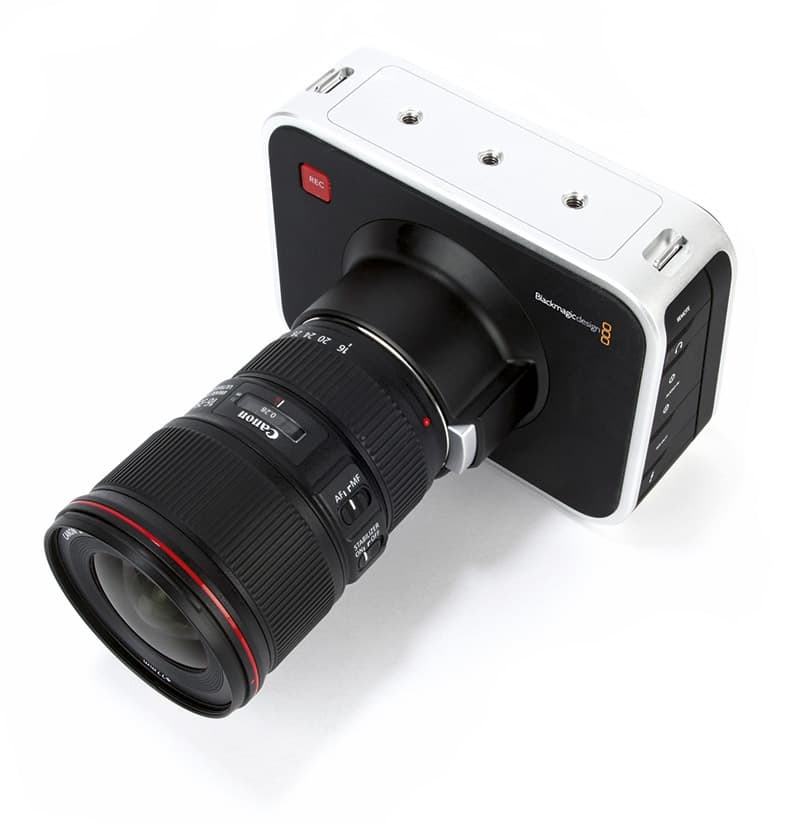
You’d think that the power needed to record ProRes or CinemaDNG digital film would be way out of reach for the average enthusiast, but the Blackmagic Pocket Cinema and Blackmagic Cinema Cameras are both capable of recording this high level of video, and are priced at £679 and £1,359 respectively.
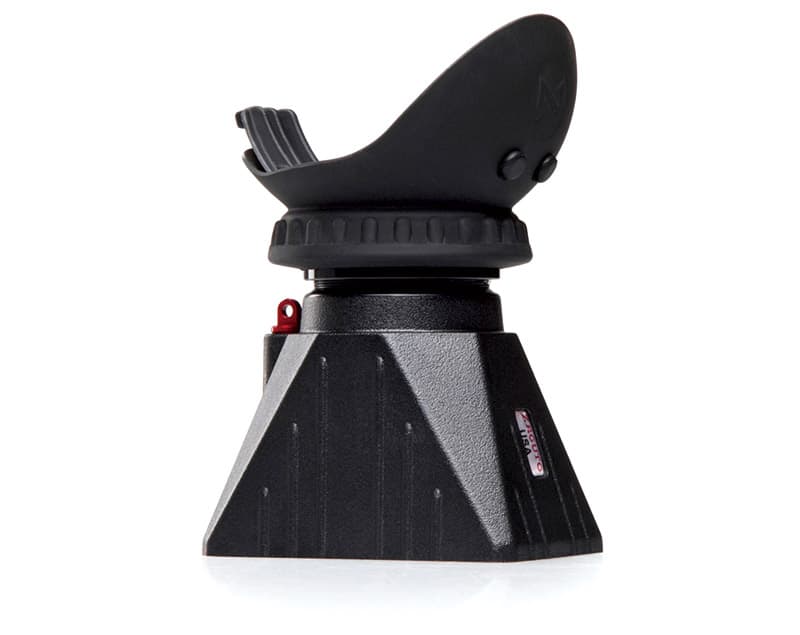
The Zacuto Z-Finder is perfect for the Pocket Cinema Camera
Dynamic range
Finally, the dynamic range of a sensor is also vital. It’s this range that decides how much detail the camera can capture in highlight and shadow areas. Typically, most small CSC and DSLR cameras can only record around 7-10EV dynamic range and, due to the compression, highlights are clipped and shadows get crushed.
With 13-15EV dynamic range, digital film cameras make the most of the information and detail captured by the sensor.
Sean Tucker
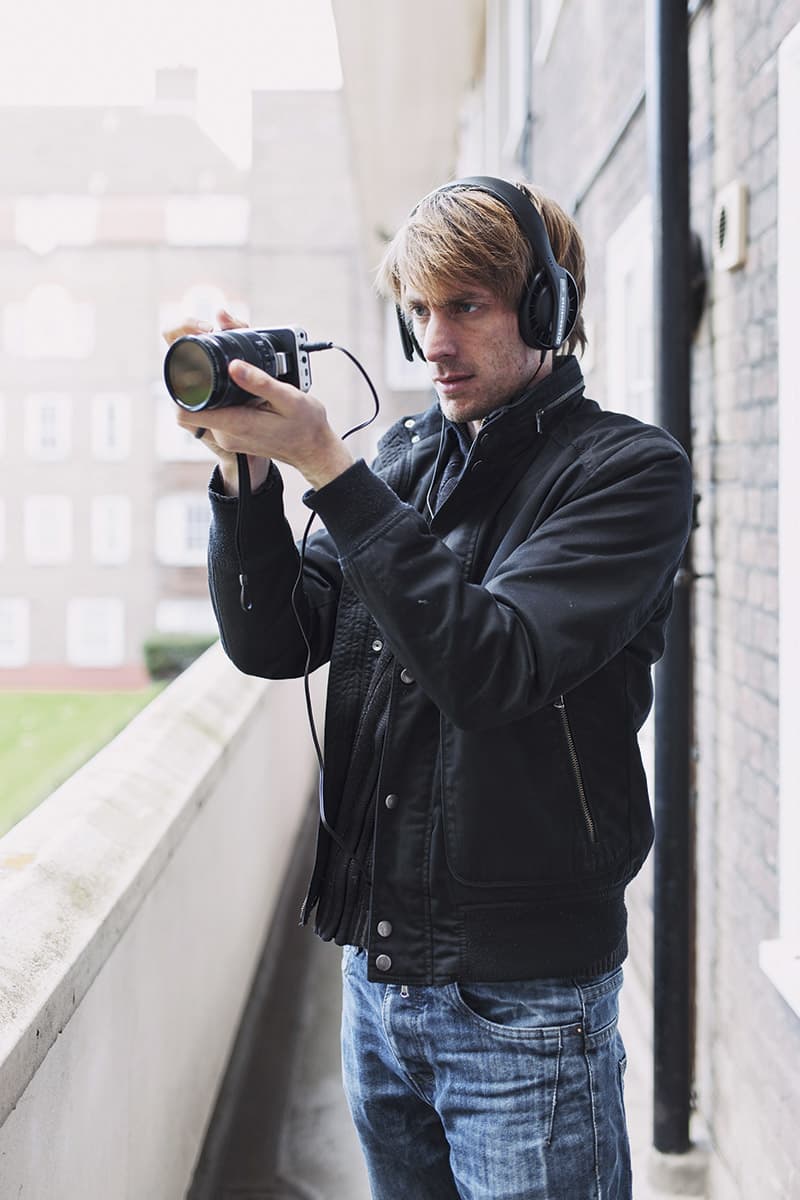
Sean’s ‘run-and-gun’ kit means that he can get the cinema-quality footage you’d expect from a far larger camera
Sean is a photographer who’s recently started shooting more digital film for his clients and himself ‘I Always carry a little sling bag around with me that holds the little Pocket Cinema Camera [pictured], a Panasonic Lumix 12-35mm lens, an ND filter, a Zacuto Z-Finder, and a little portable Manfrotto tripod that I can screw in and also use as a handle, or put on a table,’ says Sean.
‘That little “run-and-gun” kit really is incredible. You’re actually getting cinema-quality footage out of that camera.
‘You’ll read a lot about the 13 stops of dynamic range, which normally you’d need a much bigger, much bulkier and much more expensive camera to get. This camera is going to give you all that dynamic range.
‘A lot of people have been disappointed, as they’ll grab the camera and shoot with it, and say that the initial footage looks flat and grey, almost washed out. But it’s supposed to be. It’s giving you a blank canvas to take into your editing program, and work hard at colour grading and styling it exactly like you want it. If you pick up a standard camera all your blacks are crunched, all your highlights are blown to white and the colour is already hard-baked in, the saturation is already there. You can’t really do a lot with that footage.’