https://link.brightcove.com/services/player/?bctid=4691011190001
There’s no doubt that the introduction of video in DSLR cameras started a revolution. More and more photographers are now tempted to press the video button and shoot moving images. However, the stumbling block is how and where to get started. We all know DSLRs have the ability to shoot video, but how do you go about creating video that looks as good as the stills you’ve been shooting? The truth is that many of the basic principles are the same, regardless of whether you are shooting still images or video. Framing, exposure and lighting are all areas of photography that translate across the two mediums, and although there are some new skills to be learned, as a photographer you already have a solid foundation to start shooting video.
What to shoot
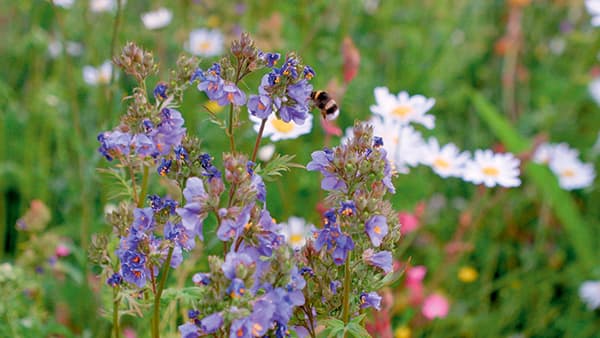
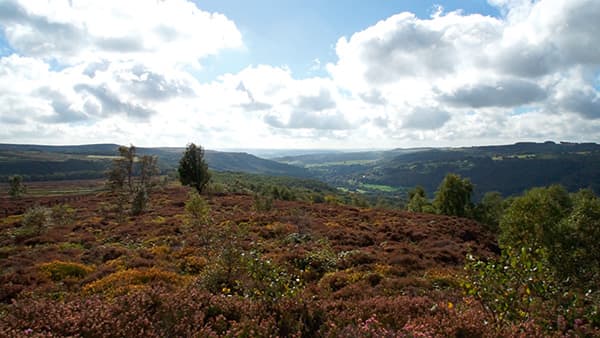
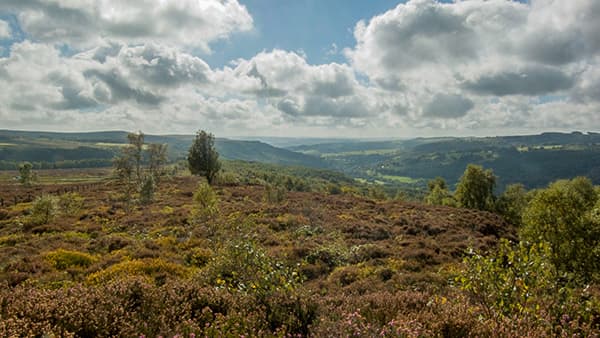
For those photographers who want to shoot moving images, one of the biggest hurdles to overcome is knowing what to shoot. However, the answer is simple – whatever interests you. If you enjoy taking wildlife images, make a short wildlife video. If you like portraits, shoot an interview. If you shoot landscapes, create a short film that shows off your favourite location. The difference is that with video, instead of photographing a single moment in time, you’re capturing time in motion.
Think about how you want the narrative to develop. You will want to set the scene with a wide shot, then perhaps focus on your subject. Finally, get in even closer and pull out some details of the subject. These details will act as pieces of interest, and help to add context or heighten emotion. By piecing it together, you can start to create a story about your location.
Details
The key is to think about, and look for, interesting details. Don’t just point the camera and shoot for two minutes and then cut to something else for a couple more minutes. Make lots of shorter sequences that will hold a person’s interest. Perhaps the best advice is to watch films and television to see how the programme makers cut between shots. Make notes and time how long has elapsed between cuts. You may be surprised to find out that often footage is shown for just a few seconds.
Editing and colouring
Once you have shot your footage, you can edit it all together. There are lots of suites that can do this, including the free Blackmagic DaVinci Resolve. When you start editing the footage into a narrative everything starts to come to life, but the key is to make sure you have plenty of footage to start with. Just as you would with a still image, you can also adjust the look of your video. However, don’t expect to have the same flexibility that you do when shooting raw images. The vast majority of DSLR and compact system cameras that shoot video only record in 8-bit compressed video. Think of this as saving an average-quality JPEG image and then trying to edit it. The quality can break down quickly.
A still frame from an 8-bit DSLR video
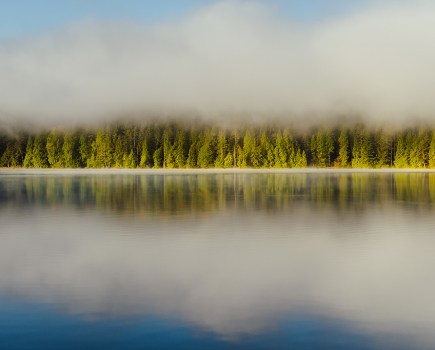
An edited still frame from a 12-bit raw Blackmagic Pocket Cinema Camera video
However, if you find that you want to get more from your video than your DSLR can capture, there are other options. One of the best, and most affordable, solutions is the Blackmagic Pocket Cinema camera. This small camera can record Apple ProRes and CinemaDNG raw codecs, which are 10-bit and 12-bit formats respectively. These codecs, especially CinemaDNG, allow videographers to colour their videos just as they would with still images. As you can see in the above example, with the raw CinemaDNG footage from the Pocket Cinema camera you can make the most of the 13EV dynamic range. This means you can reveal details in both highlight and shadow areas that are simply not recoverable when colouring an 8-bit video shot using a DSLR.
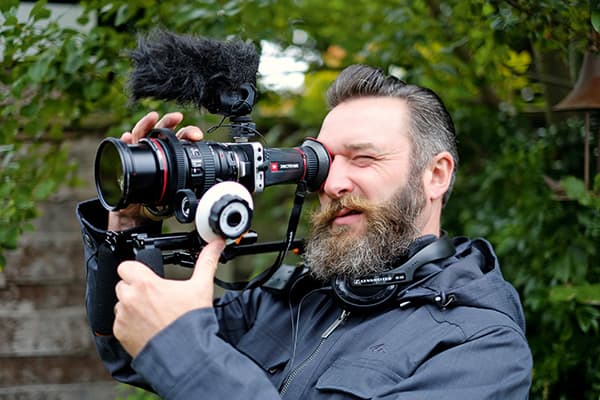
Profile: Jason Lock
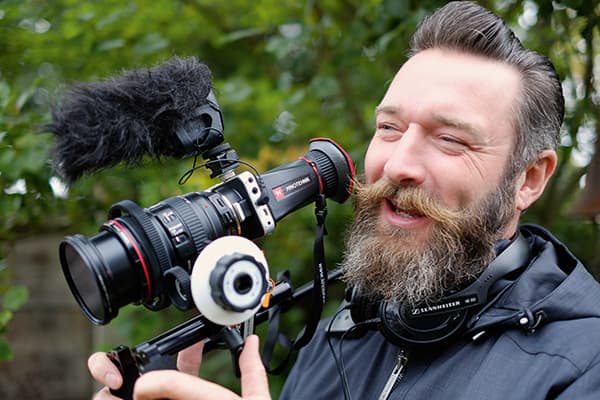
Jason is a photographer who now finds himself shooting more and more video, both personally and for clients
‘As a visually creative person I’ve always been interested in film, particularly the transition from stills to moving images. As my knowledge and understanding of digital filmmaking started to evolve, I became aware of the limitations of the equipment I was using. As always, you try to improve, because when you see others’ creative work you get inspired. I then noticed that the name Blackmagic Design kept popping up.
For me, the deciding factor in using the Blackmagic Pocket Cinema Camera was that it didn’t cost a massive amount of money. Plus, since I use Canon EF lenses, I could mount these straight away with a converter (which, again, isn’t too expensive). It’s a great way of getting into a range that will help you create cinematic quality. The dynamic range affords me greater latitude in picture post-production, and enables me to get the richer colours I want. ‘I made the transition to the film world fairly recently. In the past four years my clients have been asking me, “Can you also do this video for me?” Now I can give clients something that will be broadcast production or cinematic quality.’