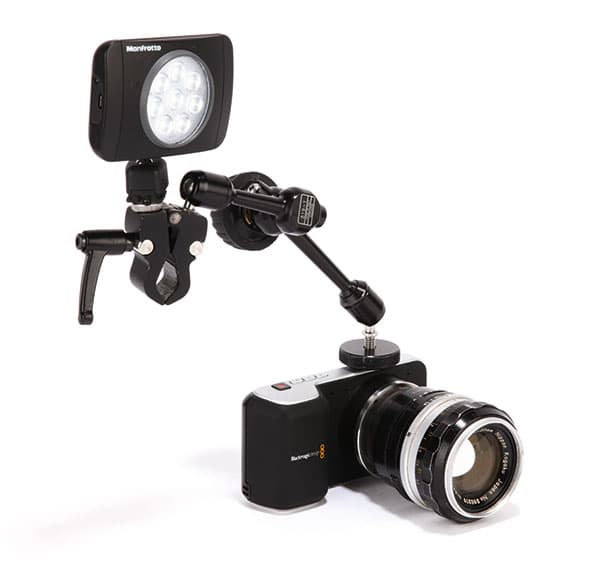
A small LED light and an arm can be all you need to get started
Mention the word ‘lighting’ and some photographers will run a mile. Flashguns, studio lights, colour temperatures – there is a whole other language to learn. Thankfully, the basics of lighting are quite simple, and the terms we use in stills photography are also common in film lighting.
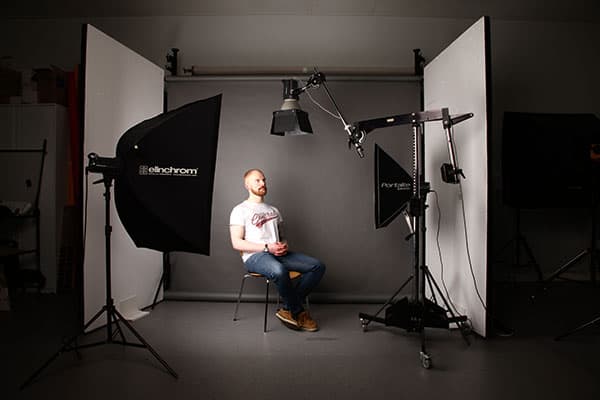
Usually we work with two, or sometimes three, light sources when lighting a subject. The main light is known as the key light, while the second is a softer fill light, which helps fill in any shadows. The third light, known as a hair light or rim light, lights the back of the subject, adding definition. It is this three-point lighting technique that is the starting point for many film shoots, but as with stills photography, some rules are made to be broken.
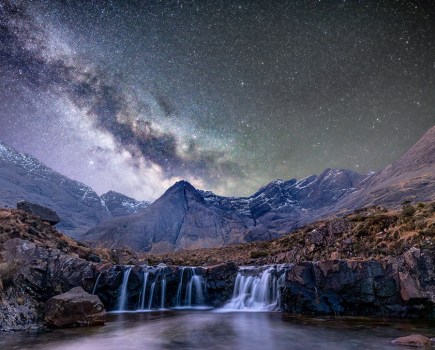
The most obvious example of this rule-breaking is film noir. The dramatic lighting used in this genre is called low-key lighting, where there is little, if any, fill or rim light used. The result is that there are deep shadows, which can help to create tension and suspense. Conversely, high-key lighting uses very bright fill lights, giving a light and calm feeling. So when lighting your film, think about the type of feel you want to generate with your lighting. Even something as simple as an interview can take on a dramatically different feel, depending how the subject is lit.
Using natural light
If you are just starting out it can be a good idea to use natural light wherever possible. However, even then you should still think about the best way to work with this light. Do you want to shoot into the sun, causing your subject to be a silhouette? Or should you have your back to the sun, which will light your subject but make harsh shadows?
In these situations, just as when taking a photograph, a reflector can be your friend. Something as simple as a large piece of white card can really help to illuminate your subject and fill in shadows, without needing an additional light source.
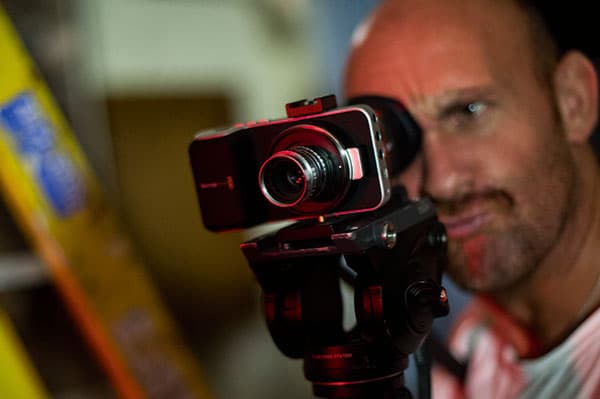
Light sources
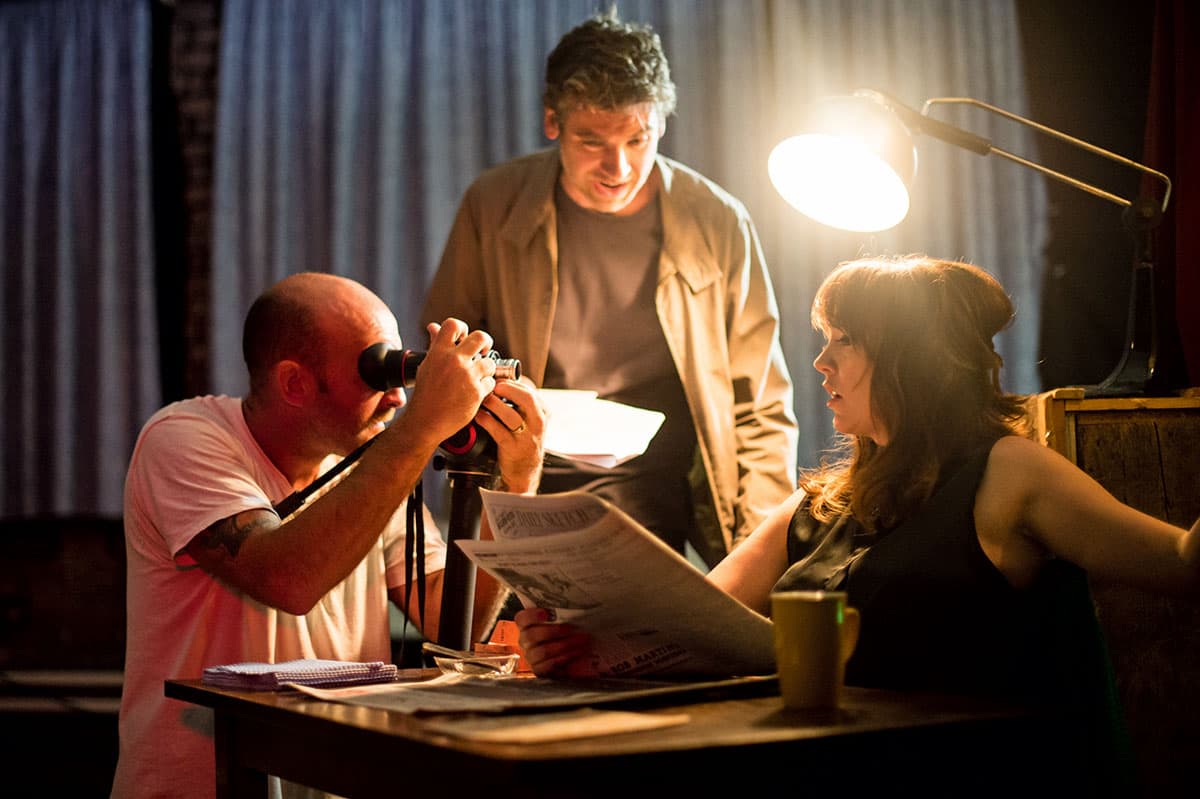
Percy Dean shooting a music video with a shot lit mainly with a household lamp
Many photographers will rejoice at not having to use flashguns. With continuous light sources you have the advantage of being able to see exactly what you will get as you position your lights, and how the light will change as your subject moves, which is important in filmmaking.
While large, expensive and hot lights are still the industry standard, there are now far more portable, and less expensive, options for aspiring filmmakers. LED light sources are readily available, with panels ranging in size from a few inches to a few feet. Something like the Manfrotto Lumimuse 8 light can be all you need to get started, and it is powerful enough to act as a fill light on all but the brightest days.
Just as with stills photography, the key is making sure that the lights are correctly colour balanced with any other types of light you may be using. And make sure that the light looks natural. Try to avoid the ‘direct camera flash look’ by mounting the light above and to the side of the camera.
Exposure and grading
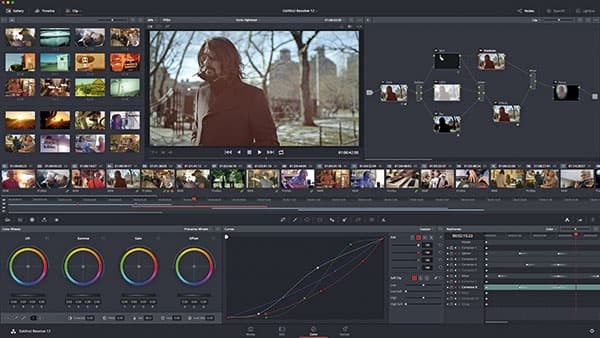
Good lighting can make a great deal of difference when it comes to colour grading your footage
One of the key things to remember with lighting is how you are going to grade your footage. Ideally, you want to light and expose your footage to get as much detail for colour grading as possible. This is where a digital film camera, such as the Blackmagic Cinema Cameras, can come in. With a dynamic range of 13EV and CinemaDNG raw recording, you can colour grade your video and get the sort of quality that you would expect from your stills photography camera. Better still, the industry-standard DaVinci Resolve editing and colour correction software is available free.
Percy Dean
Percy has a background in extreme sports photography, but has been shooting video for the past five years.
When I started, I still had it in my head that I was lighting like a stills photographer, but with video you have to make every angle look right. You get the initial light right, but then you have to move around and see what it looks like from all the other angles you wish to shoot from. And that again brings it back to softening the light and making it look as natural as possible.
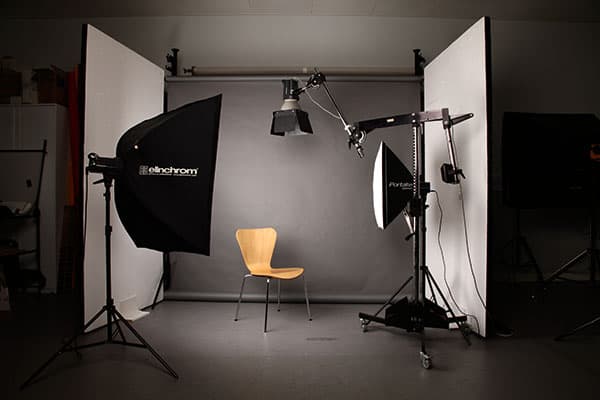
Left: Main, Top: Rim, Right: Fill
You should also put your lights as far back as you can. If you put a light right next to the subject, you are limiting the amount of space you have to move the camera without the light getting in shot.
So my main tip is to light incrementally. Don’t go in, place all your lights and then panic. Do it one by one until you get it right. Think in stages. Think about your frame, then think about the lights and how you shape those lights.

Main light
Main light with fill
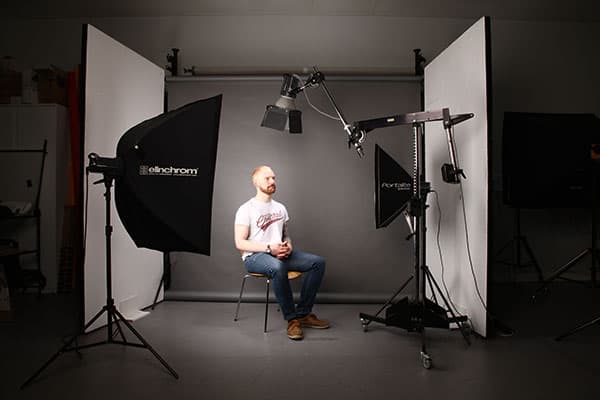
Main light with fill and rim light
Brought to you in association with London Camera Exchange (www.lcegroup.co.uk)