The leaves are turning, fungi are sprouting on the forest floor, and wildlife is hoarding food. Autumn is the perfect time to refine your macro photography skills, says Tracy Calder. She shares her best autumn macro and close-up tips below…
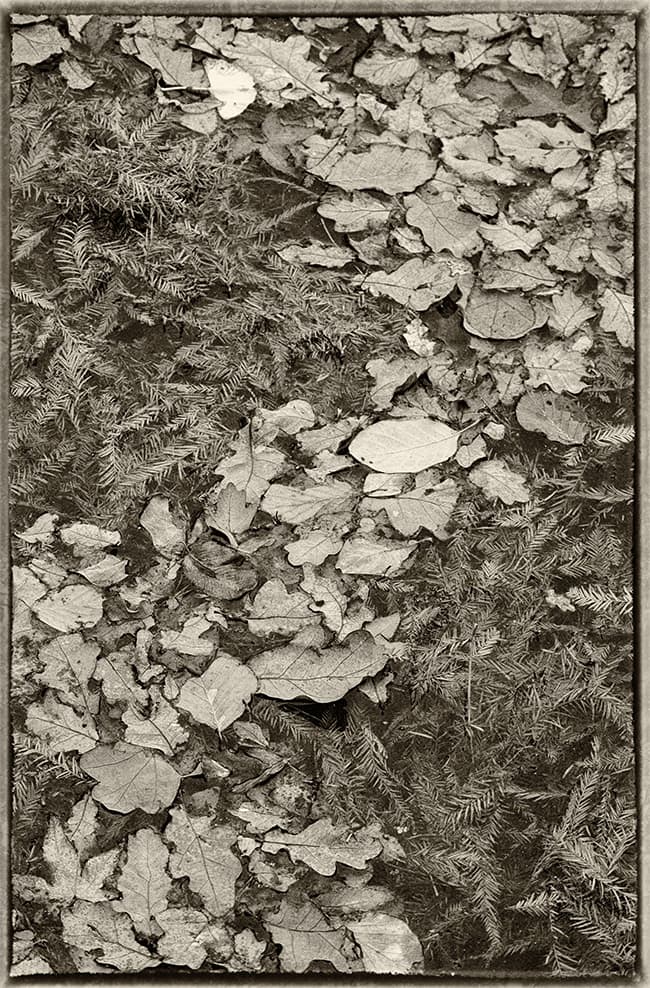
Every autumn I lie on my belly in piles of decaying leaves and observe the world around me. Call me strange, but to my mind there’s nothing better than adopting a worm’s-eye view and breathing in the heady scent of a forest regenerating itself.
If you lay still the forest will reveal its secrets. A twitch of leaves betrays a squirrel hoarding acorn. The missing chunk of a mushroom suggests a deer has passed by. A rotting tree stump shows itself as a bug hotel. The closer you look, and the stiller you become, the more you see. For more than a decade I have captured this magical world through my camera, using close-up and macro photography to explore details that are usually hidden from view.
The closer you look and the stiller you become, the more you see. This lichen was growing on top of a fence post. Canon EOS 10D, 105mm, 1/60sec at f/4.5, ISO 400, tripod. Credit: Tracy Calder
Of course, lying on the ground when it’s damp and littered with poo (I live near the New Forest where ponies, deer and donkeys roam and relieve themselves, freely) can be very unpleasant if you’re ill-equipped, which is why one of the first things I pack in my kit bag is a pair of waterproof trousers. I team these with a waterproof jacket and a pair of sporting gloves (these are breathable with excellent grip).
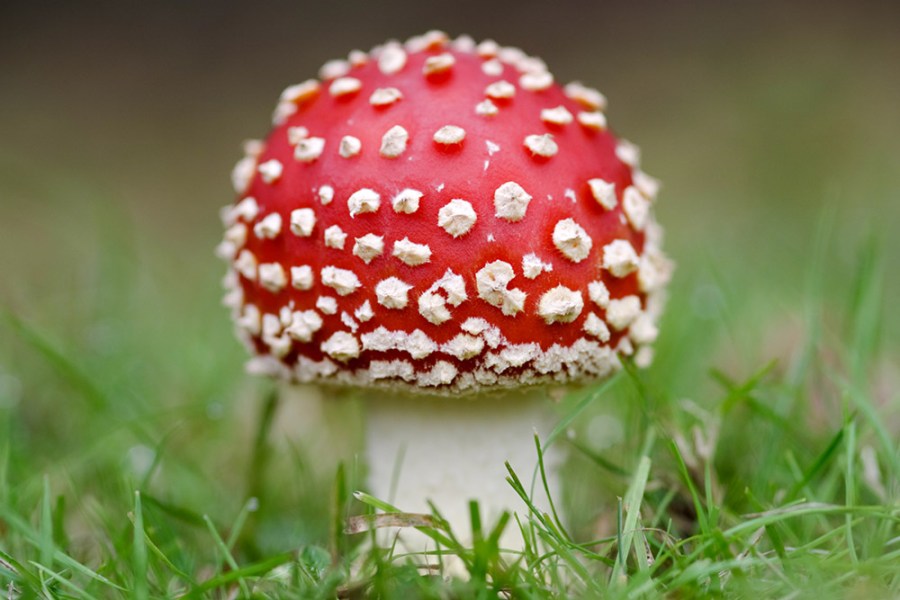
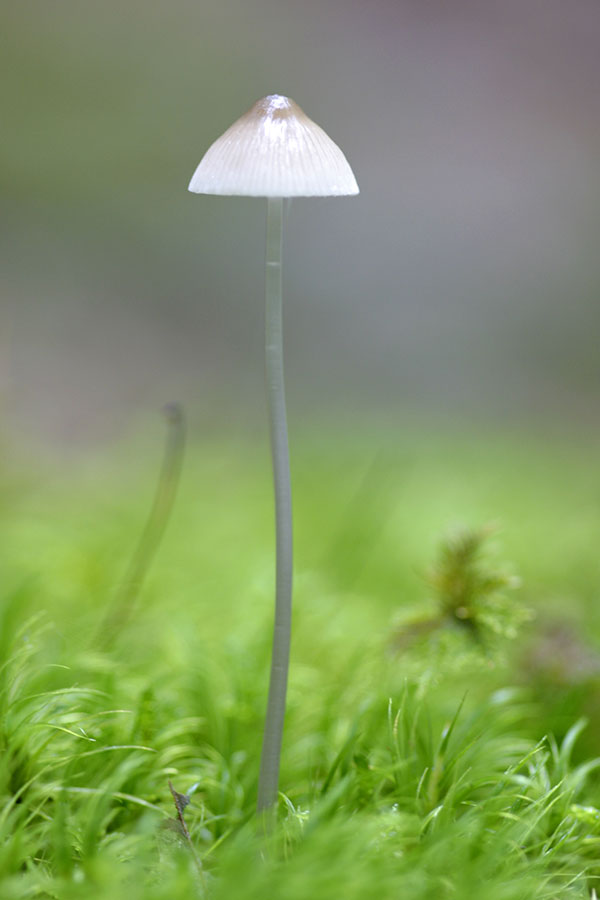
When space allows, I pop a mushroom ID guide into my pocket. Having watched a rather disturbing episode of Midsomer Murders back in the noughties I’m not brave enough to forage for mushrooms, but I like to identify each variety for caption purposes. It’s much easier to identify fungi ‘in the field’ rather than when you get home as it allows you to use the environment to draw conclusions. The fly agaric mushroom, for instance, is usually found under birch trees.
How to get great Autumn macro photos
Study the subject for your Autumn macro shot
Once I have located a photogenic specimen I study it from every angle. One of the joys of shooting small subjects is that you can often look down on them, as well as up under them.
At this point I inspect the subject for any tears or blemishes – what looks like a tiny mark to the naked eye will appear magnified and hugely distracting in the final picture. When I have settled on a pleasing composition I check the background for potential distractions. If there are stray blades of grass, leaves or twigs I do some gentle ‘gardening’.
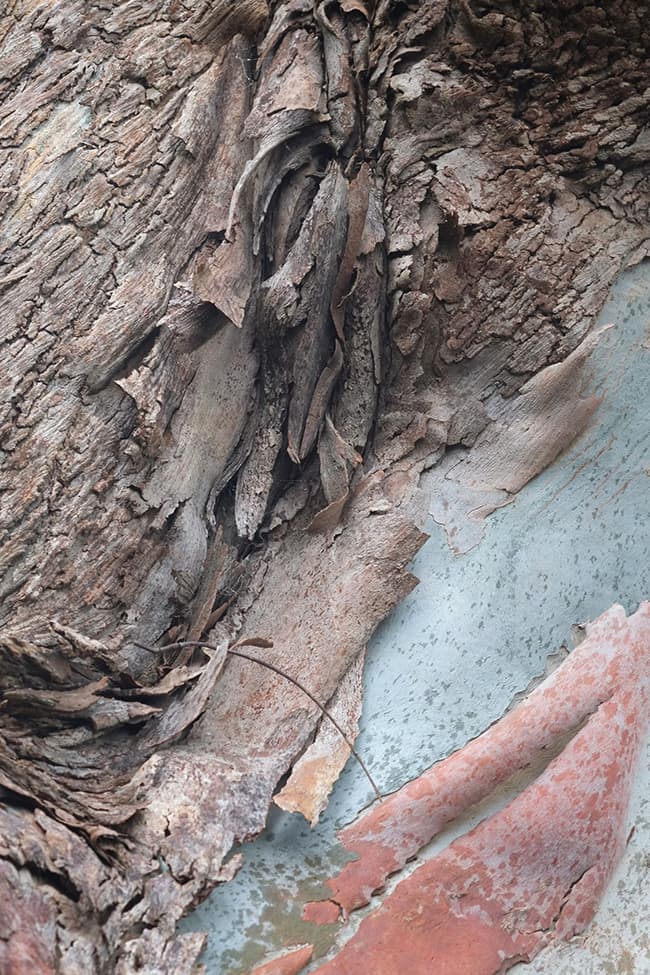
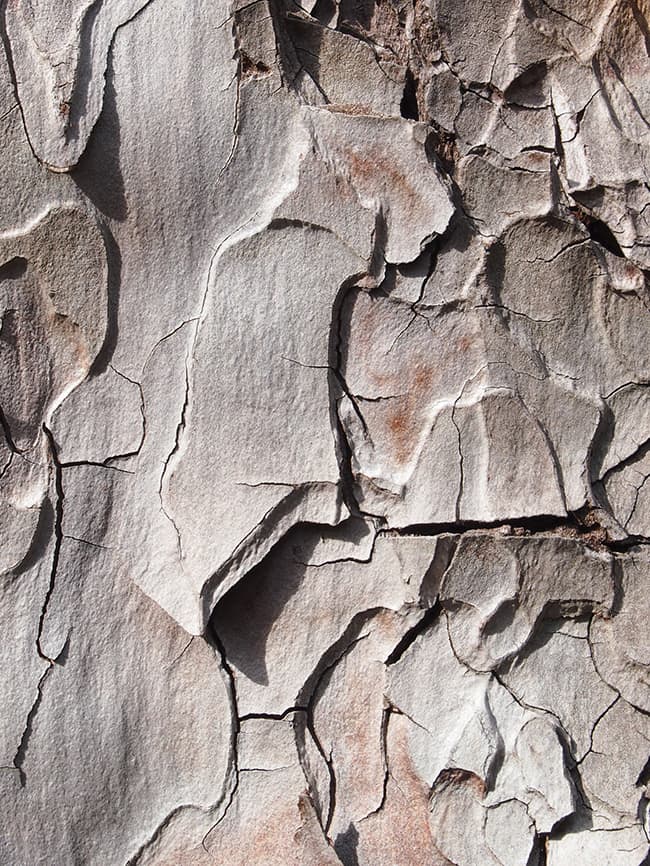
When the wind speed rises above 10mph it’s often better to focus on stationary subjects such as bark, rather than leaves and flowers. Fujifilm X-Pro1, 60mm, 1/50sec at f/8, ISO 1250, tripod. Credit: Tracy Calder.
The tools of my trade are smaller than the average spade and trowel – I use tweezers to remove errant leaves, nail scissors to trim grass, and a paintbrush to remove dirt.
If there are bigger distractions in the background (i.e. a plant stem or sizeable twig) I hold them out of the frame using something called a Wimberley Plamp. This strange-looking device is essentially a moveable arm with a large clamp on one end, which can be clipped to your tripod, and a smaller one on the other end, which can be used for holding a plant stem, leaf, petal, or even a diffuser or reflector.
If you’re shooting leaves or other windblown subjects, the Plamp can sometimes be used to hold them steady, but if the wind speed rises above 10mph you’re better o concentrating on static subjects such as bark or fungi. Alternatively, you could take a selection of leaves home and tape them to a window to create some lovely backlighting. When you’ve found a subject that’s likely to stay put you need to make sure that your camera is nice and steady too.
Generally speaking, the closer your camera (or to be more accurate, the sensor inside your camera) is to the subject the shallower the depth of field. This often means using small apertures and slow shutter speeds to maximise sharpness. When you’re using slow shutter speeds camera shake is a risk, so a tripod is essential.
I mostly shoot close to the ground so a tripod with a central column that can be used in the horizontal position is invaluable. When my subject is just inches from the forest floor I prefer to use a beanbag.
The closer your camera (or to be more accurate, the sensor inside your camera) is to the subject, the shallower the depth of field. Canon EOS 10D, 105mm, 1/90sec at f/4.5, ISO 200, beanbag. Credit: Tracy Calder
Refine the composition of your Autumn macro shot
With the camera attached to a tripod, the subject steady, and the ‘gardening’ complete I turn my attention to refining my composition. At this point it’s worth remembering that all the standard ‘rules’ of composition still apply. While you might be working with subjects just centimetres in length you can still use the rule of thirds, lead-in lines, and different blends of positive and negative space to achieve a balanced image.
I use live view for composing as it allows me to magnify an area of the frame and move it around checking all of the edges for potential distractions.
My current camera is a Fujifilm X-T2. Although most of the pictures here were taken with a Canon EOS 40D and Sigma 105mm f/2.8 Macro lens, which I still use regularly. So in theory I could use the viewfinder to move the magnified area. But as I use my left eye to compose, the joystick falls too close to my nose, so I use the LCD monitor.
Using the LCD monitor will help you to fine-tune the focus, too. While AF is perfect for general photography, I always use manual focus for close-up and macro work. The X-T2 has various MF Assist modes, but I usually ignore these and use the Focus Check feature instead. With the camera in manual focus mode and Focus Check turned on, the display will zoom in on the focus area as soon as the focus ring is turned, allowing me to make adjustments.
When depth of field is limited to just a few millimetres, accurate focusing is crucial, so explore the options available to you. When I use the X-T2 I usually team it with a Fujinon XF 60mm f/2.4 macro lens. (I’m saving my pennies for the XF 80mm f/2.8 LM OIS WR macro – $1,199 / £1,149 for a lens without an all-metal barrel, seriously?)
The 60mm only allows magnifications of up to 0.5x (half life-size) without an extension tube (see kit list below), which can sometimes be frustrating; so I often find myself switching to the Canon DSLR and Sigma lens, which allows 1x magnifications (life-size).
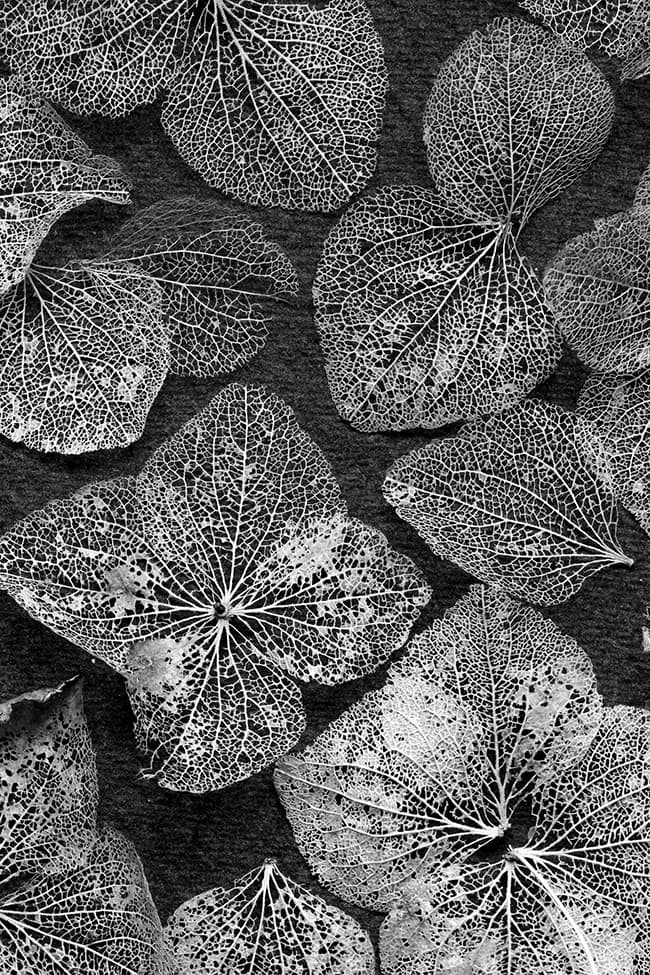
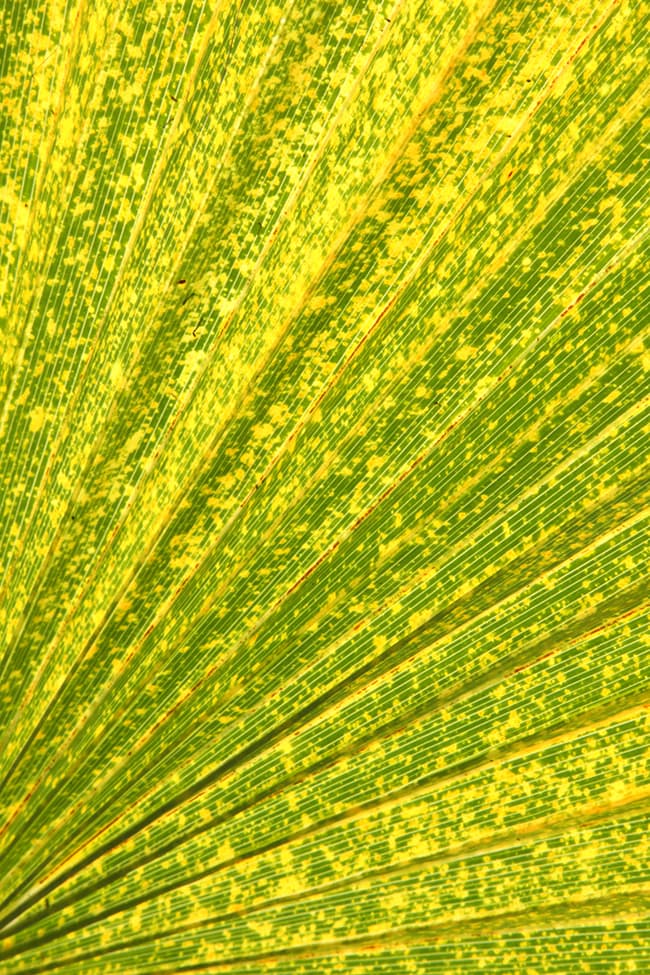
With so much colour around during autumn it’s easy to forget that black & white (or in this case, sepia) can also be effective. Nikon 1 J1, 10-30mm lens, 1/60sec at f/4, ISO 320, tripod. Credit: Tracy Calder
What are some budget alternatives to macro lenses?
If you’re just starting out with close-up photography, and you’re not sure if you want to invest in a macro lens, there are some inexpensive alternatives in the form of extension tubes, close-up attachment lenses, bellows and reversing rings.
- Extension tubes fit between the lens and the camera body and work by increasing the distance between the focal plane (sensor) and the rear of the lens, reducing the minimum focusing distance.
- Close-up attachment lenses (or diopters) screw to the front of the lens and also reduce the minimum focusing distance. Bellows fit between the lens and the camera, and work in much the same way as extension tubes, but with greater flexibility.
- Finally, reversing rings enable you to mount a lens on the camera back-to-front. As a result, the lens will focus much closer to the subject.
All of these alternatives have their downsides, so make sure that you are aware of the negatives before you splash out. Regardless of the technology you use, the best way to improve your close-up and macro photography is to slow down. The more you look, the more you will see. Autumn is a time for introspection, reflection and renewal, so lie down on the leaves and drink it all in.
Want to know what the best lenses are for macro photography? See the best value macro lenses and best Macro Lenses for Mirrorless and DSLRs here.
Tracy’s top tips and techniques for Autumn macro photos
1. Try black & white
Credit: Tracy Calder
When you’re surrounded by rich autumn colour it’s easy to overlook the skeletal shapes of trees and leaves, but these can make eye-catching subjects. Set your image quality to raw + JPEG and experiment with monochrome settings. For the best results, process the raw file later.
2. Check the edges
Credit: Tracy Calder
Grass, twigs and leaves can sneak into the frame when you’re concentrating on the main subject. Most of the time you can crop these out later, but it’s good practice to get things right in-camera. Use live view and magnify the focus area. Now pan around the frame, paying particular attention to the edges.
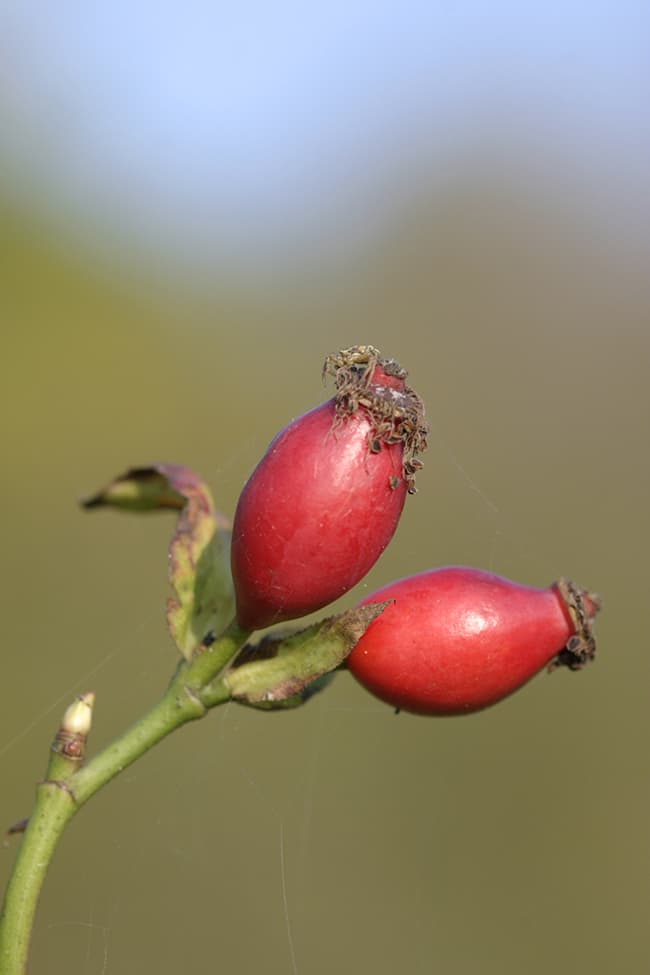
3. Monitor wind speed
Credit: Tracy Calder
When wind speeds rise above 10mph, leaves and flowers tend to leap about. At times like this you can focus on stationary subjects, such as bark. Or experiment with creative blur using slow shutter speeds. Alternatively, find ways to keep your subject still – experiment with canes, clips, floristry wire and windbreaks.
4. Follow the rules
Credit: Tracy Calder
The basic ‘rules’ of composition, such as directing the eye using lead-in lines, positioning key elements according to the rule of thirds, and KISS (keep it simple, stupid), still apply to close-up photography. Think about what attracted you to a subject in the first place and try to emphasise this.
5. Think about the negative
Credit: Tracy Calder
The area of the frame that contains the main subject is ‘positive’ space. While the area surrounding it is referred to as ‘negative’ space. Always ask yourself how these spaces relate to one another, and what happens if one dominates the other.
Top spots for autumn macro photography
New Forest National Park, Hampshire
Thanks to the high concentration of ancient trees, the New Forest is one of the most important areas in Britain and Europe for lichens, beetles, bats and fungi. You can see autumn colours all over, but Rhinefield Ornamental Drive, Bolderwood and Eyeworth Pond are particularly photogenic. Visit www.newforestnpa.gov.uk
Westonbirt National Arboretum, Gloucestershire
In the 1820s Robert Holford, a landowner and keen gardener, began planting trees at his country retreat. His desire to create the best arboretum in England was shared by his son, and the family was soon hosting ‘colour picnics’ beneath the Japanese maples in autumn. Follow the Silk Wood Trail to view the spectacle from the treetop walkway. Visit www.forestry.gov.uk/westonbirt
Dawyck Botanic Garden, Royal Botanic Garden Edinburgh
Home to one of Scotland’s finest tree collections, Dawyck Botanic Garden houses specimens dating to 1680. During autumn the maples, rowans, beech spindle trees and the wonderfully named candyfloss tree form a rich tapestry of reds, golds and browns, which have a lot of fantastic autumn macro photo potential. Visit www.rbge.org.uk/visit/dawyck-botanic-garden
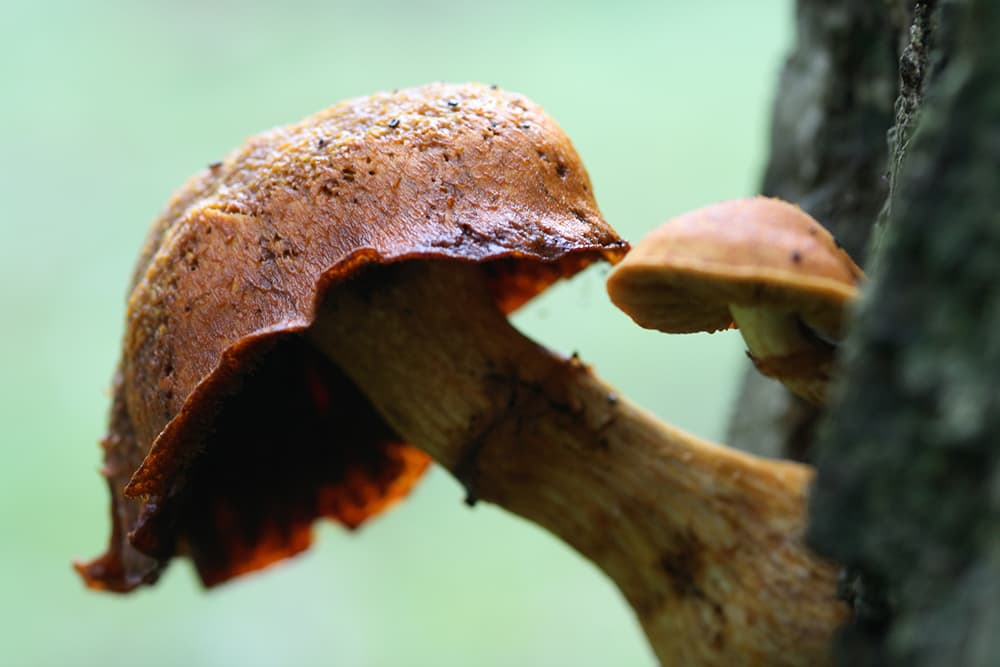
Take a mushroom ID guide for identification. Credit: Tracy Calder
Wye Valley and the Forest of Dean
The Wye Valley supports a wide range of habitats including limestone cliffs, heathland and dense native woodland. During autumn a trip to the Forest of Dean is a must, with stunning views across the River Wye from Symonds Yat Rock. Visit www.wyedeantourism.co.uk
Grizedale Forest, Cumbria
In 2017 the Lake District was awarded World Heritage status. Grizedale Forest lies at its heart, sitting between the lakes of Coniston and Windermere. Take the Tarn Trail climbing eastwards out of the valley to reach the only natural tarn in the forest. Visit www.forestry.gov.uk/grizedale
Kit list for autumn macro photography
Light source
A portable LED light (like the Manfrotto Lumimuse 3) is ideal for lifting shadows under mushrooms and backlighting leaves and insect wings. As it’s a continuous light source you can see the effects before releasing the shutter.
Macro lens
When purchasing a macro lens consider the maximum magnification it can achieve (e.g. life-size, half life-size). Plus, the minimum focusing distance (how close you can get to the subject before focusing becomes impossible).
Waterproofs
Waterproof trousers are a must when shooting fungi or leaf details. Over the years I’ve used bin bags, ground mats and picnic rugs. But you can’t beat a pair of waterproof strides. I favour the Women’s Cascada II Trousers from Páramo.
Beanbag
A beanbag can be purchased filled or unfilled, with lining or without. Wildlife Watching Supplies has a good range. You can fill a bag with dried beans, rice or corn, but if you want to avoid the contents rotting then opt for plastic pellets.
Tripod
At high magnifications, any movement can cause image blur. So keep everything steady with a tripod and clamp or ‘plamp’ clipped to a leg. I use a plamp for holding plant stems and keeping distracting foliage out of the frame.
Tracy Calder has more than 20 years of experience in the photo magazine industry. She is the author of Close-up & Macro Photography, which has been reprinted numerous times, and is the co-founder of Close-up Photographer of the Year. Visit www.cupoty.com.
Featured image: Tracy Calder
Need further macro photography guidance?
Check out our top macro flower photography tips.
We also share how to get your best ever autumn landscapes and great autumn wildlife shots.
Plus, why not try macro photography on your smartphone?